

Oh wow! I bet you never thought you’d hear Cottage Core and Dark Elegance uttered in the same sentence! Well there’s a first time for everything I suppose. But then I have made up a word too……. Welcome to my loo-tility. The downstairs bog as it’s other wise known. But as it also houses my boiler and the washing machine it’s also my rather cramped utility room. I used to pretentiously call it the boot room! But as there’s no where to put boots I had a rethink on the name because it’s time for it to have a makeover. It’s tired (much like me) and it needs a little love and attention. So welcome to my ‘Cottage Core Meets Dark Elegance in the Lootility Makeover Design’ (that’s a mouthful). Are you ready?
The Before
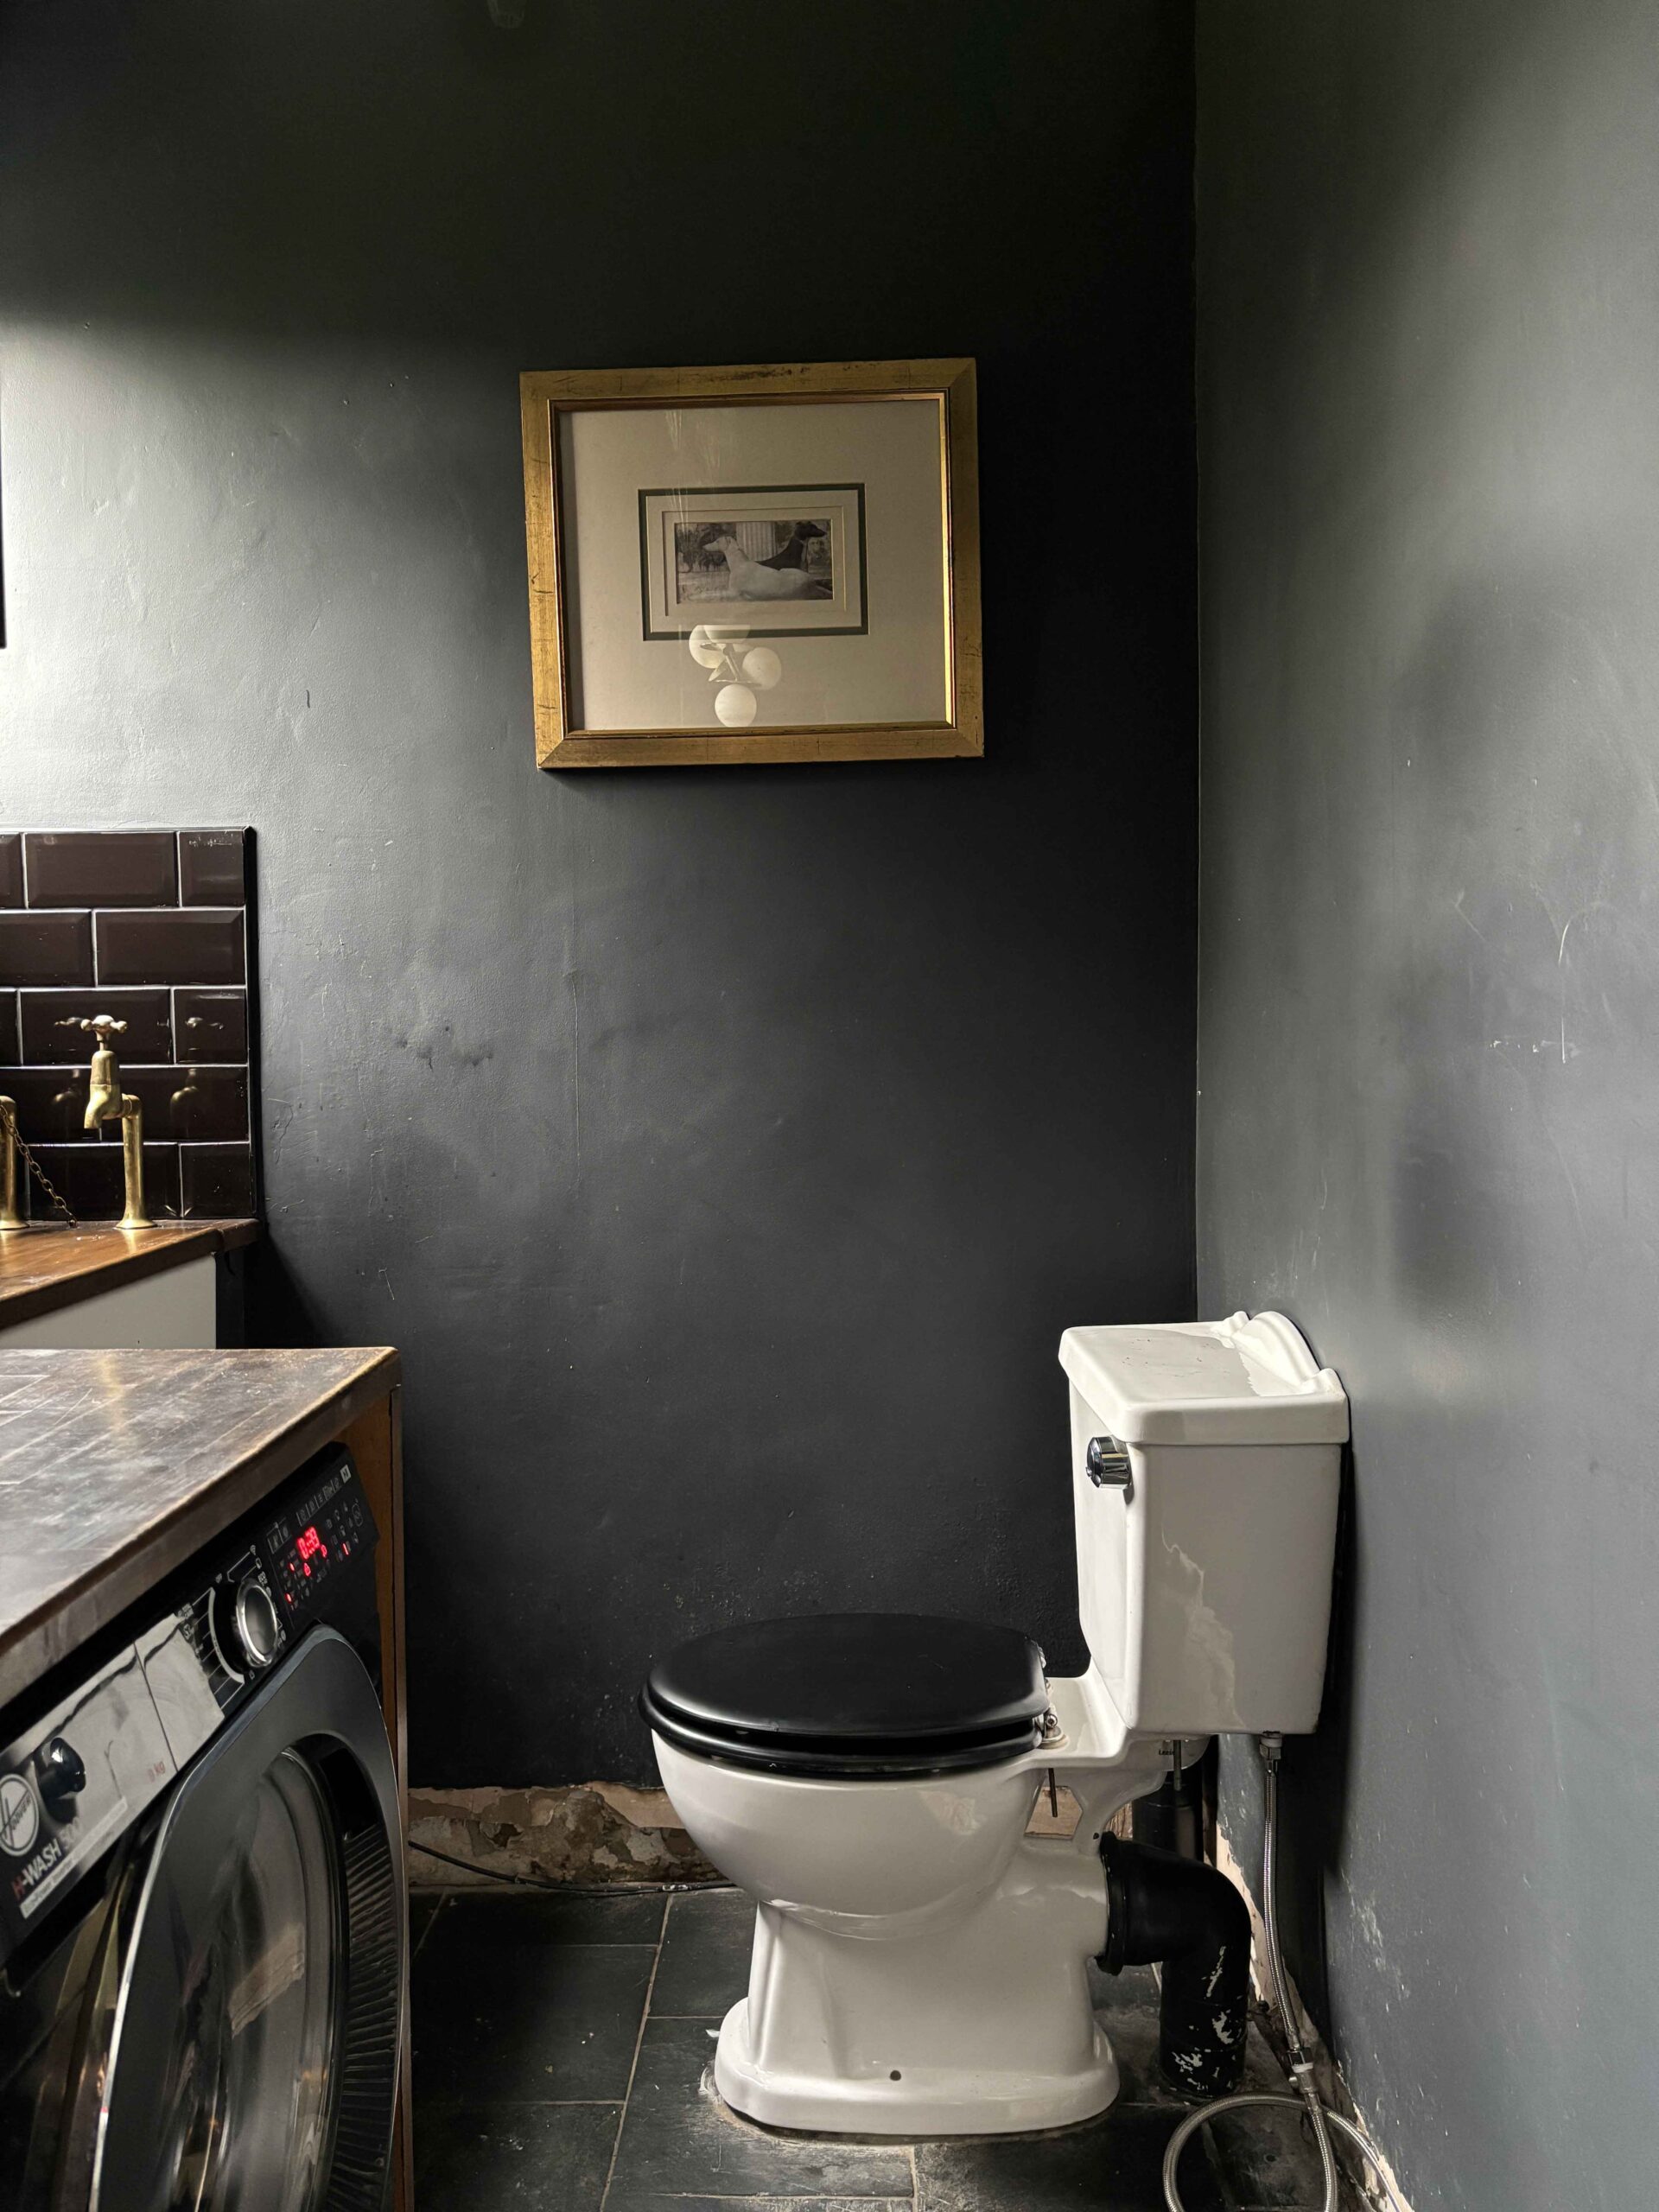
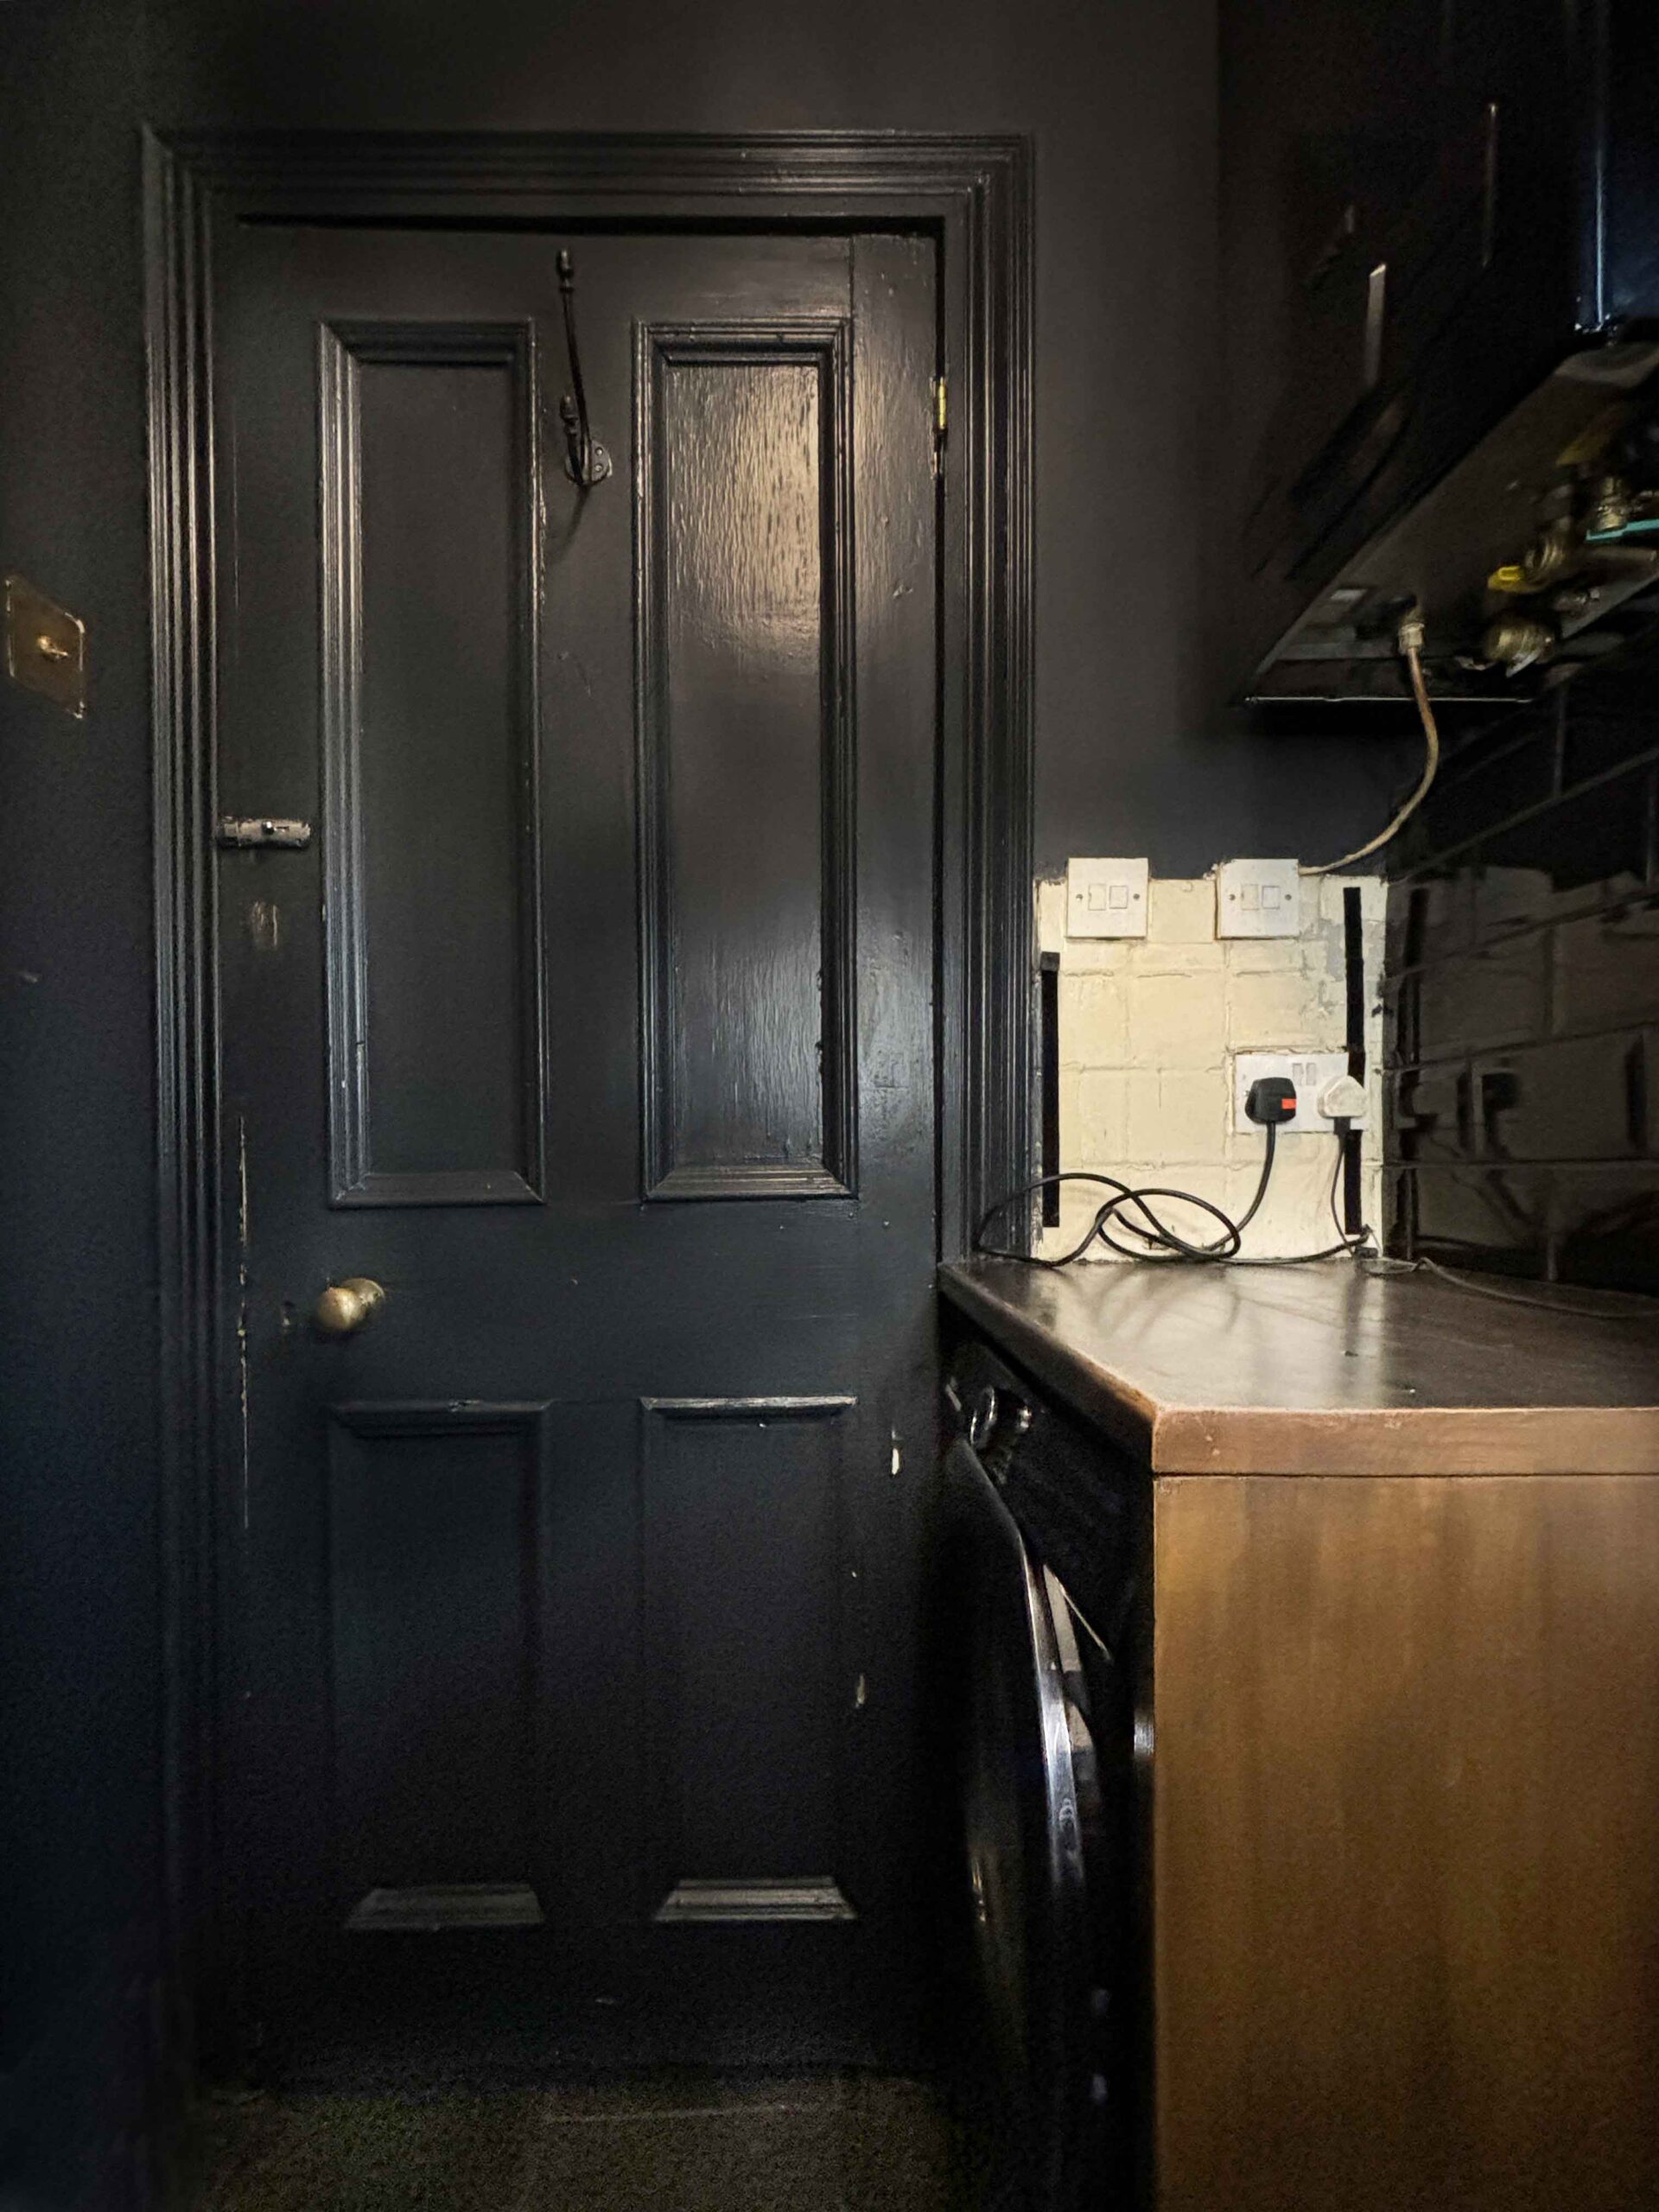
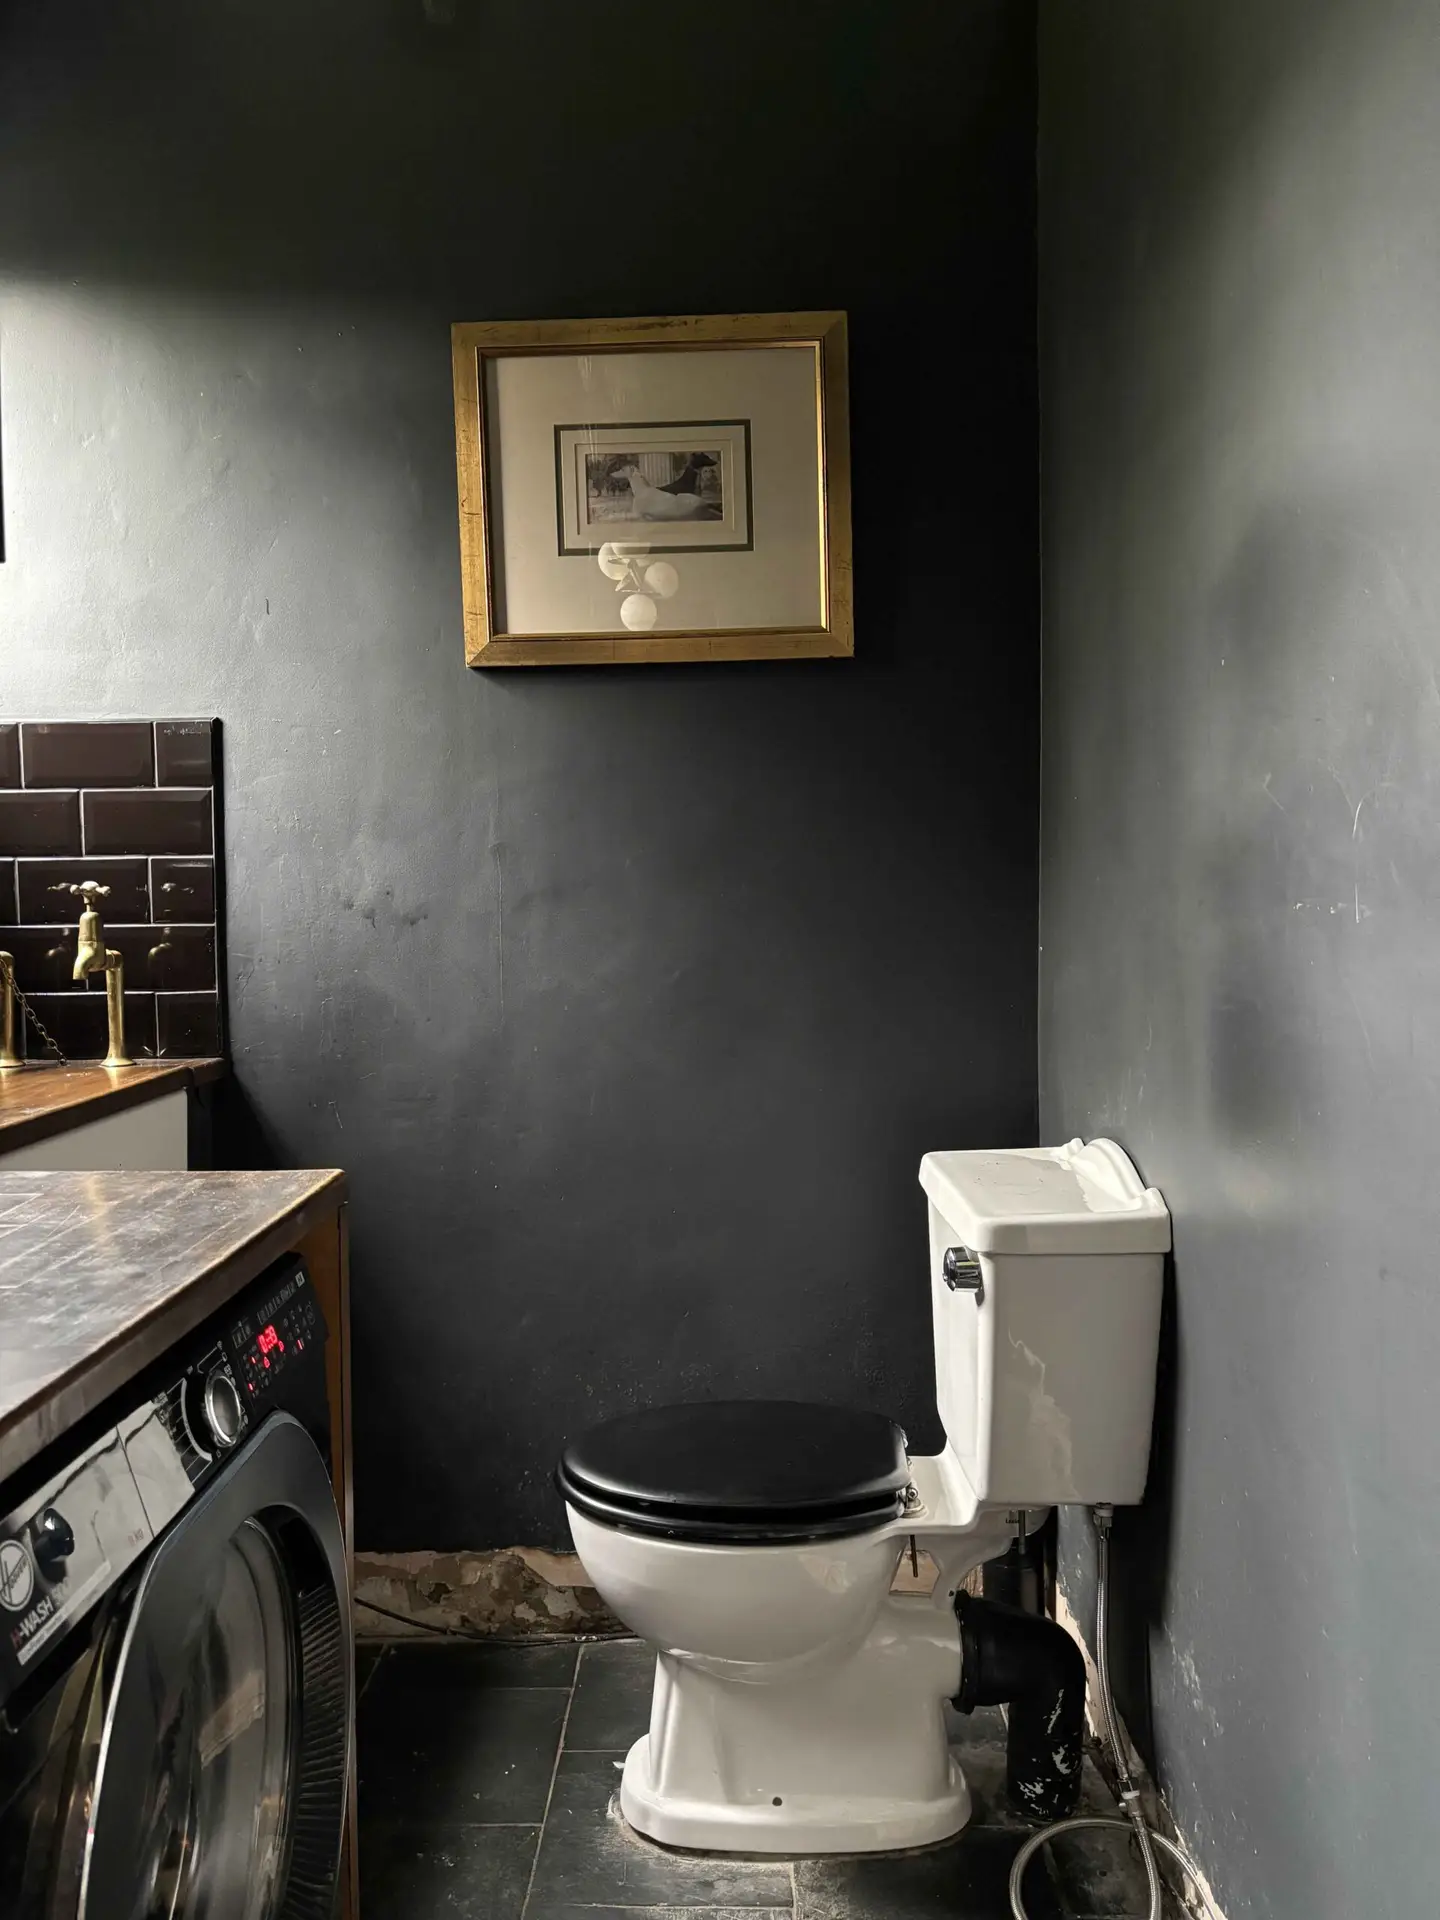
But first, before we go any further we need to take a look at what the room looked like prior. It was baaaaaaad! It last had a lick of paint years ago. The colour never really worked in the room either. And the loo was broken too. And whilst on the subject of the loo it was also ugly! Look at all those awful pipes. It was a bugger to keep clean. In fact I was embarrassed to let guests use it. The only redeeming feature was the sink but even then the worktop needed reviving too. It was generally all in a sorry old state and lacking any architectural detail.

The Moodboard
OK, are you ready? Not only for a colour injection (where’s Rach and what have you done with her) but also for a feeling of romanticism for the past. I think the roots for this room started to worm their way into my brain on my journey that was the dining room. My style is evolving again. I want more depth beyond how I layer things normally. I want more texture, more oomph and believe it or not, more colour. I’m almost going full circle back to my love of antiques too. And a simpler way of life only with my dark aesthetic twist applied. So here’s the mood board I created. I’ve gone for a Victorian butlers pantry type of vibe as half this room used to be our original pantry and the other half was our outside (brought inside) loo.
The Colour
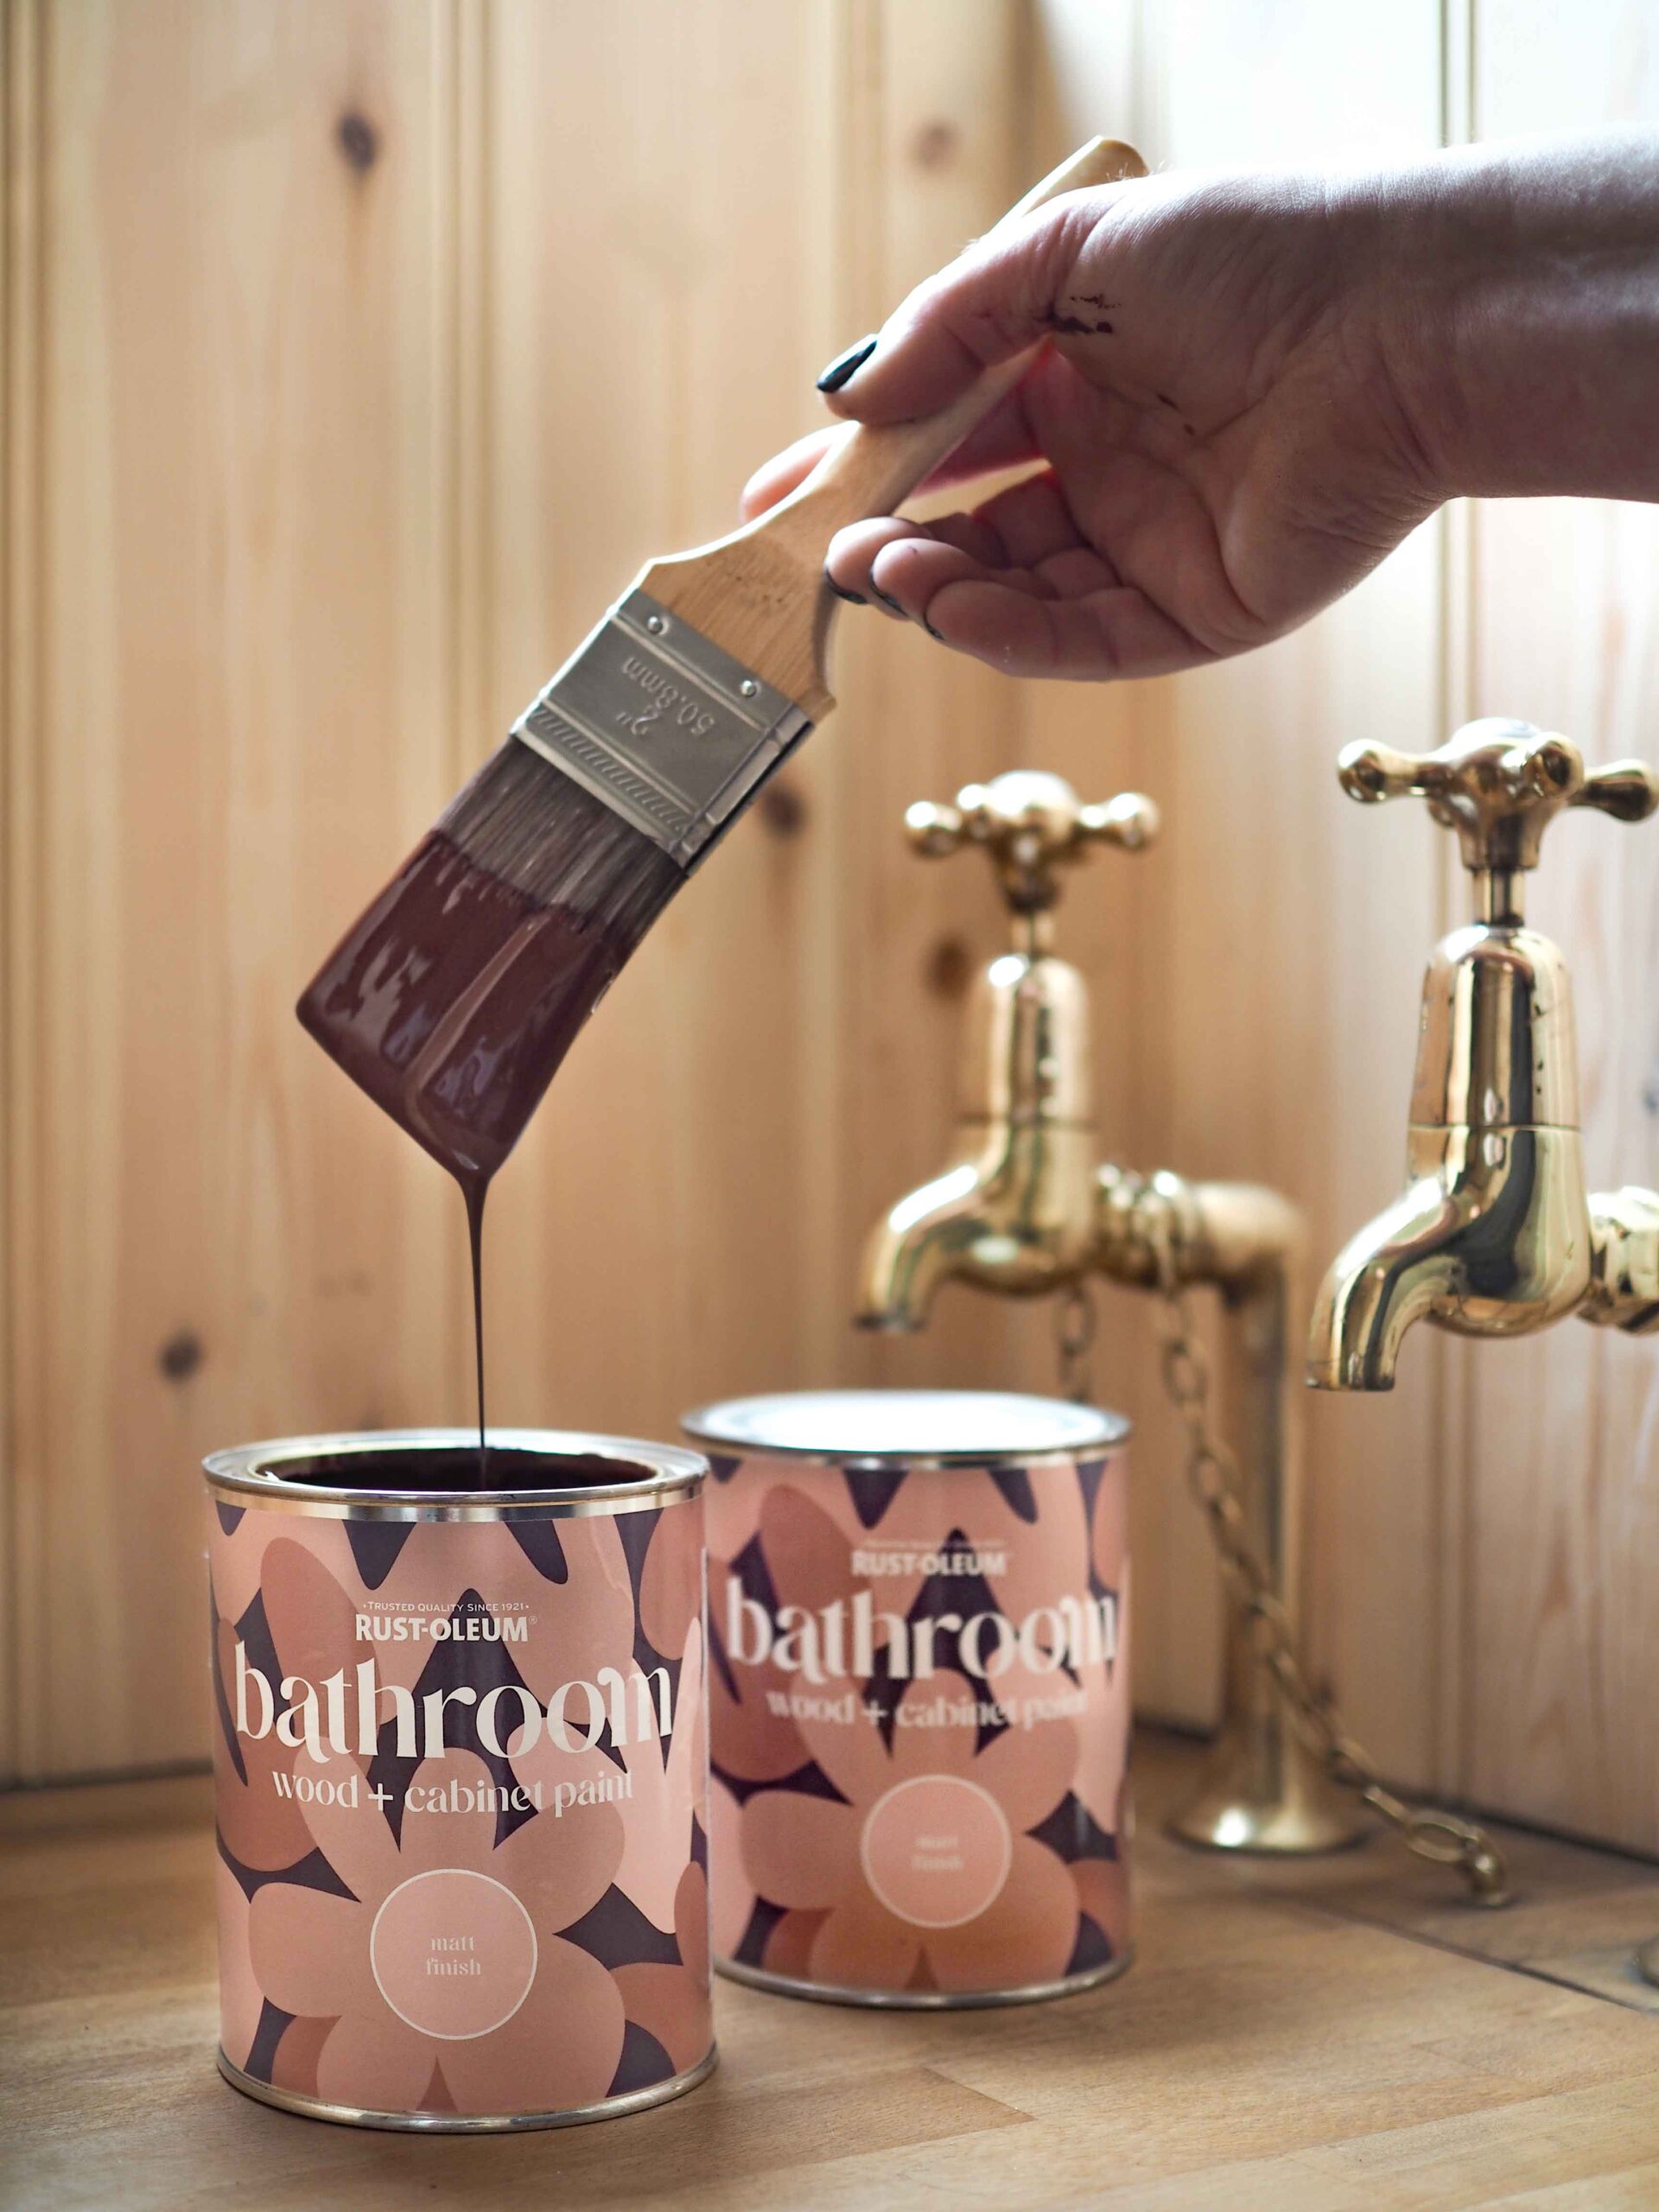
So what do you think of it? Isn’t the colour amazing! It’s called Valentina by Rust-Oleum. I have to be honest here though, I costed everything on it up and it’s eye wateringly expensive! Like pounds! In fact everything on the moodboard comes to just under £3330! And as much as I’d like to have the easy and spendy version, where’s the fun in that? You all know me for my budget renos so lets see if I can do it for well under half that! It’s a case of I haven’t got a pot to pee in but I do happen to have a window to throw it out off 🙂 The challenge is on! Read to the end to find out how much it cost me!!
The Loo
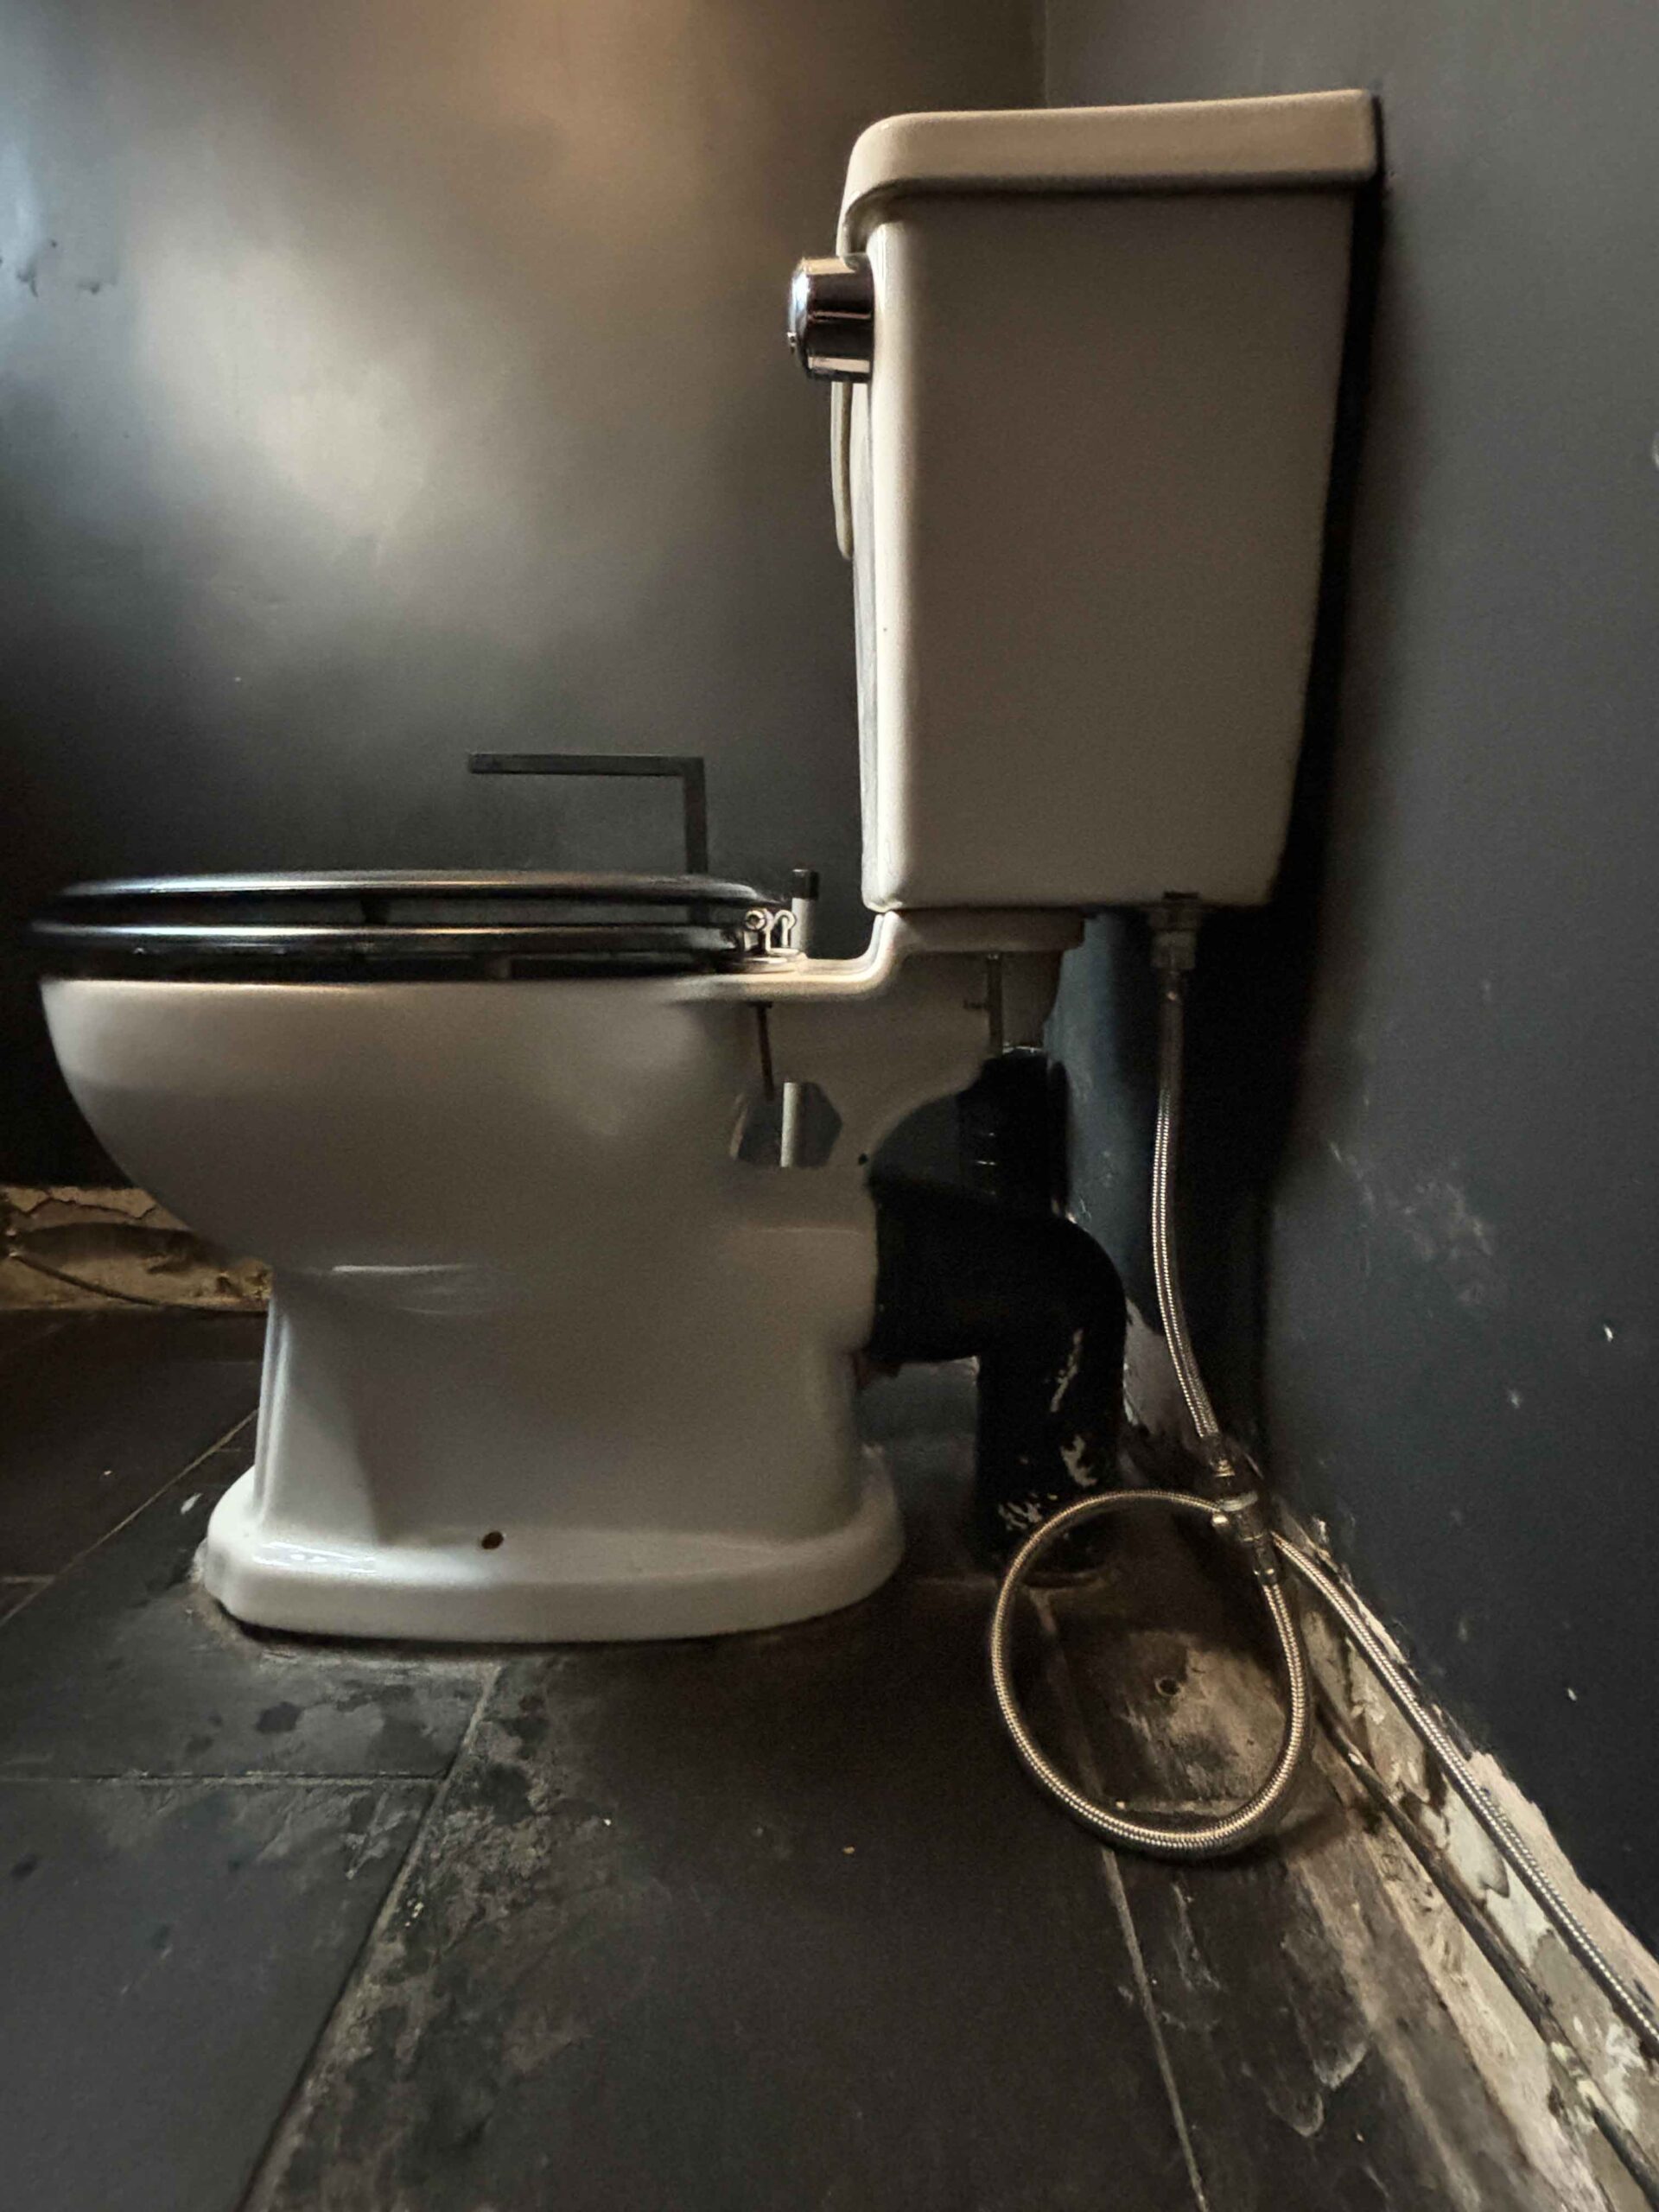
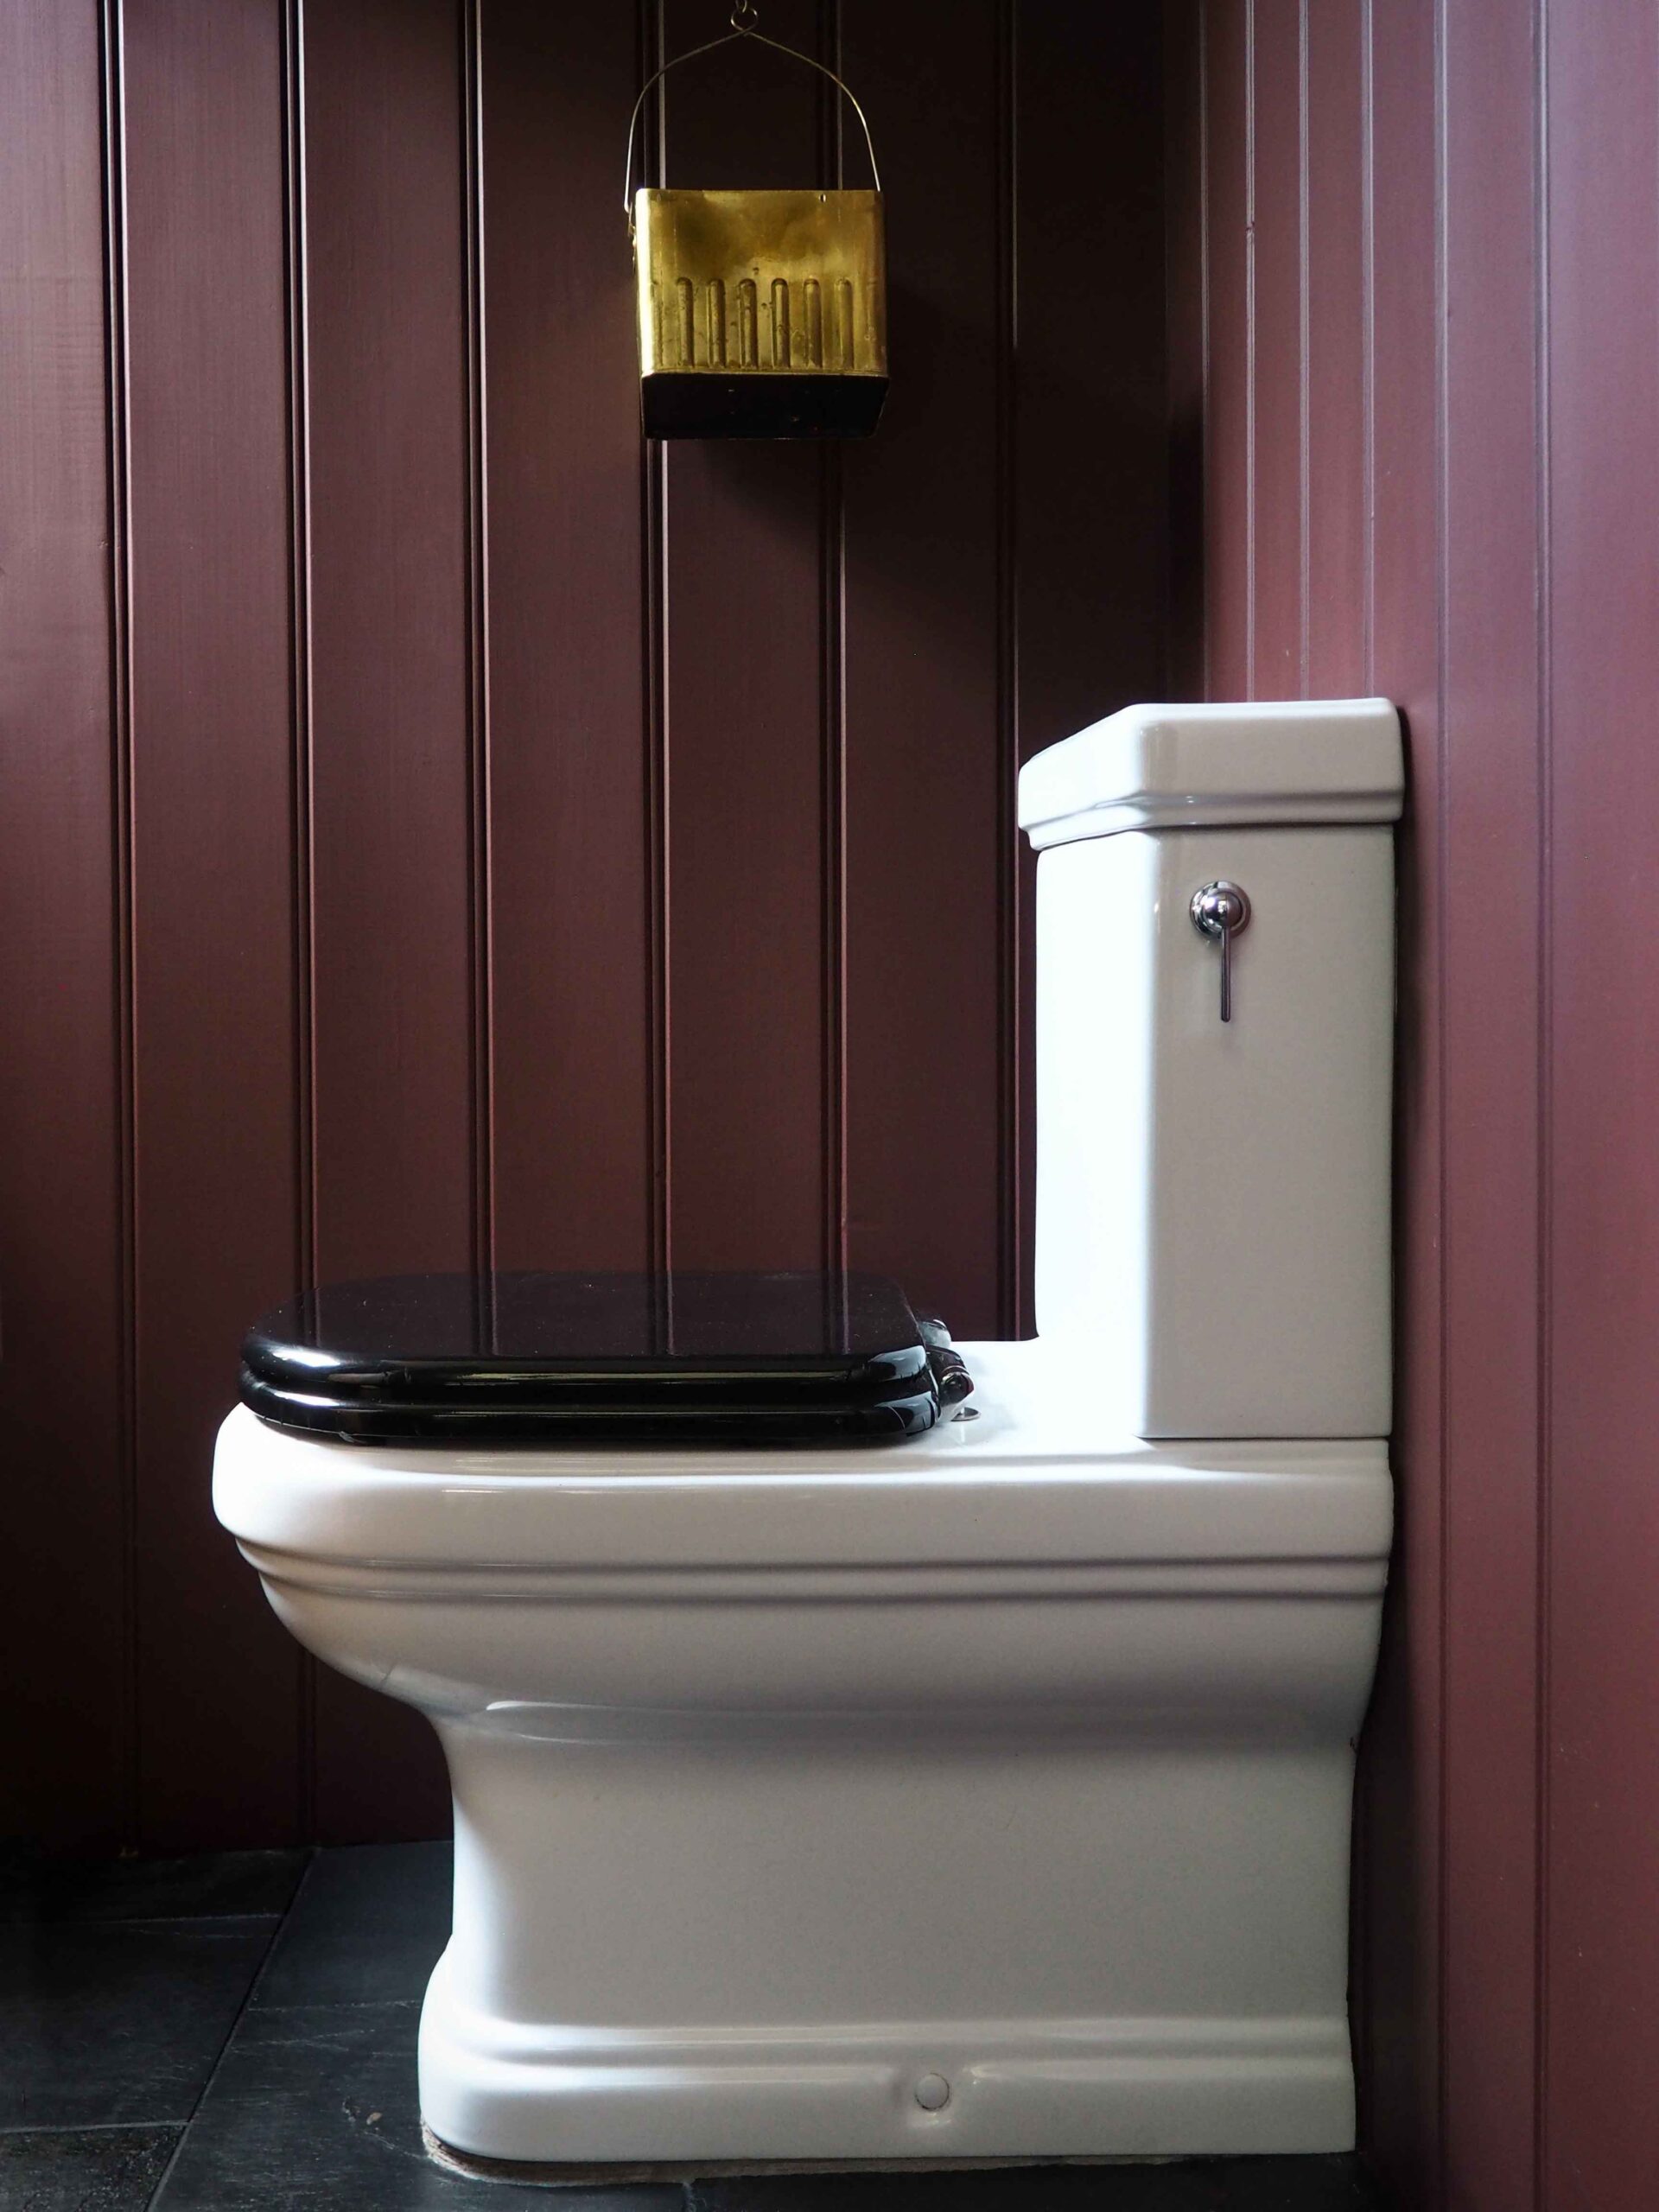
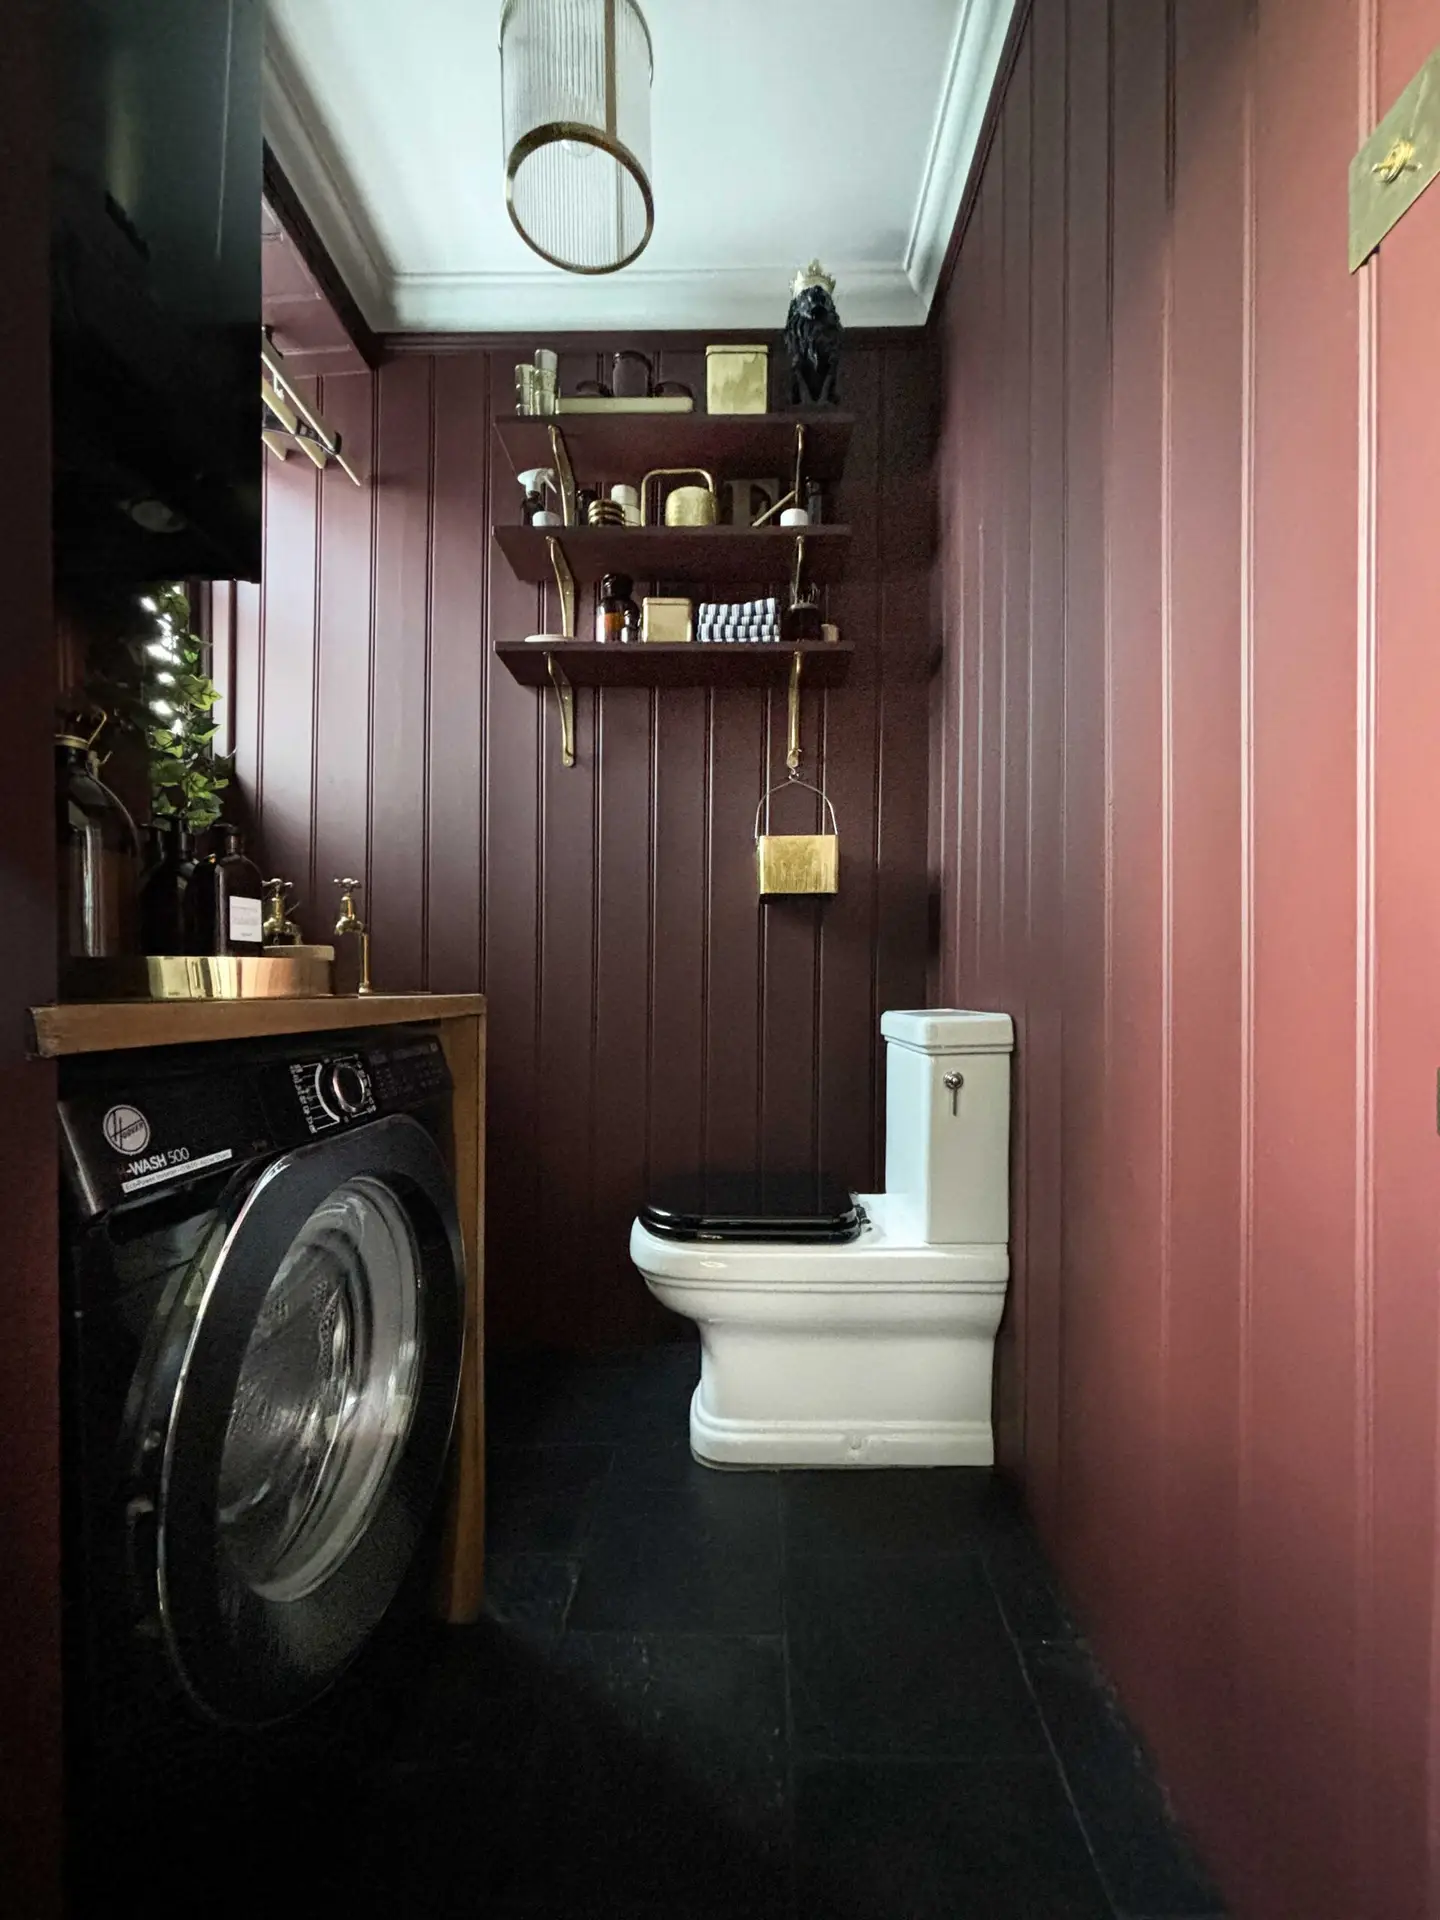
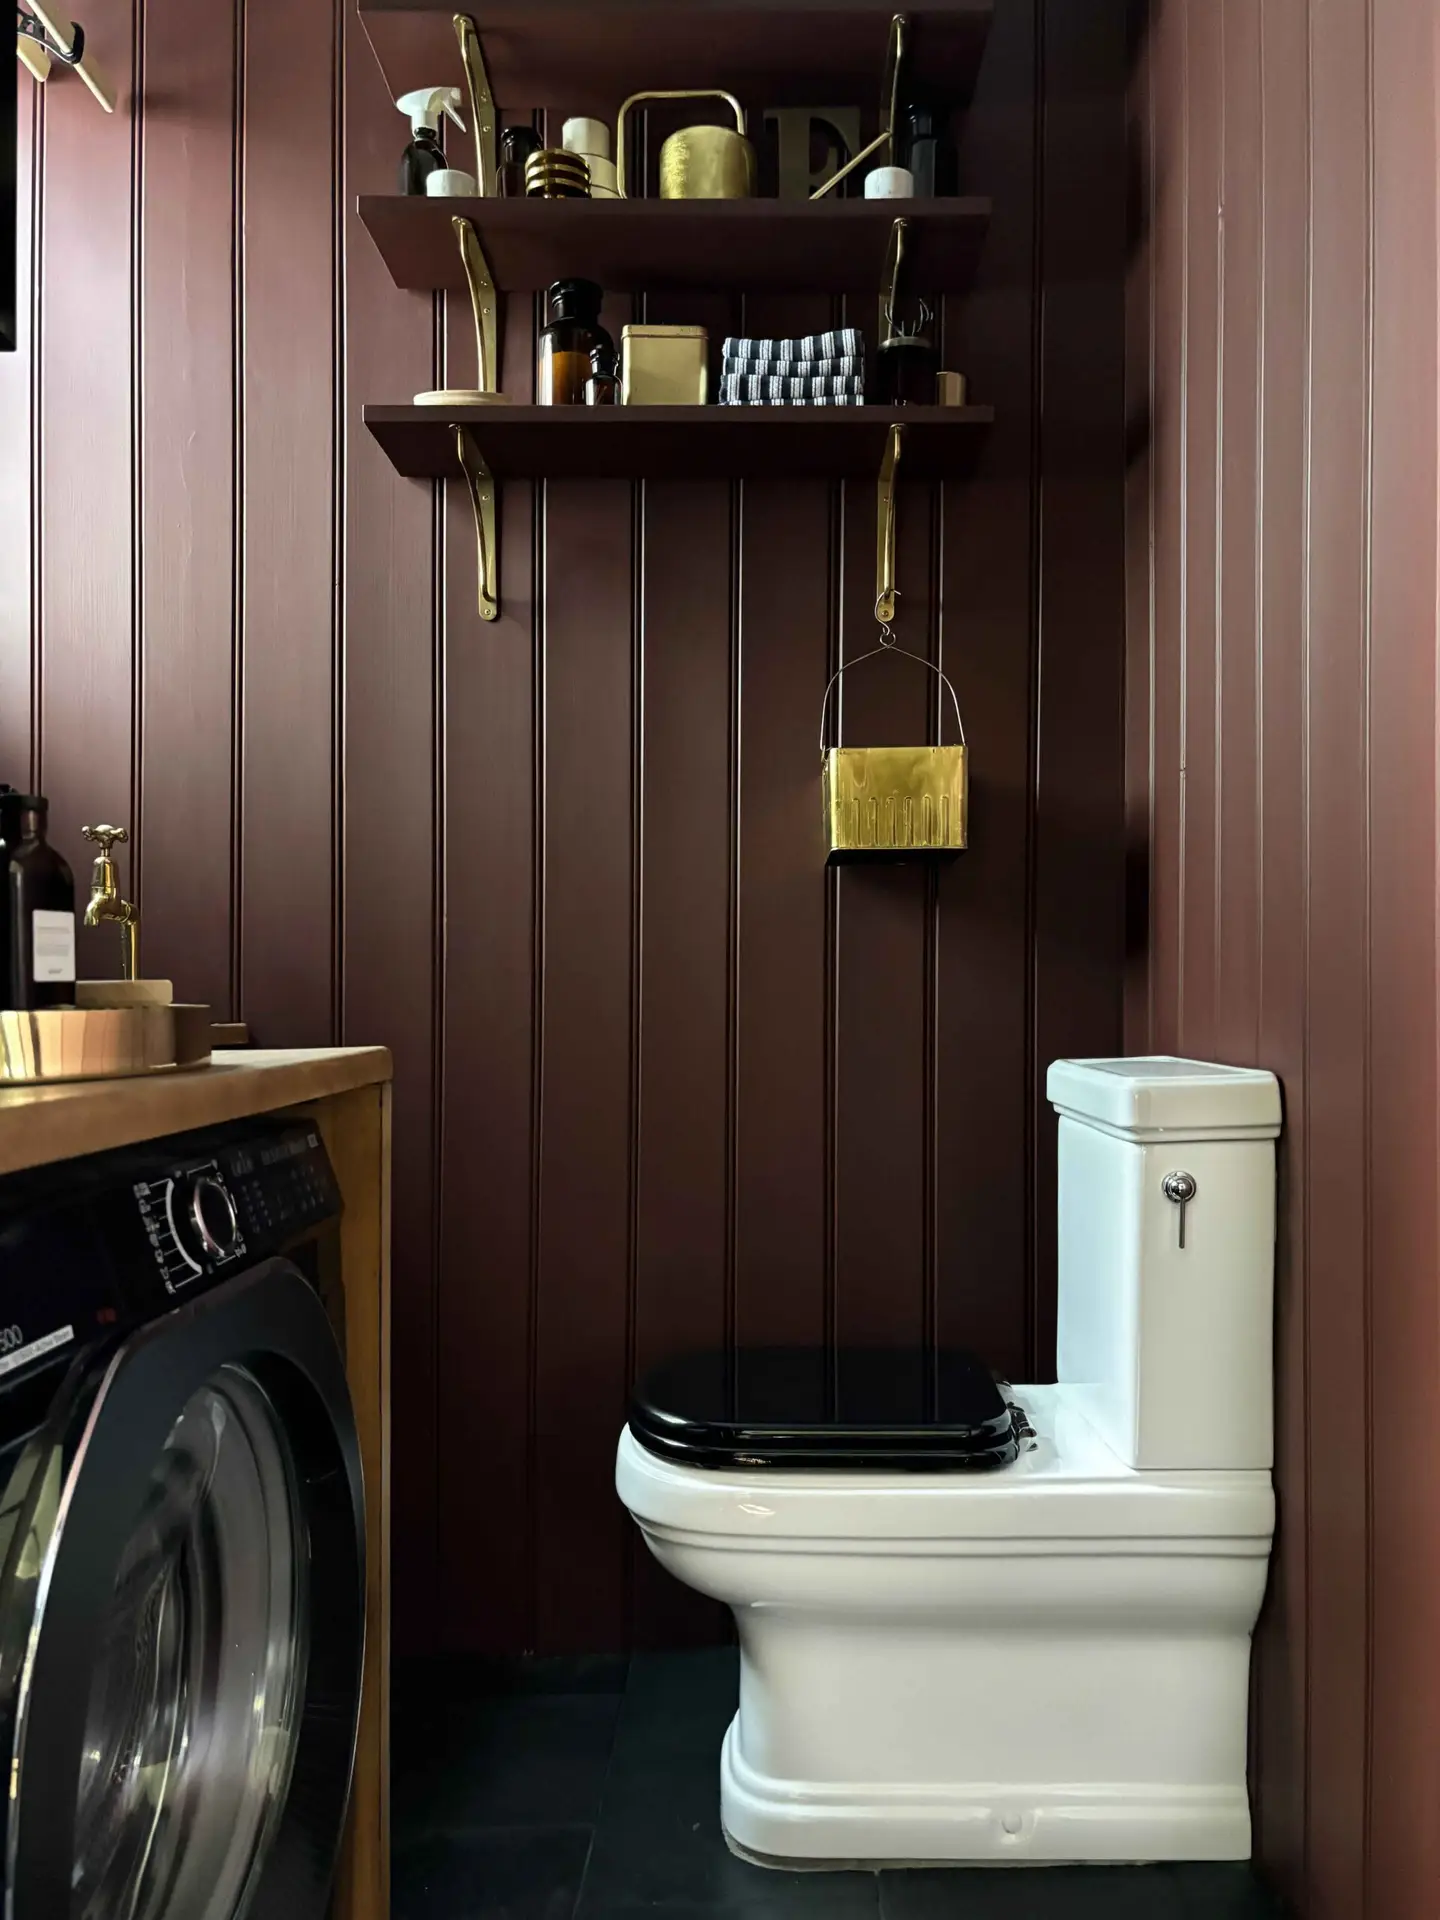
First up let’s give the new loo a round of applause. The problem with having a loo that’s side on is well, you can see all the ugly pipe work. I would have loved to move it to the far wall but that just wasn’t possible. It would have involved digging up the floor in that room, under the wall and outside to the main drain! So instead I set about looking for an alternative. I wanted a loo that was attractive from the side and that’s when I found this one the Riviera Back to Wall from Burlingtons. Not the cheapest, but beautiful quality, I managed to find one with damaged packaging on eBay for £180 instead of the RRP of £627. Bargain!!!

The Sink
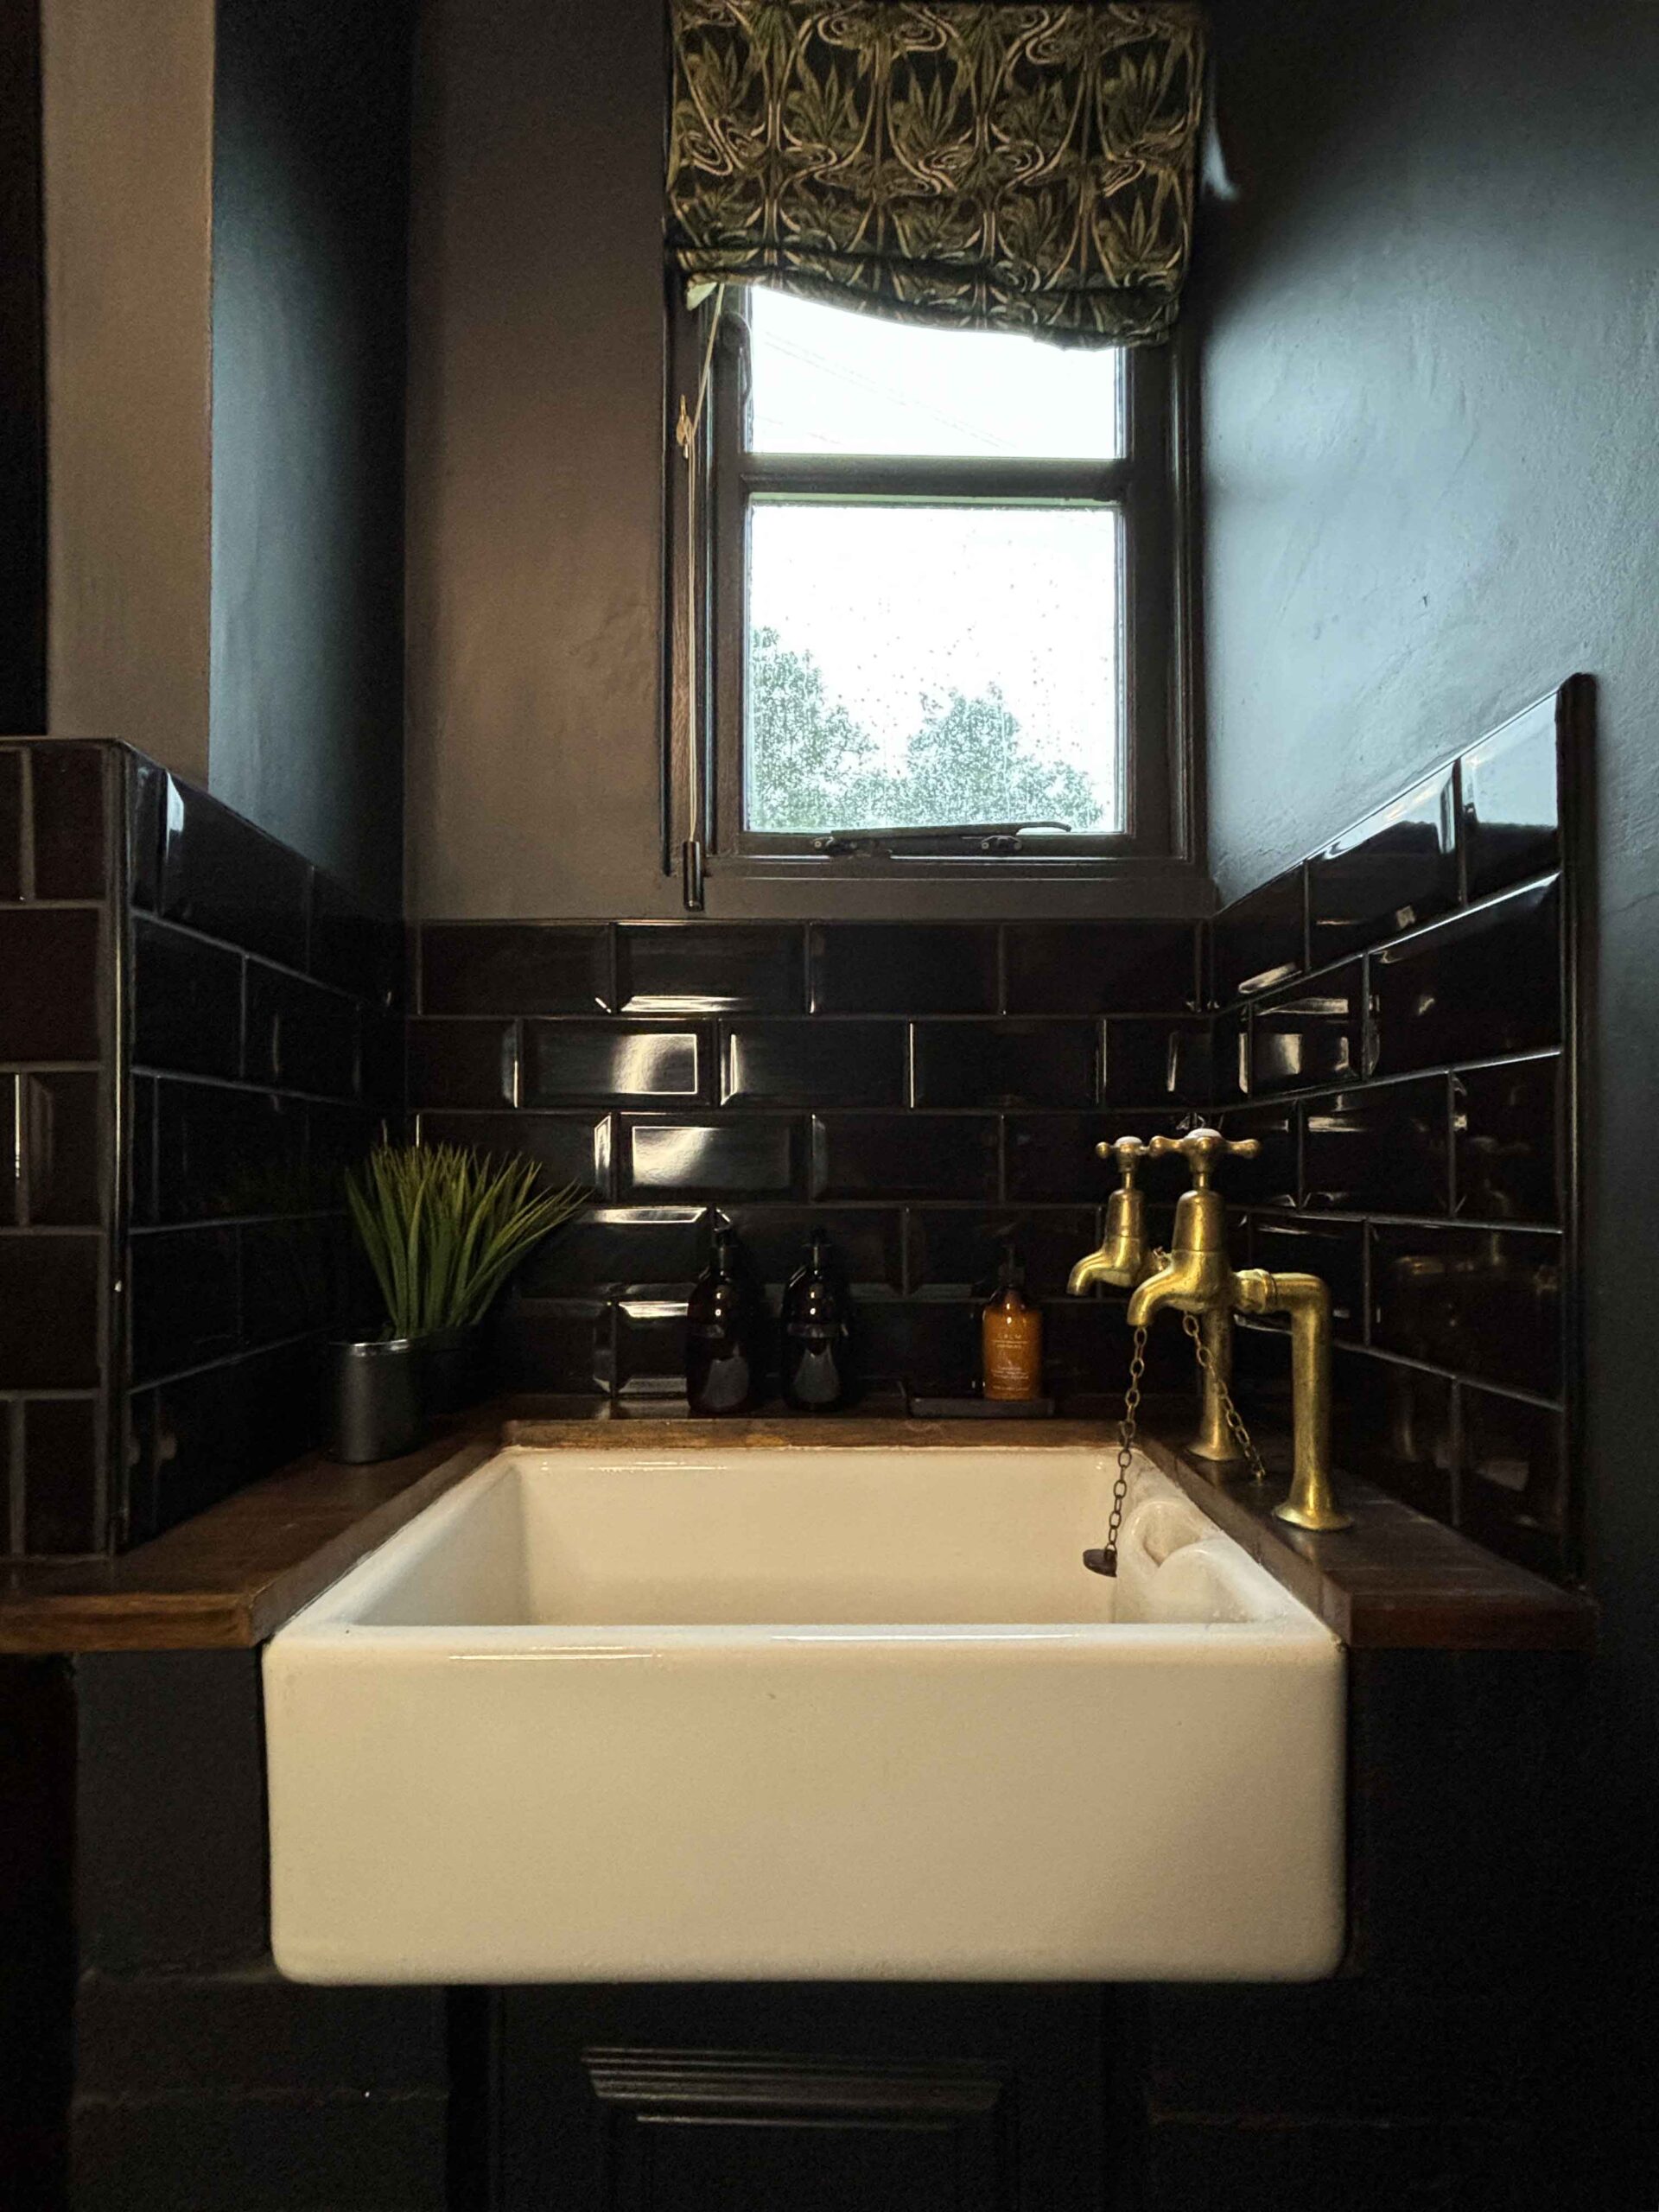
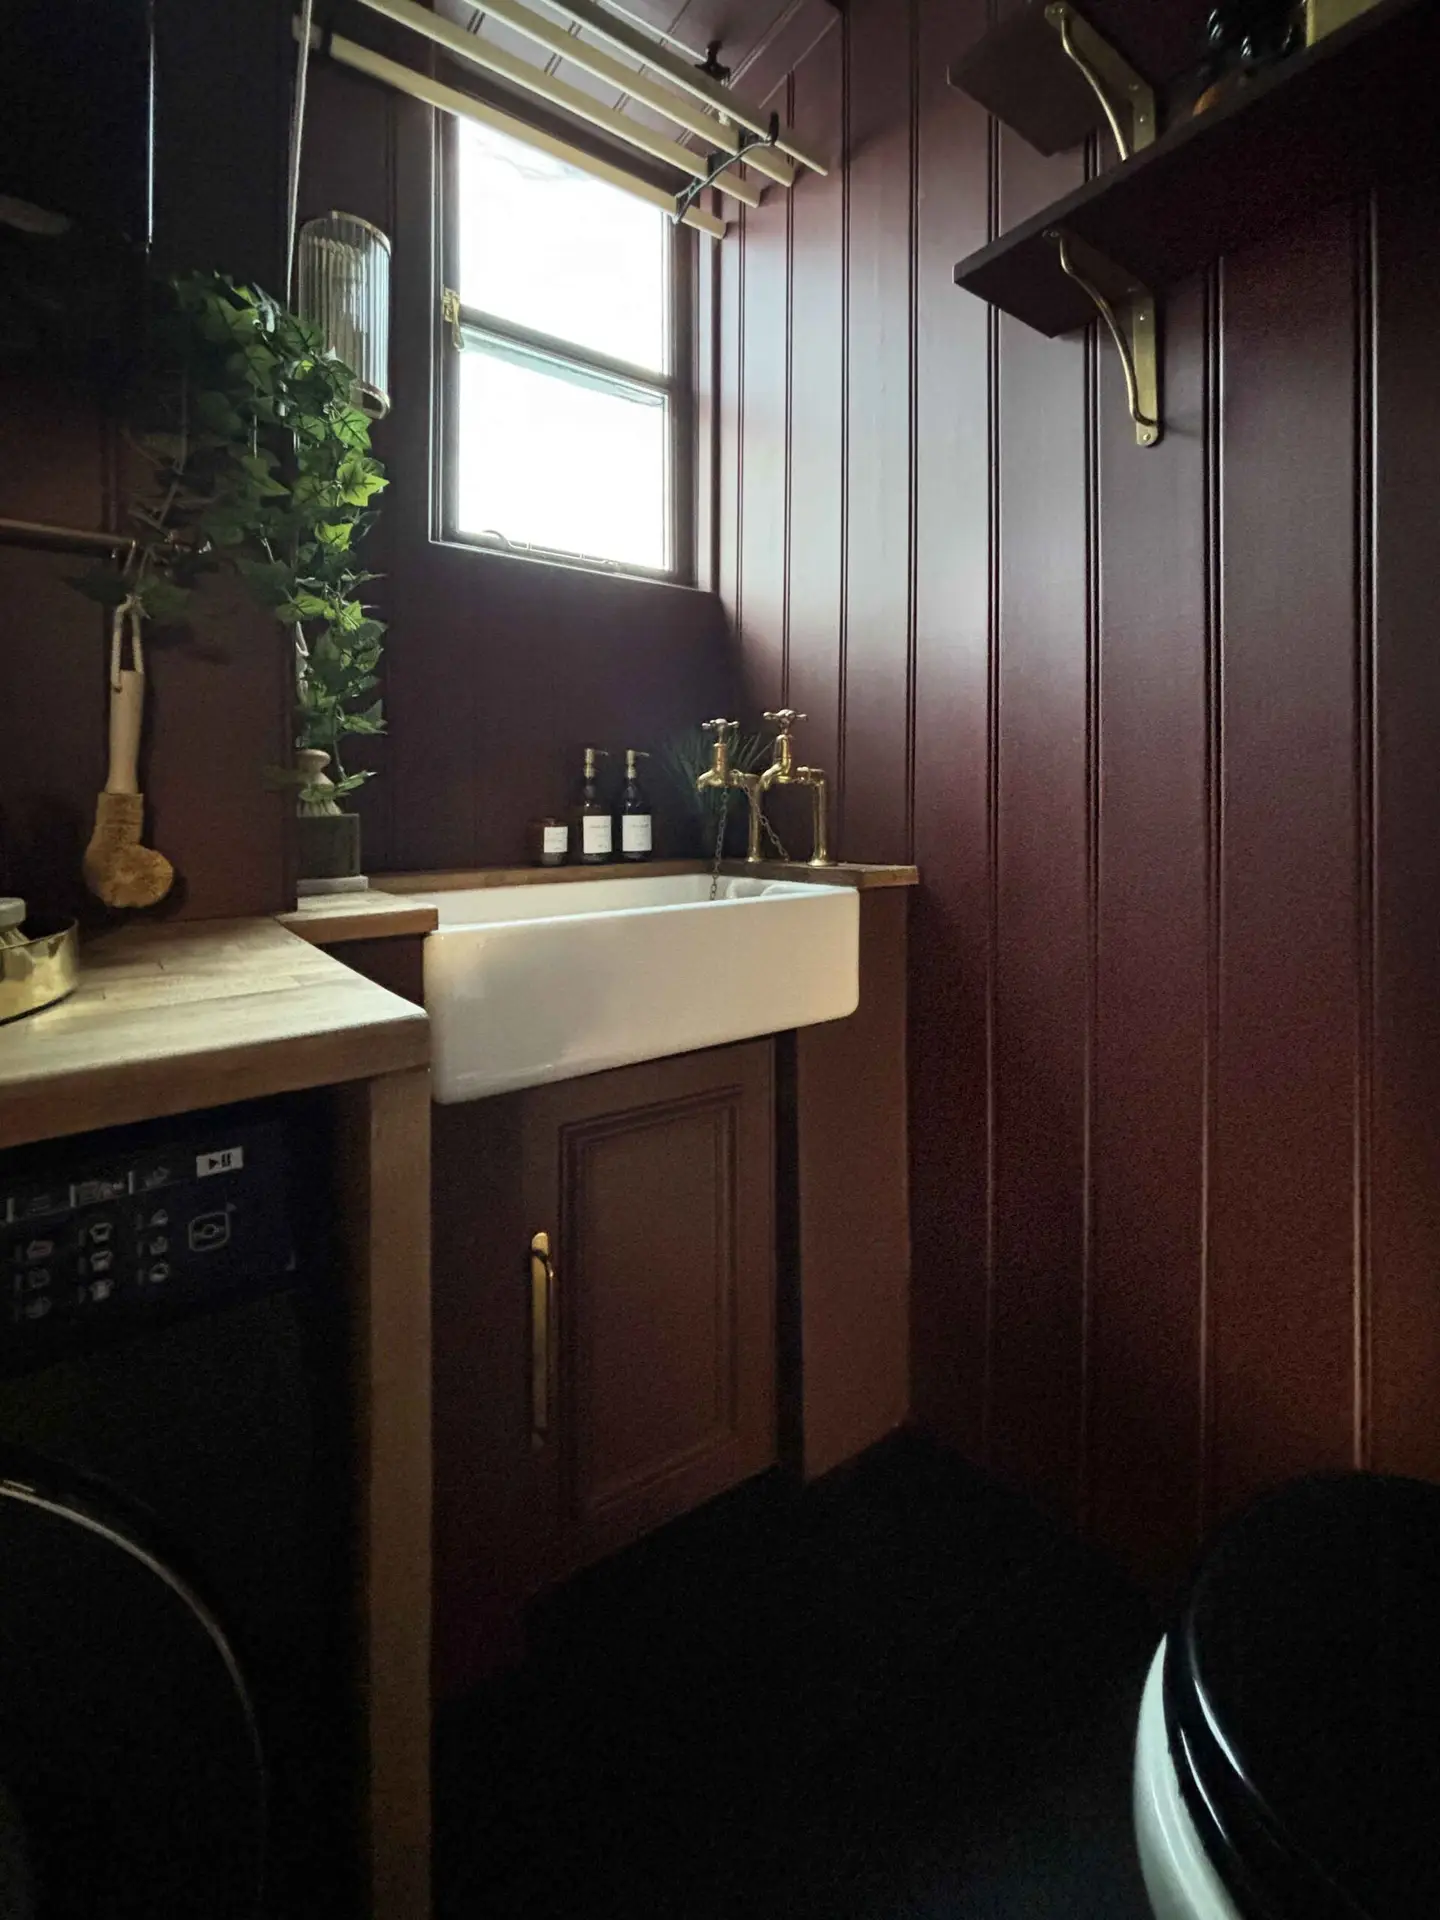
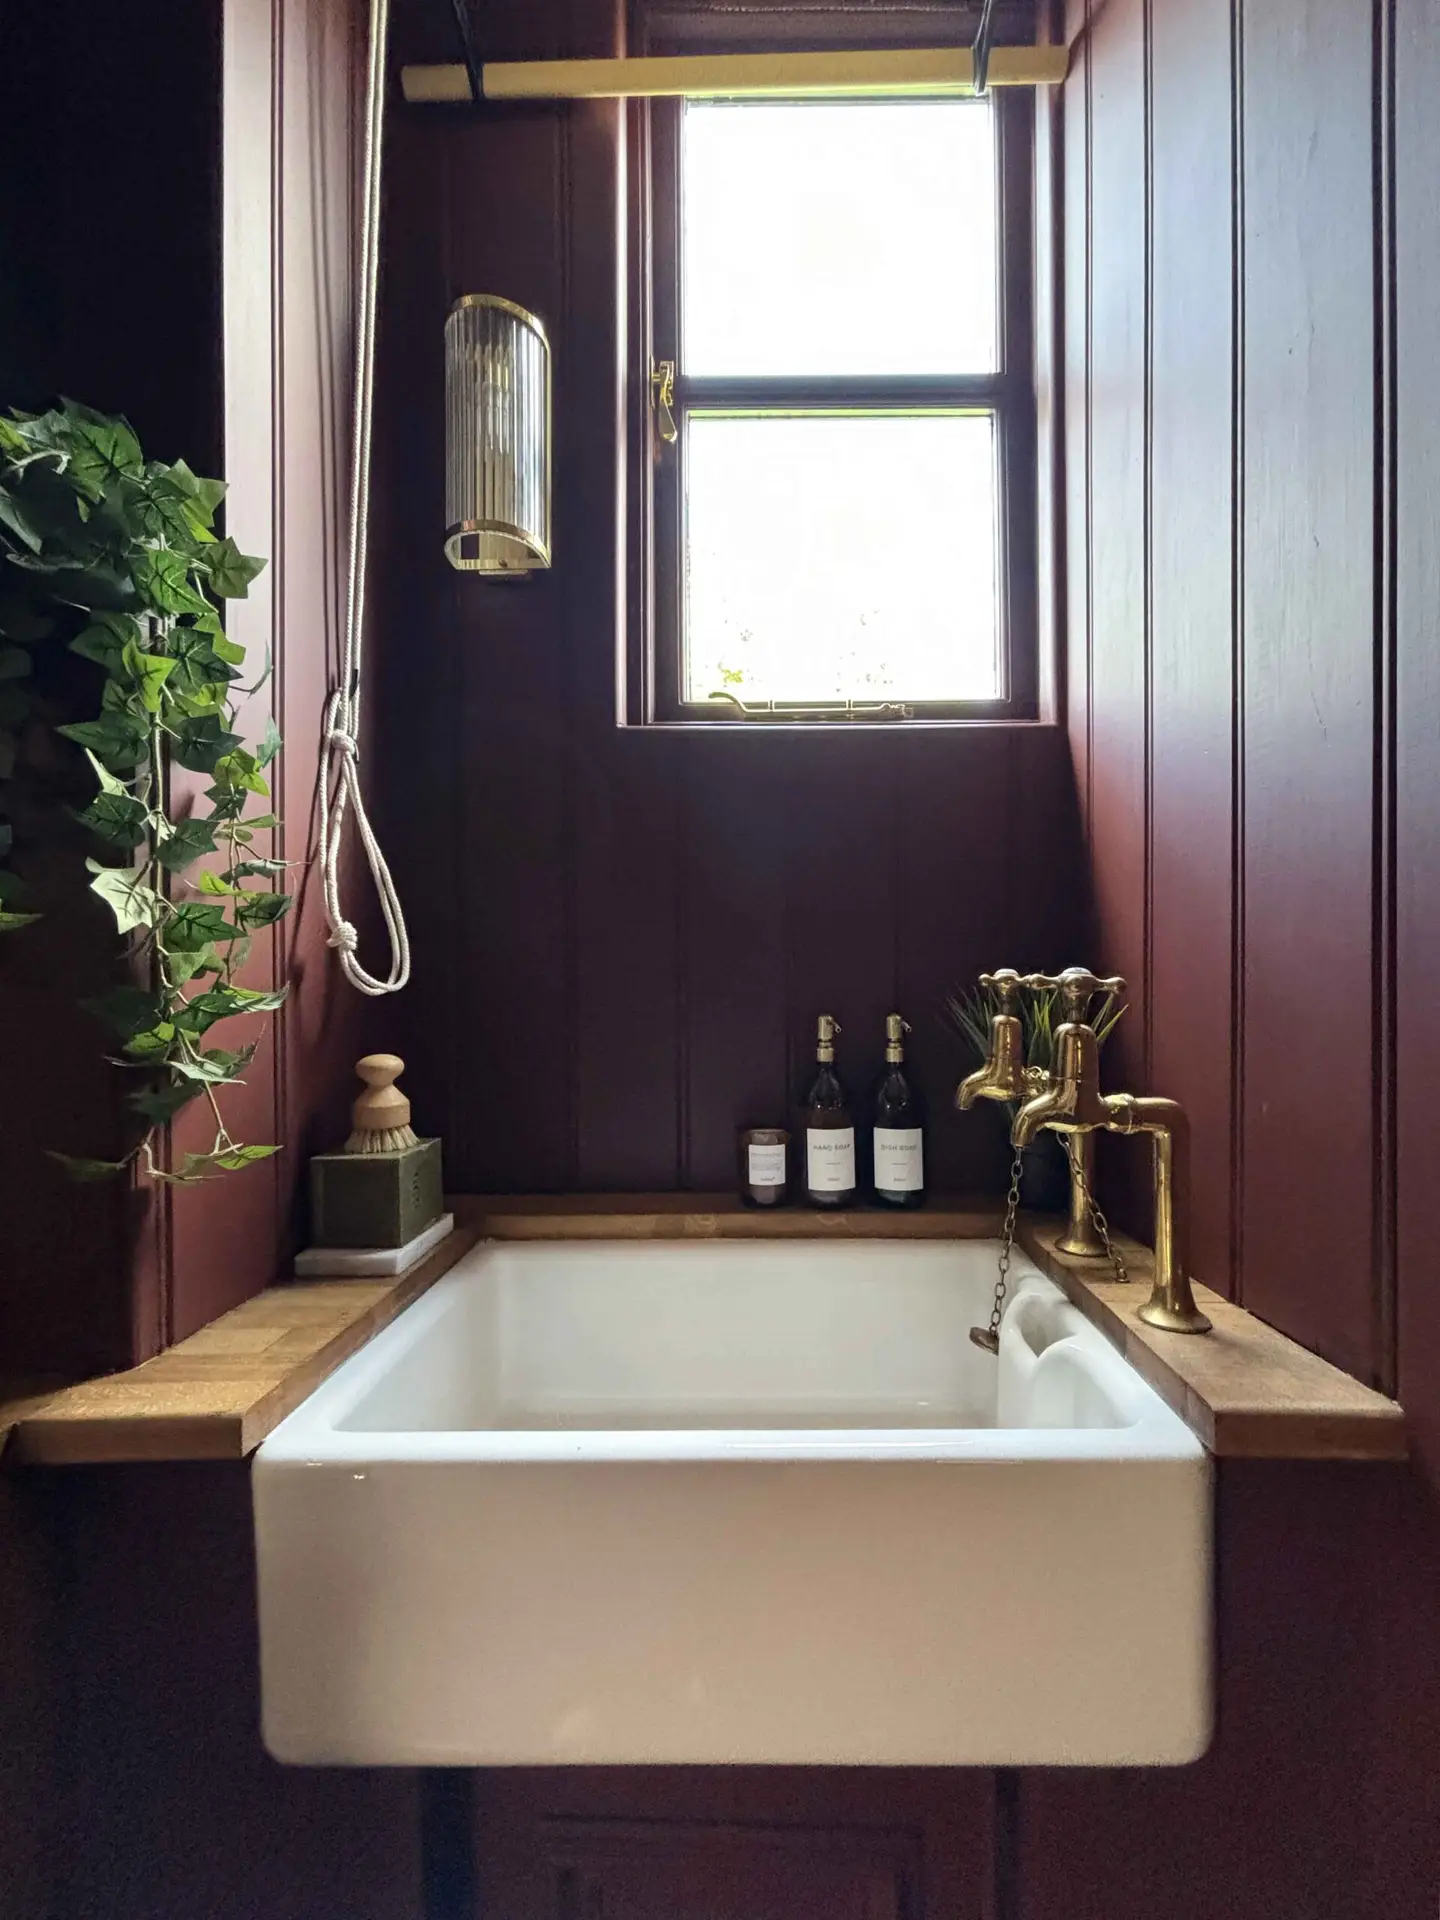
On to the sink area it is then! I still love my butlers sink and the wonderful antique brass taps I bought many years ago from a reclamation yard. So they’re staying. The worktop was tired though, so that was fully sanded down and given several coats of Rust-Oleum’s dark finishing wax. I wasn’t however in love with the metro tiles any longer! My love affair was at an end and they just had to go.
The Tiles
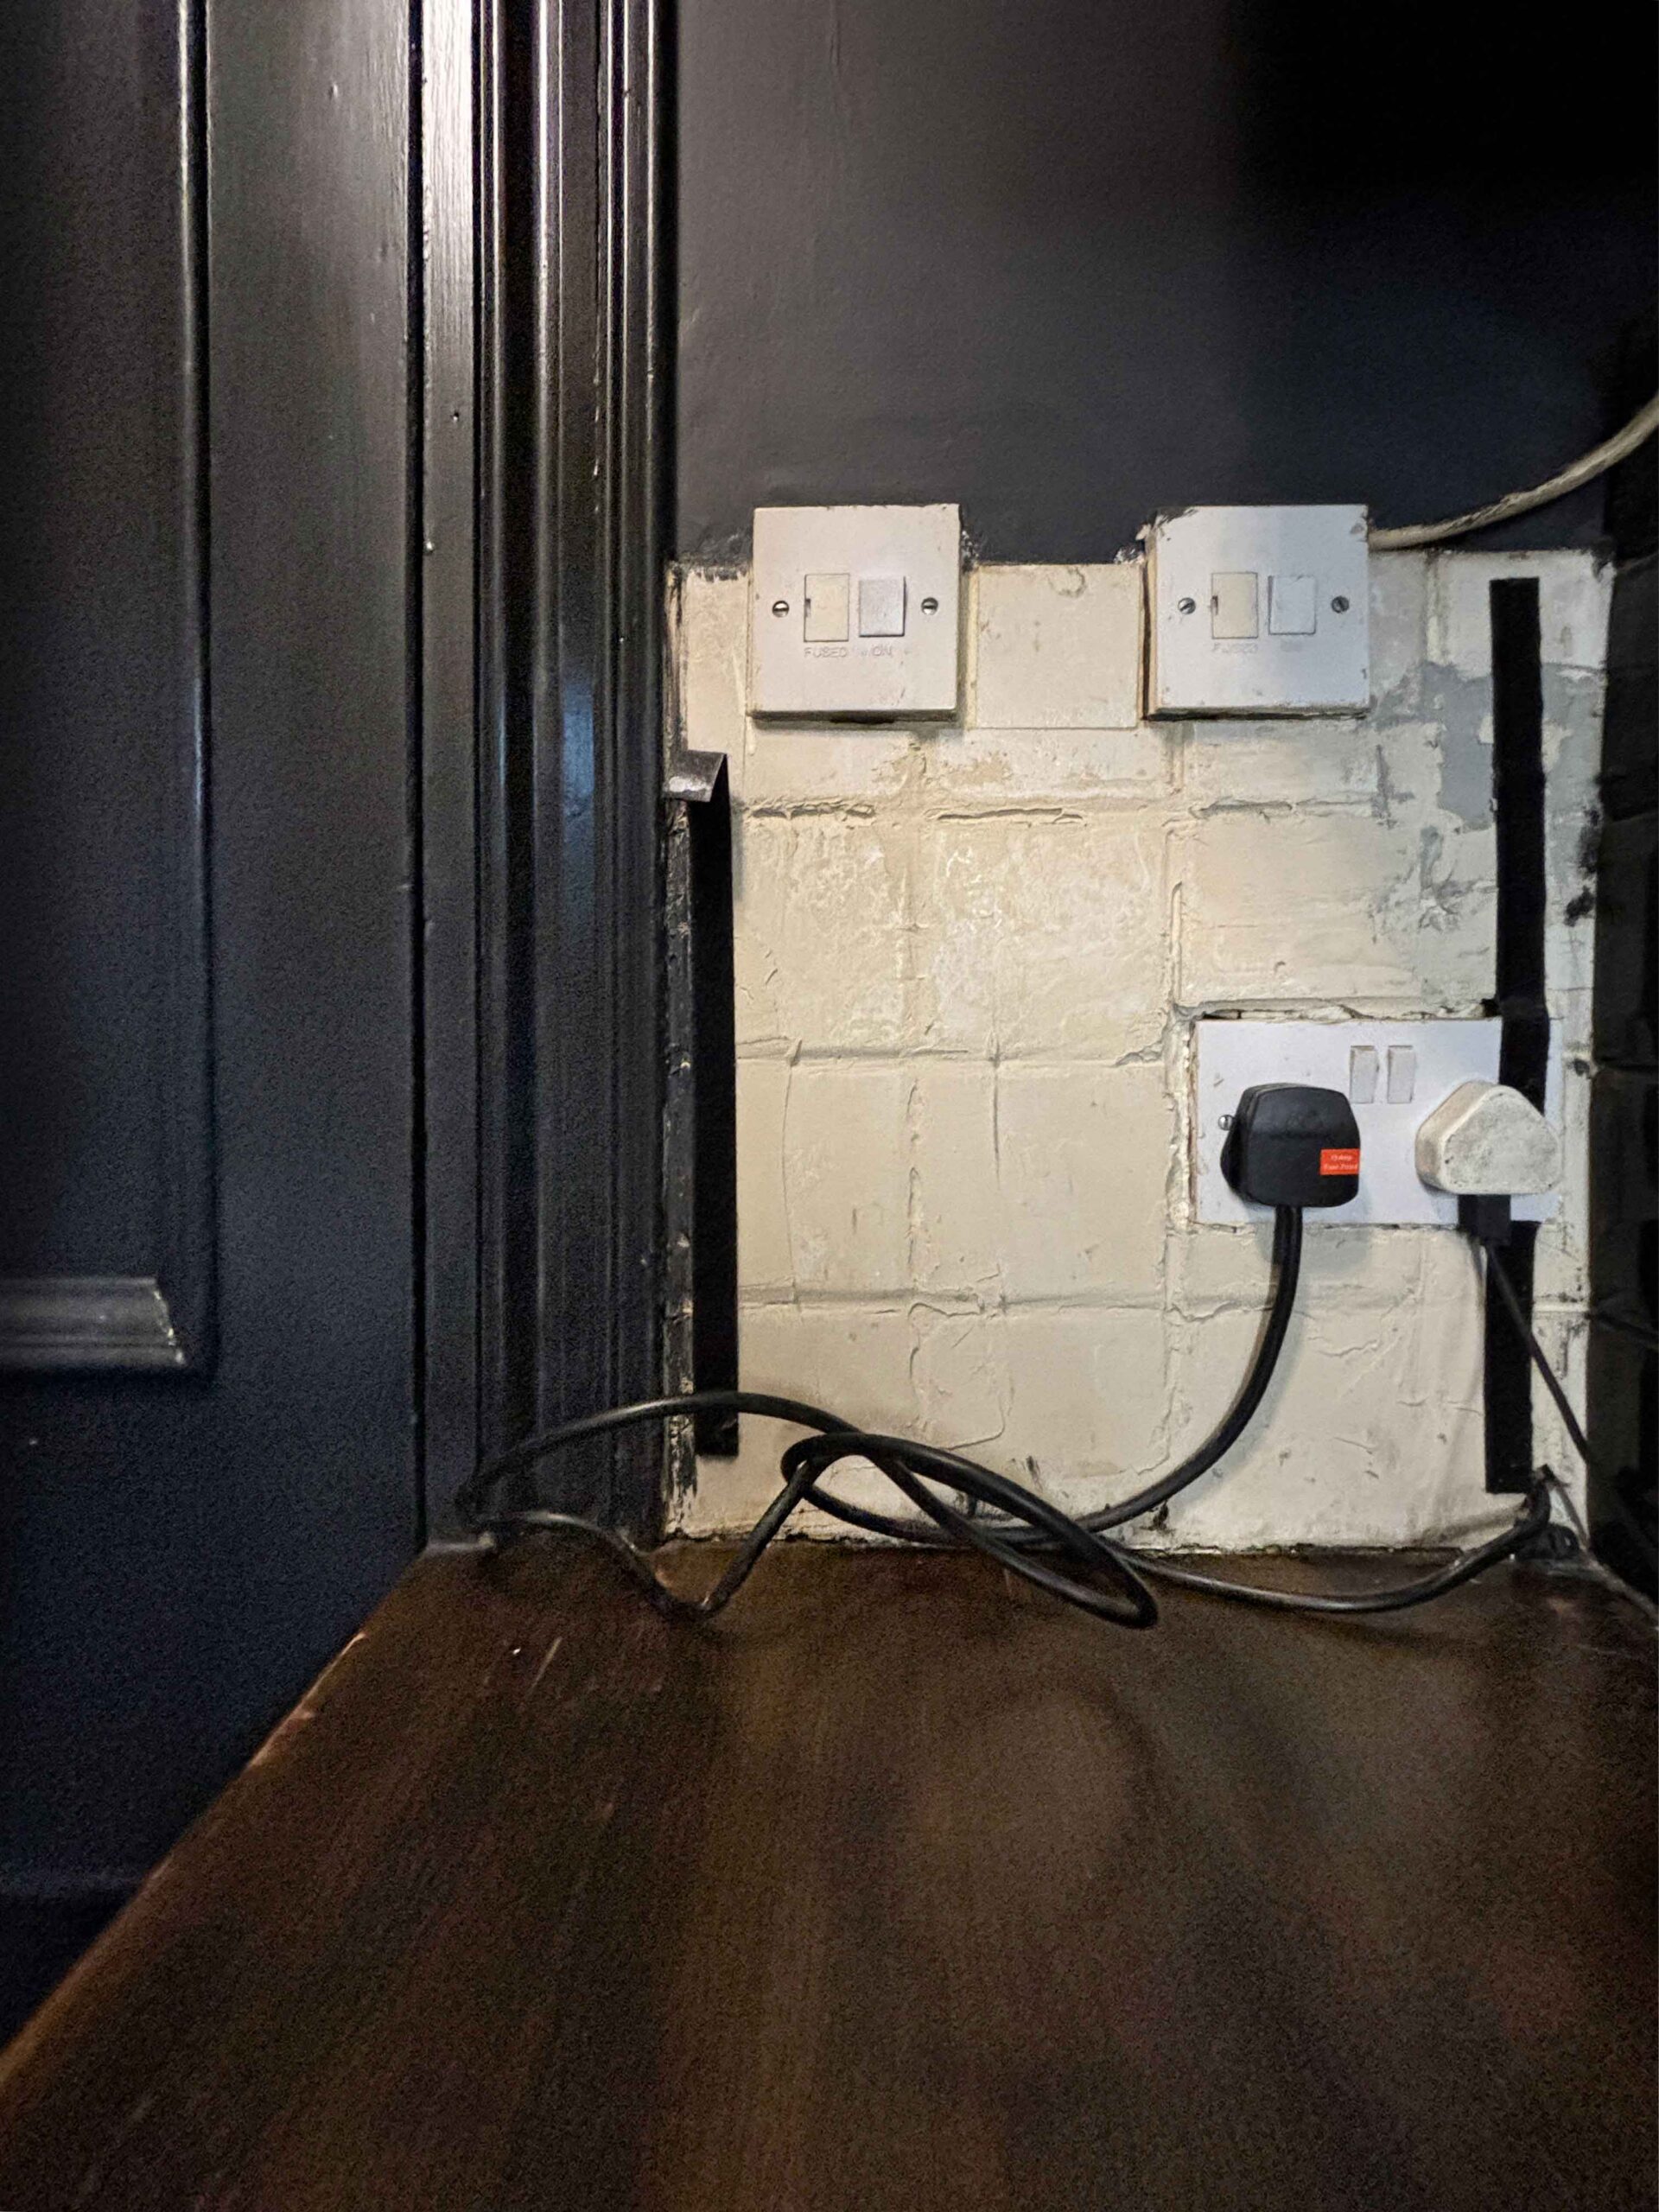
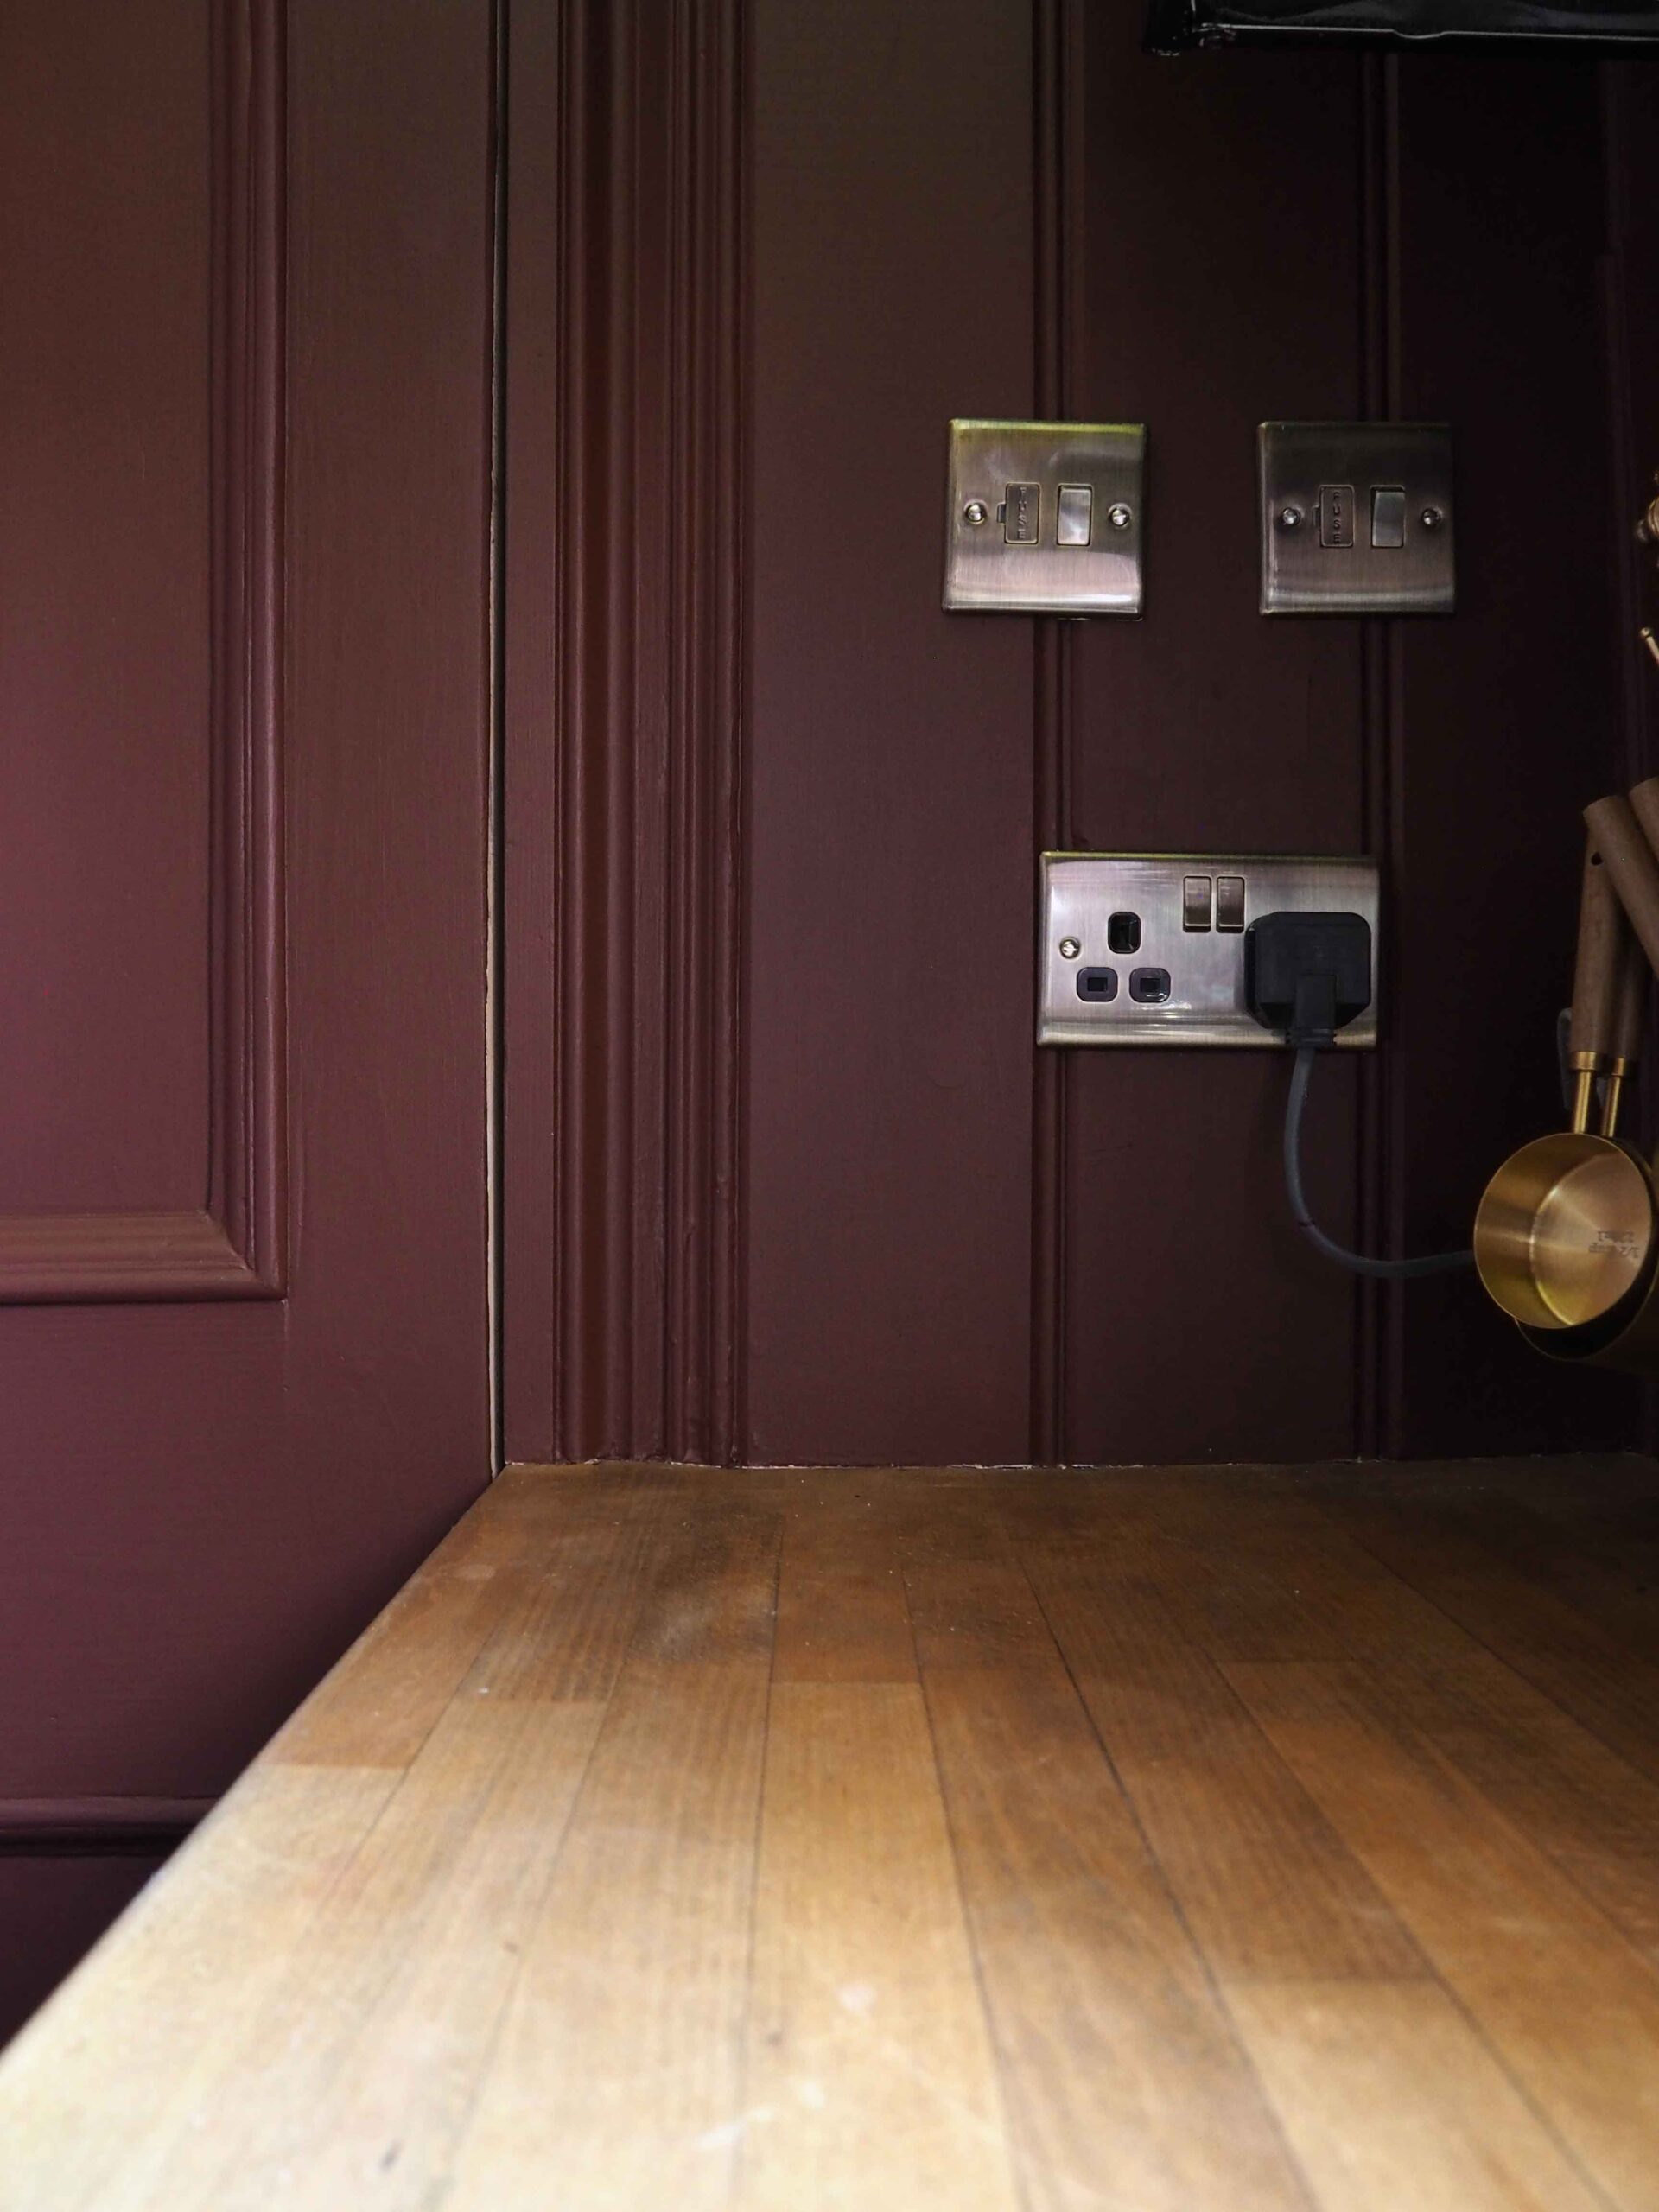
Worse than the metro tiles was this botched area by the door. The tiles were AWFUL! And I hadn’t been able to remove them when I replaced the others with the metro tiles. Instead I’d made a box section and tiled that with the black tiles and then velcro’d (is that even a word) the box section over the tiles. It also served the purpose of hiding the hideous plug sockets. This time though I’ve done it properly and removed the tiles. The new sockets though are cheapy’s as a stop gap. I’m saving up to buy some from Corston! These were only £25.97 in total. The panelling was a massive save too. I bought it from Bradleys. Online I was quoted £739 but I was given a discount in store which brought it down to £428! So do try going to the trade counter!
The Lighting
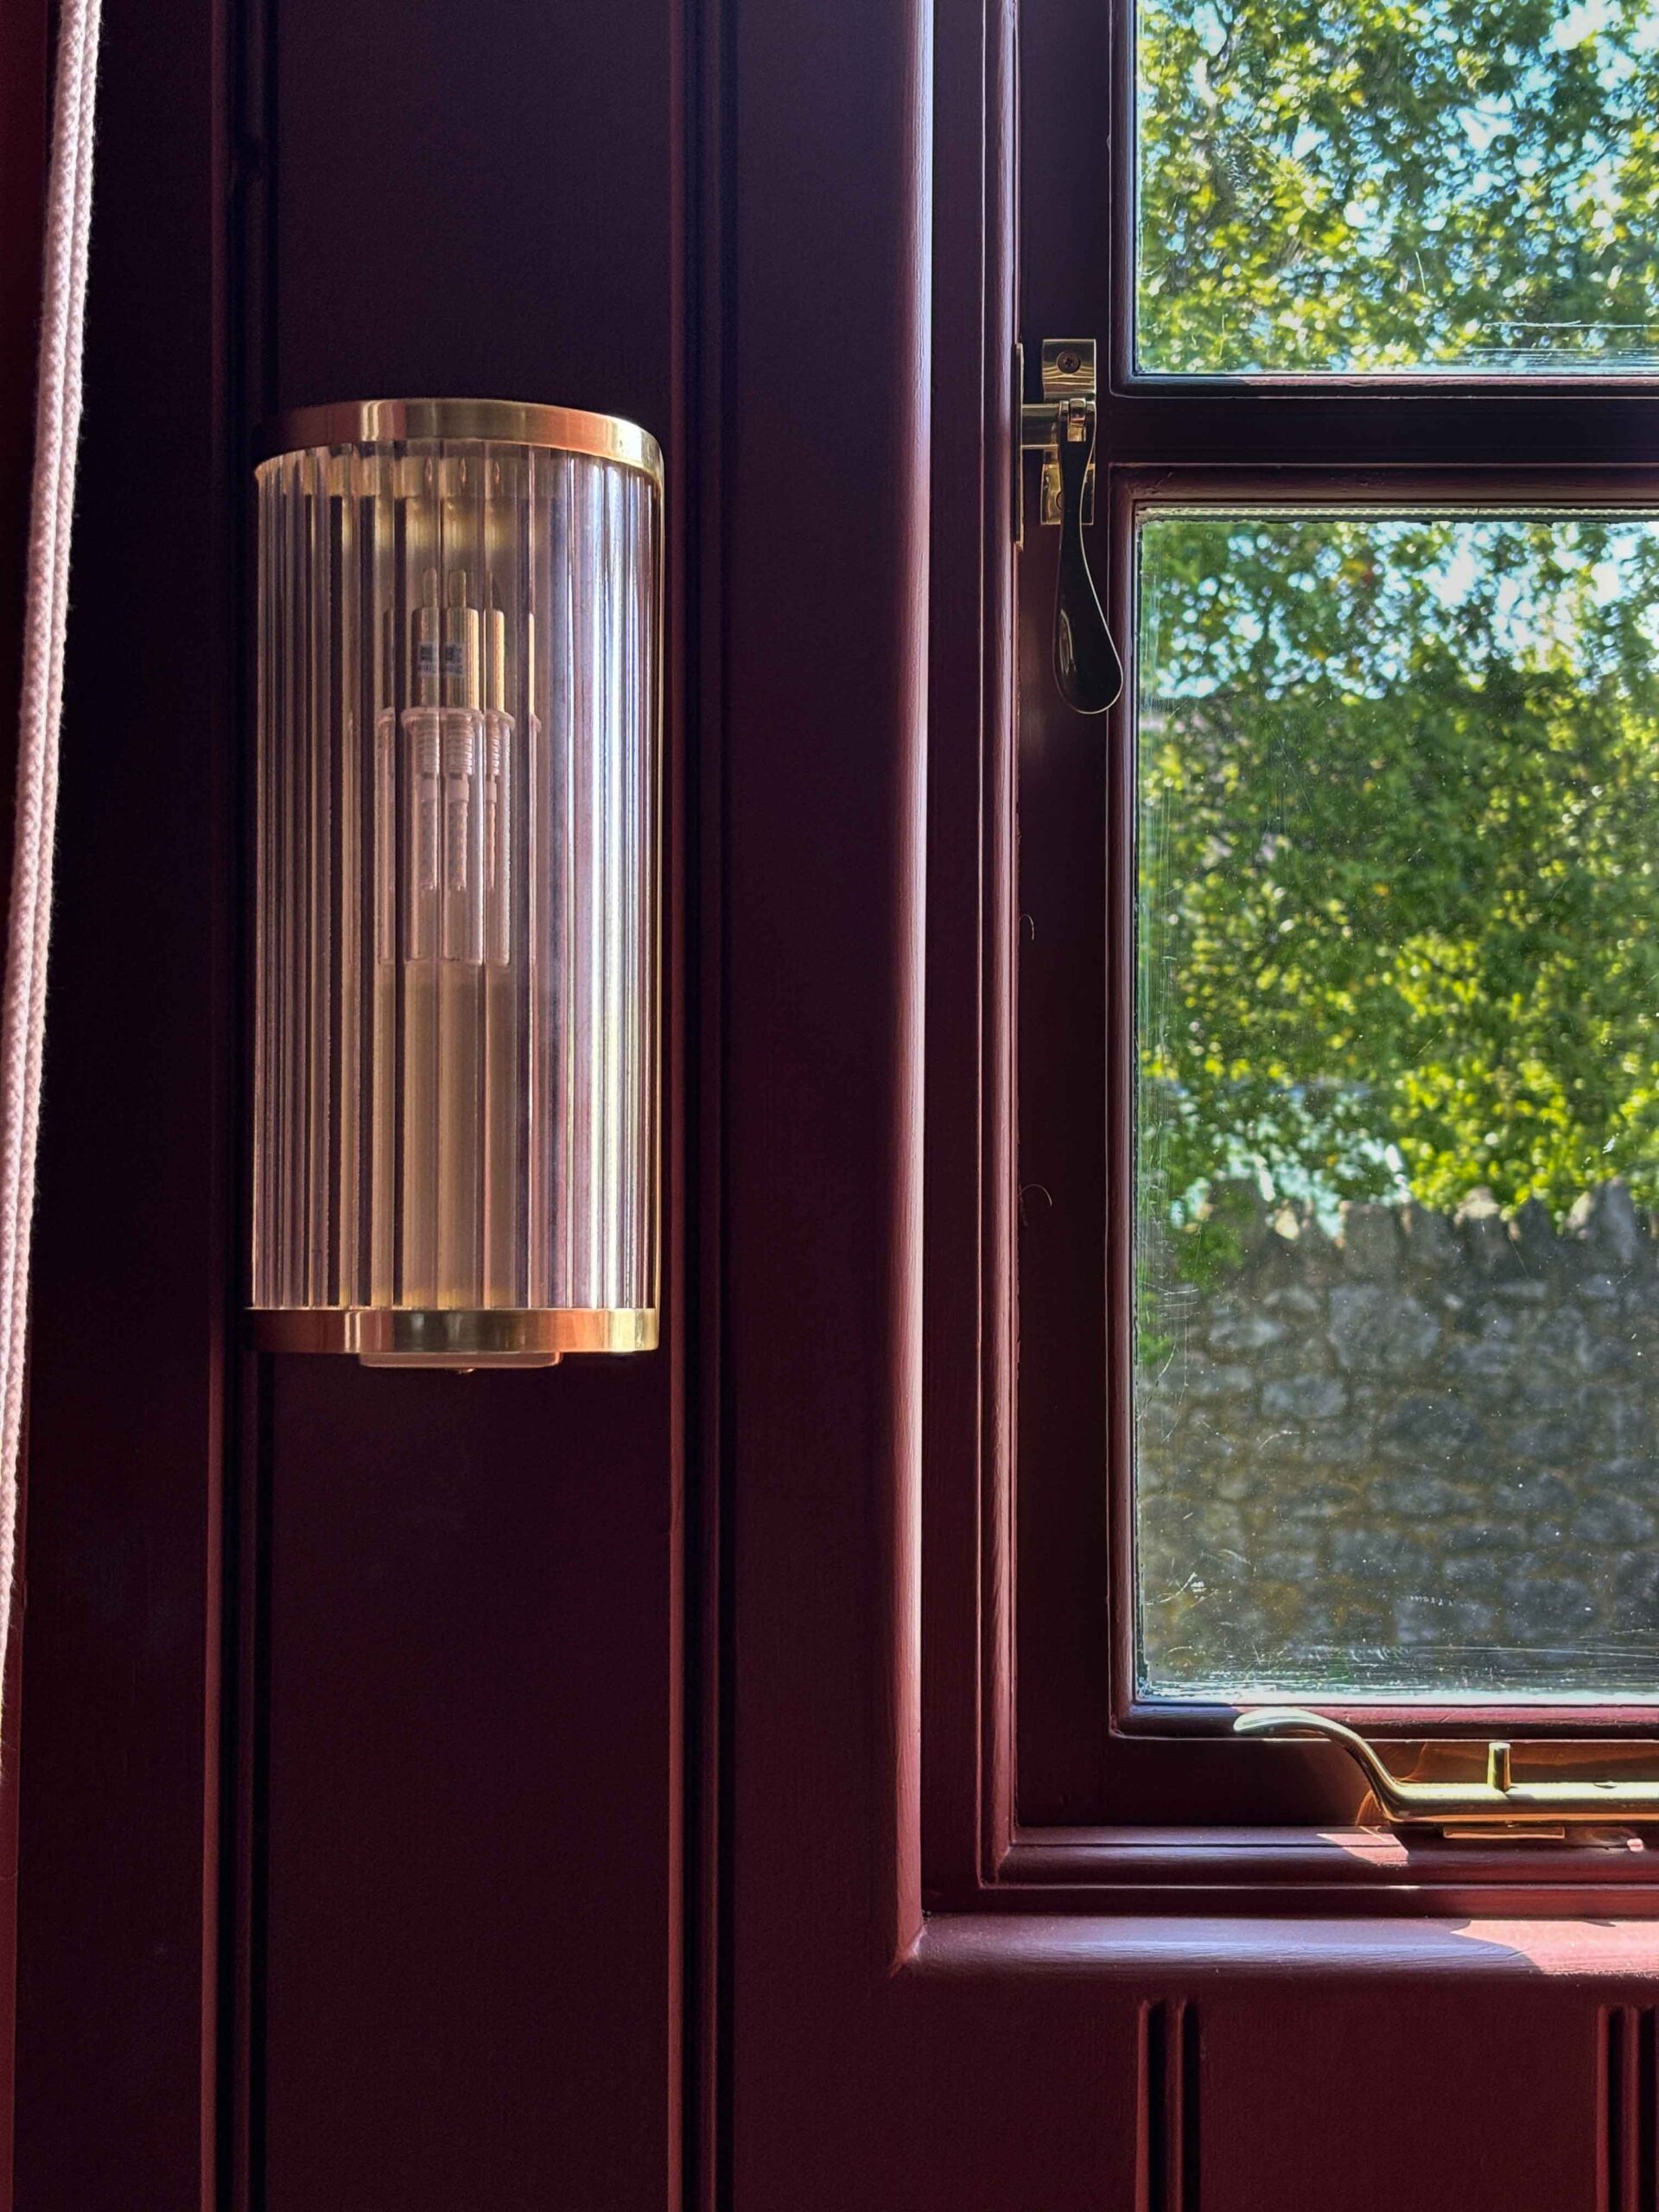
Now I absolutely fell in love with Lighting from Pooky! I had my heart set on the Baby Roddy Wall Light And the Artemis Chandelier but at £112 and £395 respectively I needed to find dupes! And it was good old M&S that came to the rescue. Their matching Monroe Wall Light and ceiling light came in it at £59 and £79. A massive £369 saving!
The Hardwear
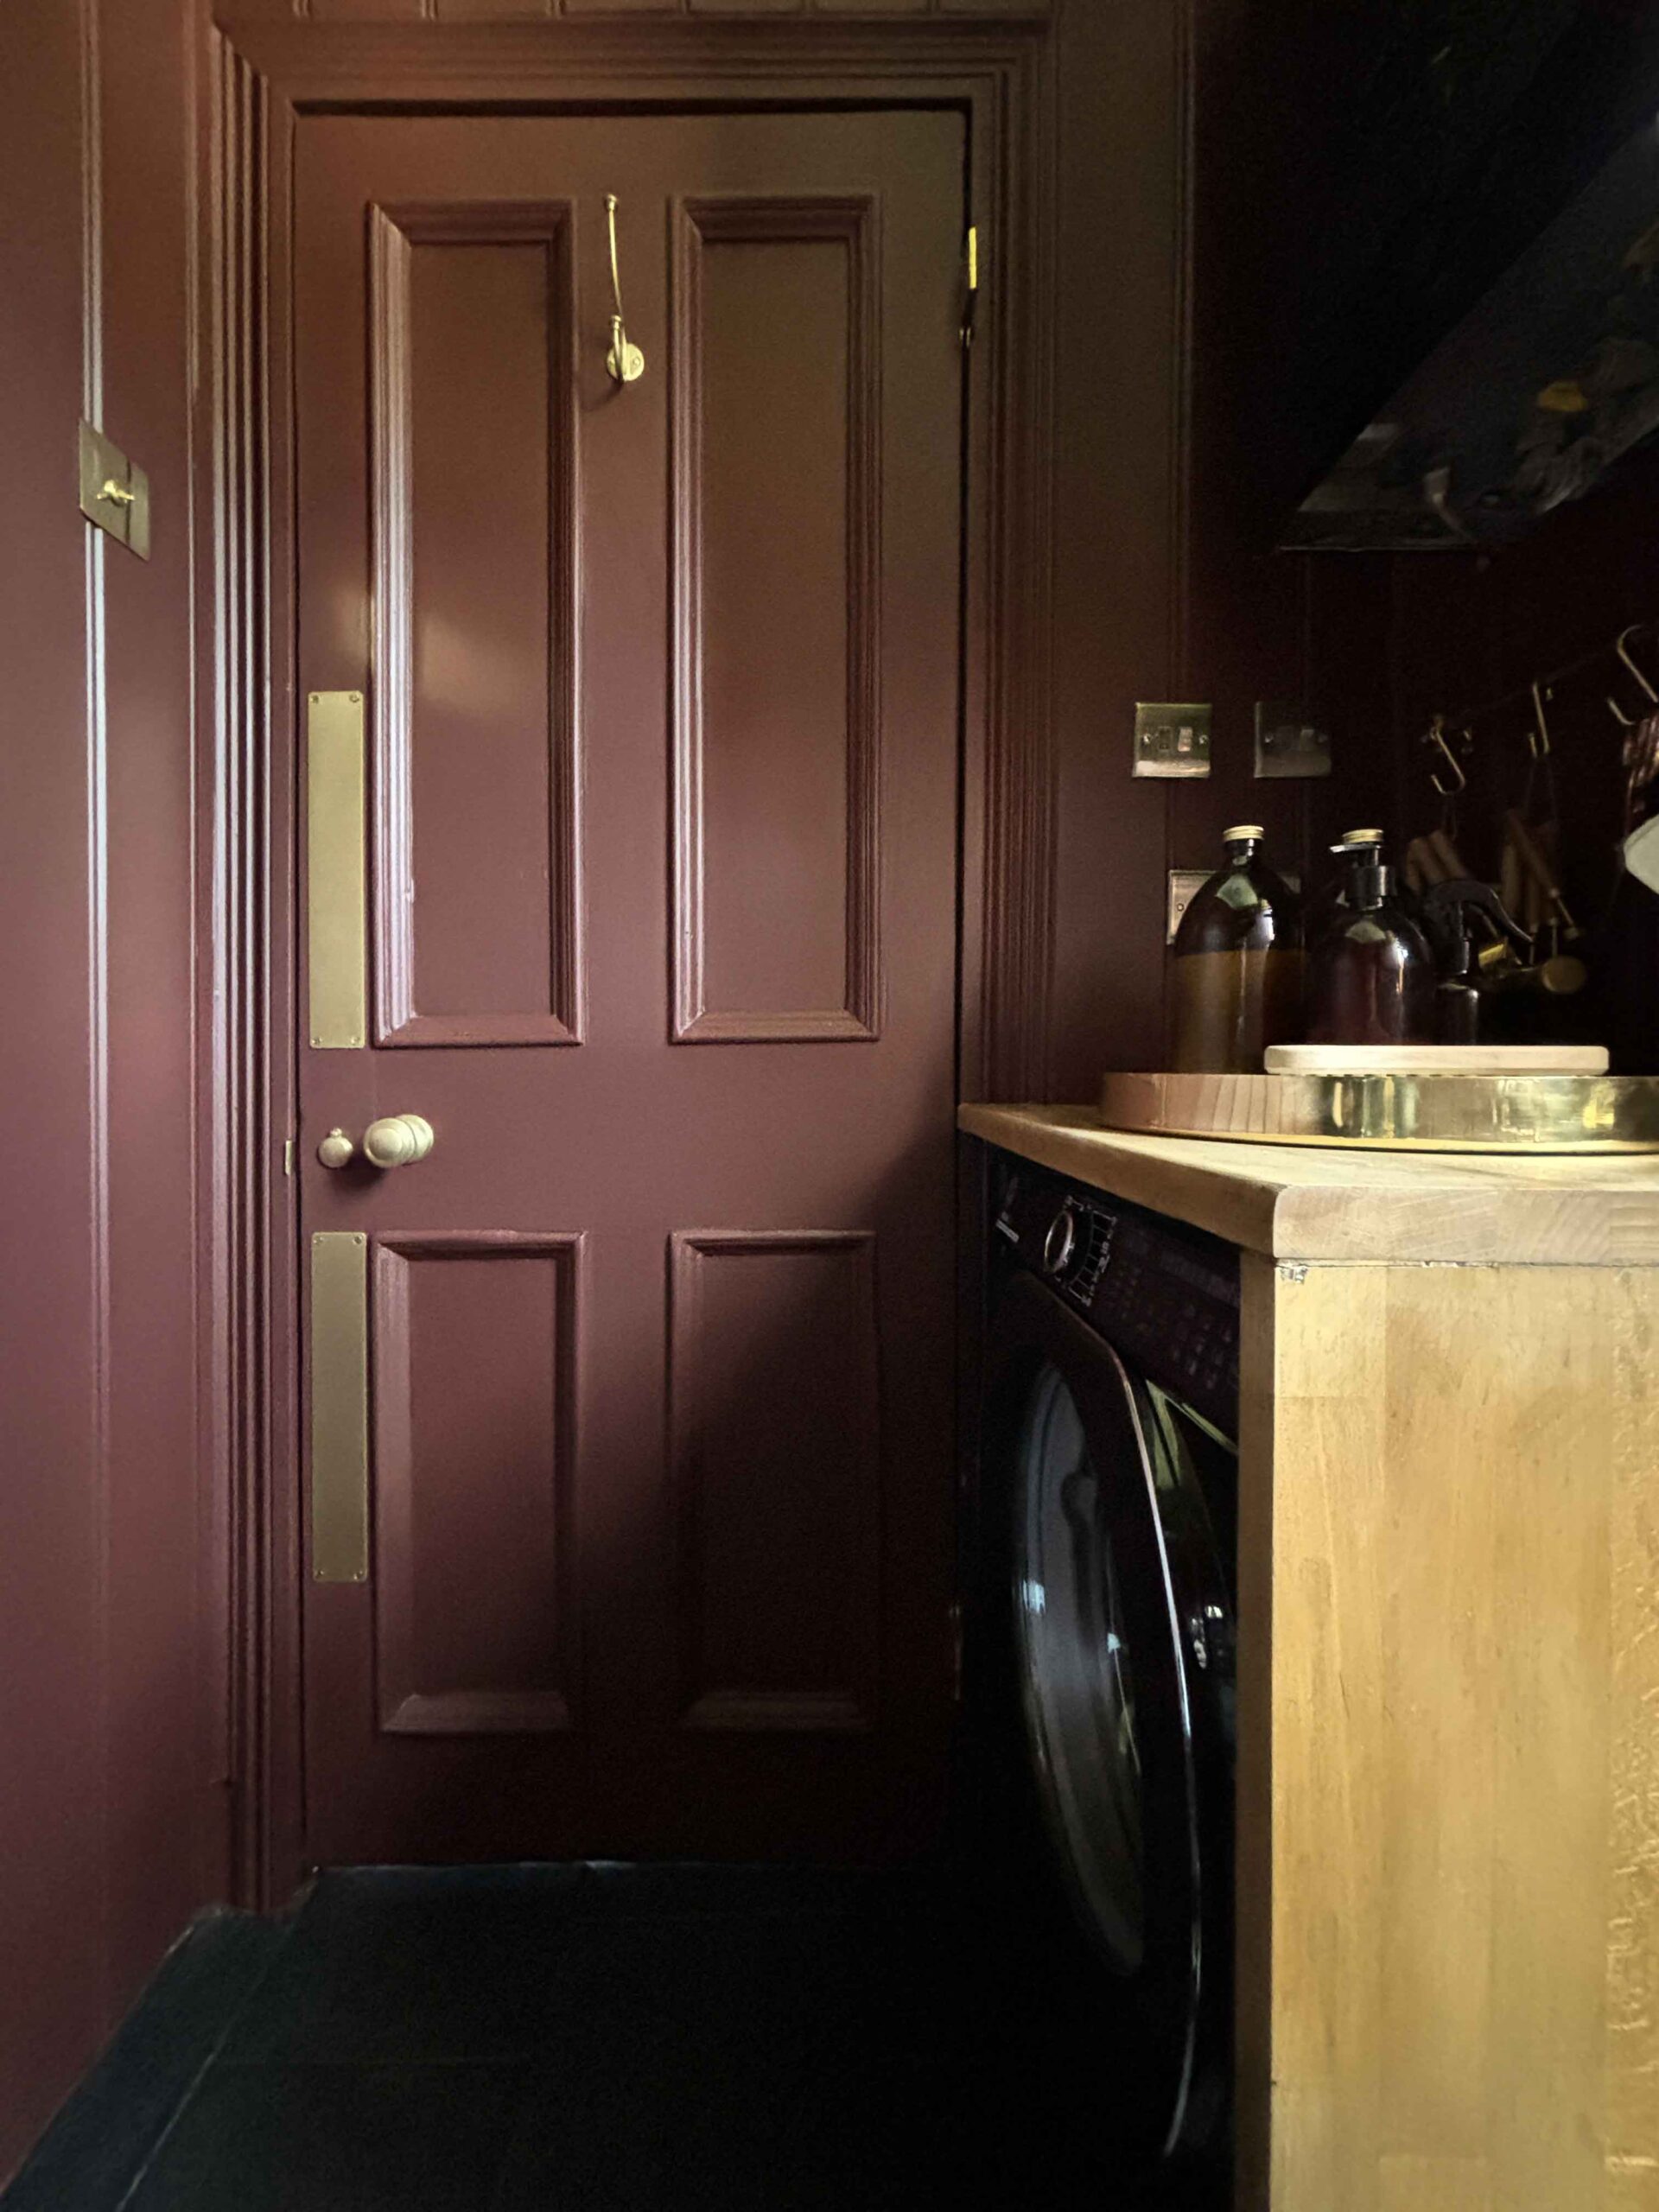
I have and always will say that a room is always elevated by the final touches. But sometimes hardwear is left as an afterthought. Maybe we don’t instantly pick up on a door handle. Or take much time to examine light switches but it’s these little details that raise a room from good to great. It’s how designers think, it’s that level of detail that transform your budget design. So one of my top tips is to go classic, and spend the most you can afford without going into debt. Your walls and doors will thank you for it. And well they will last a lifetime when chosen well. I’ve added interest to the door with Harper Push Plates (£30 each), the Warwick Escutcheon (£14.40), Poplar Door Knobs (£90), the Kilburn Cupboard Handle (£24) and finally a beautiful Antique Brass Single Toggle Light Switch £36.00). I do love Corston, their antique brass finish ages beautifully and has a wonderful glow to it.

The Utensil Rail
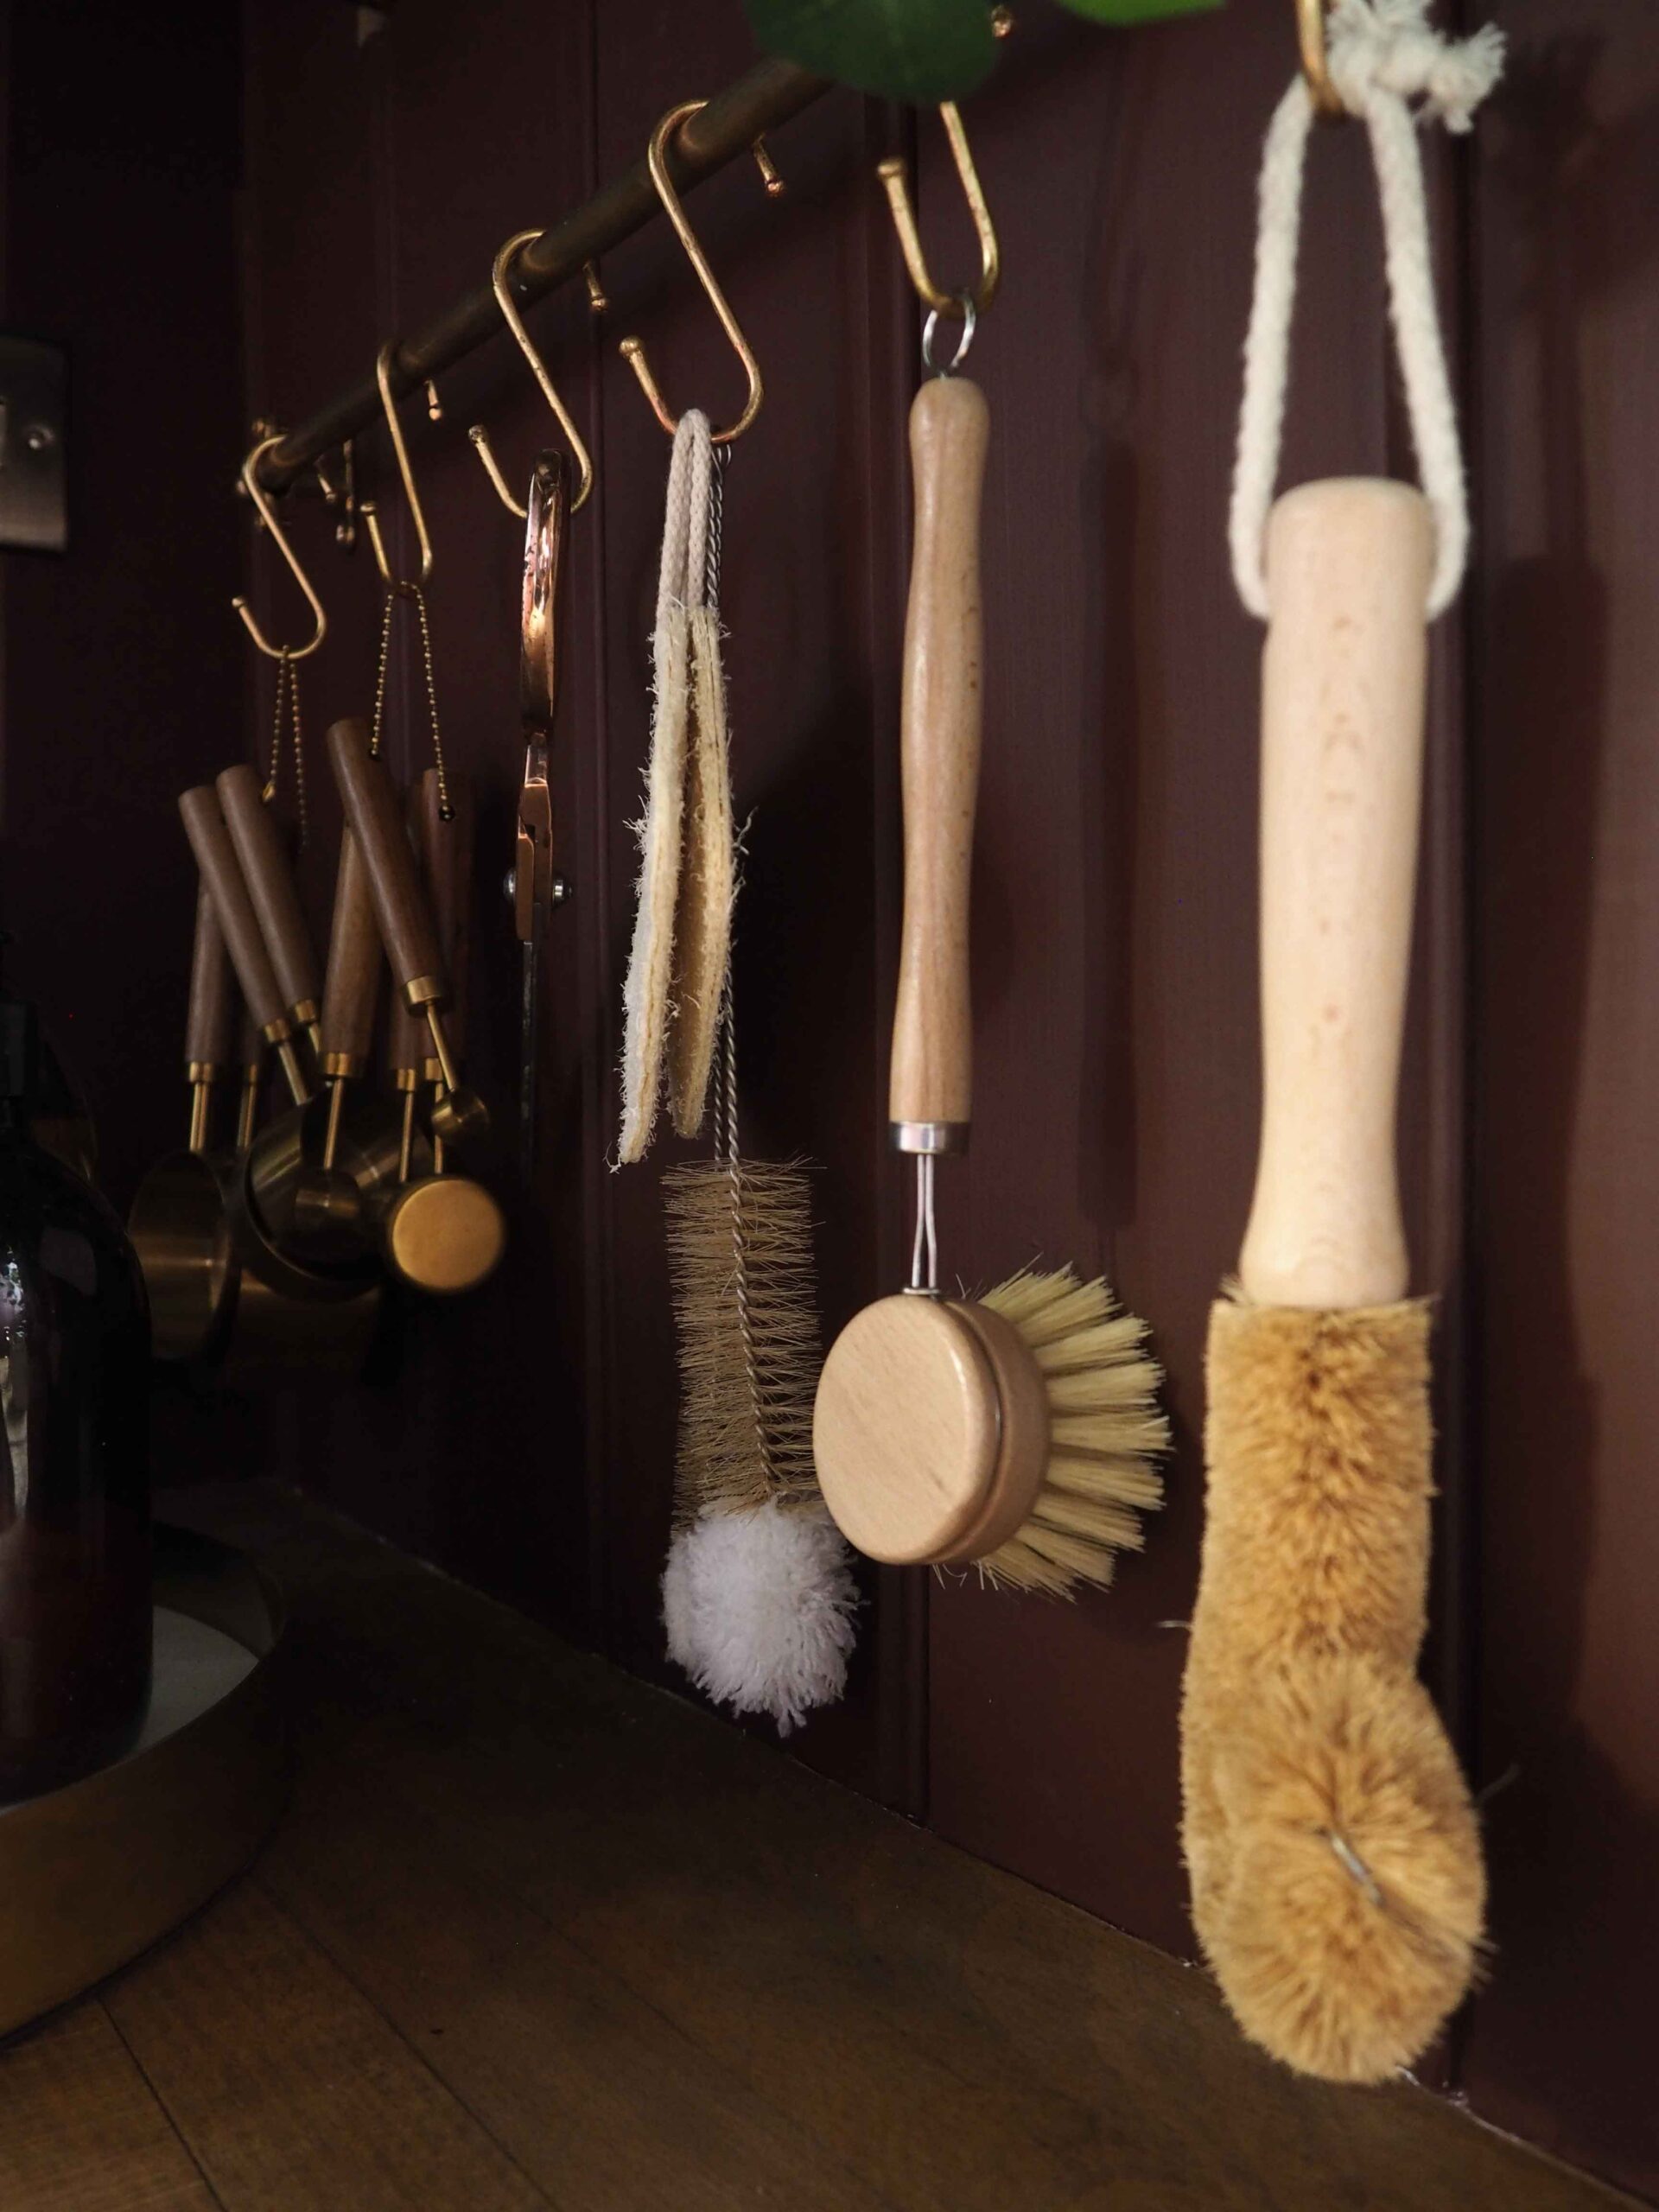
I have always wanted a brass utensil rail. I know, how sad is that 🙂 Other people want fast cars and expensive watches but I want a Devol Utensil Rail but at £95 it was out of my budget. So I made one instead out of an old brass carpet rod and a couple of brackets from B&Q. Total cost £12.81.

The Clothes Airer
This is another thing I have on my wish list for a VERY long time. I dream of having a kitchen or laundry room big enough to have one. Part of this rooms purpose is clothes washing and we all know what washing means. It means we have to have the means to dry the clothes too. But OMG if you haven’t got room for a dryer like me. And like me live in an old house with solid construction walls then ‘Houston, we have a problem’. And that’s condensation and creating damp walls.
So this room has been designed just stop that issue. I have managed to squeeze in the clothes airer I have always wanted. Yes it’s small but it’s purpose is mighty and it was only £65 as opposed to the £116 I originally found. Add in that the cupboard below the sink contains a dehumidifier and I’m all set for a damp free winter. I just have one last thing to install and that’s the electric Victorian style radiator as there’s no plumbing for the central heating in there.
The Shelving
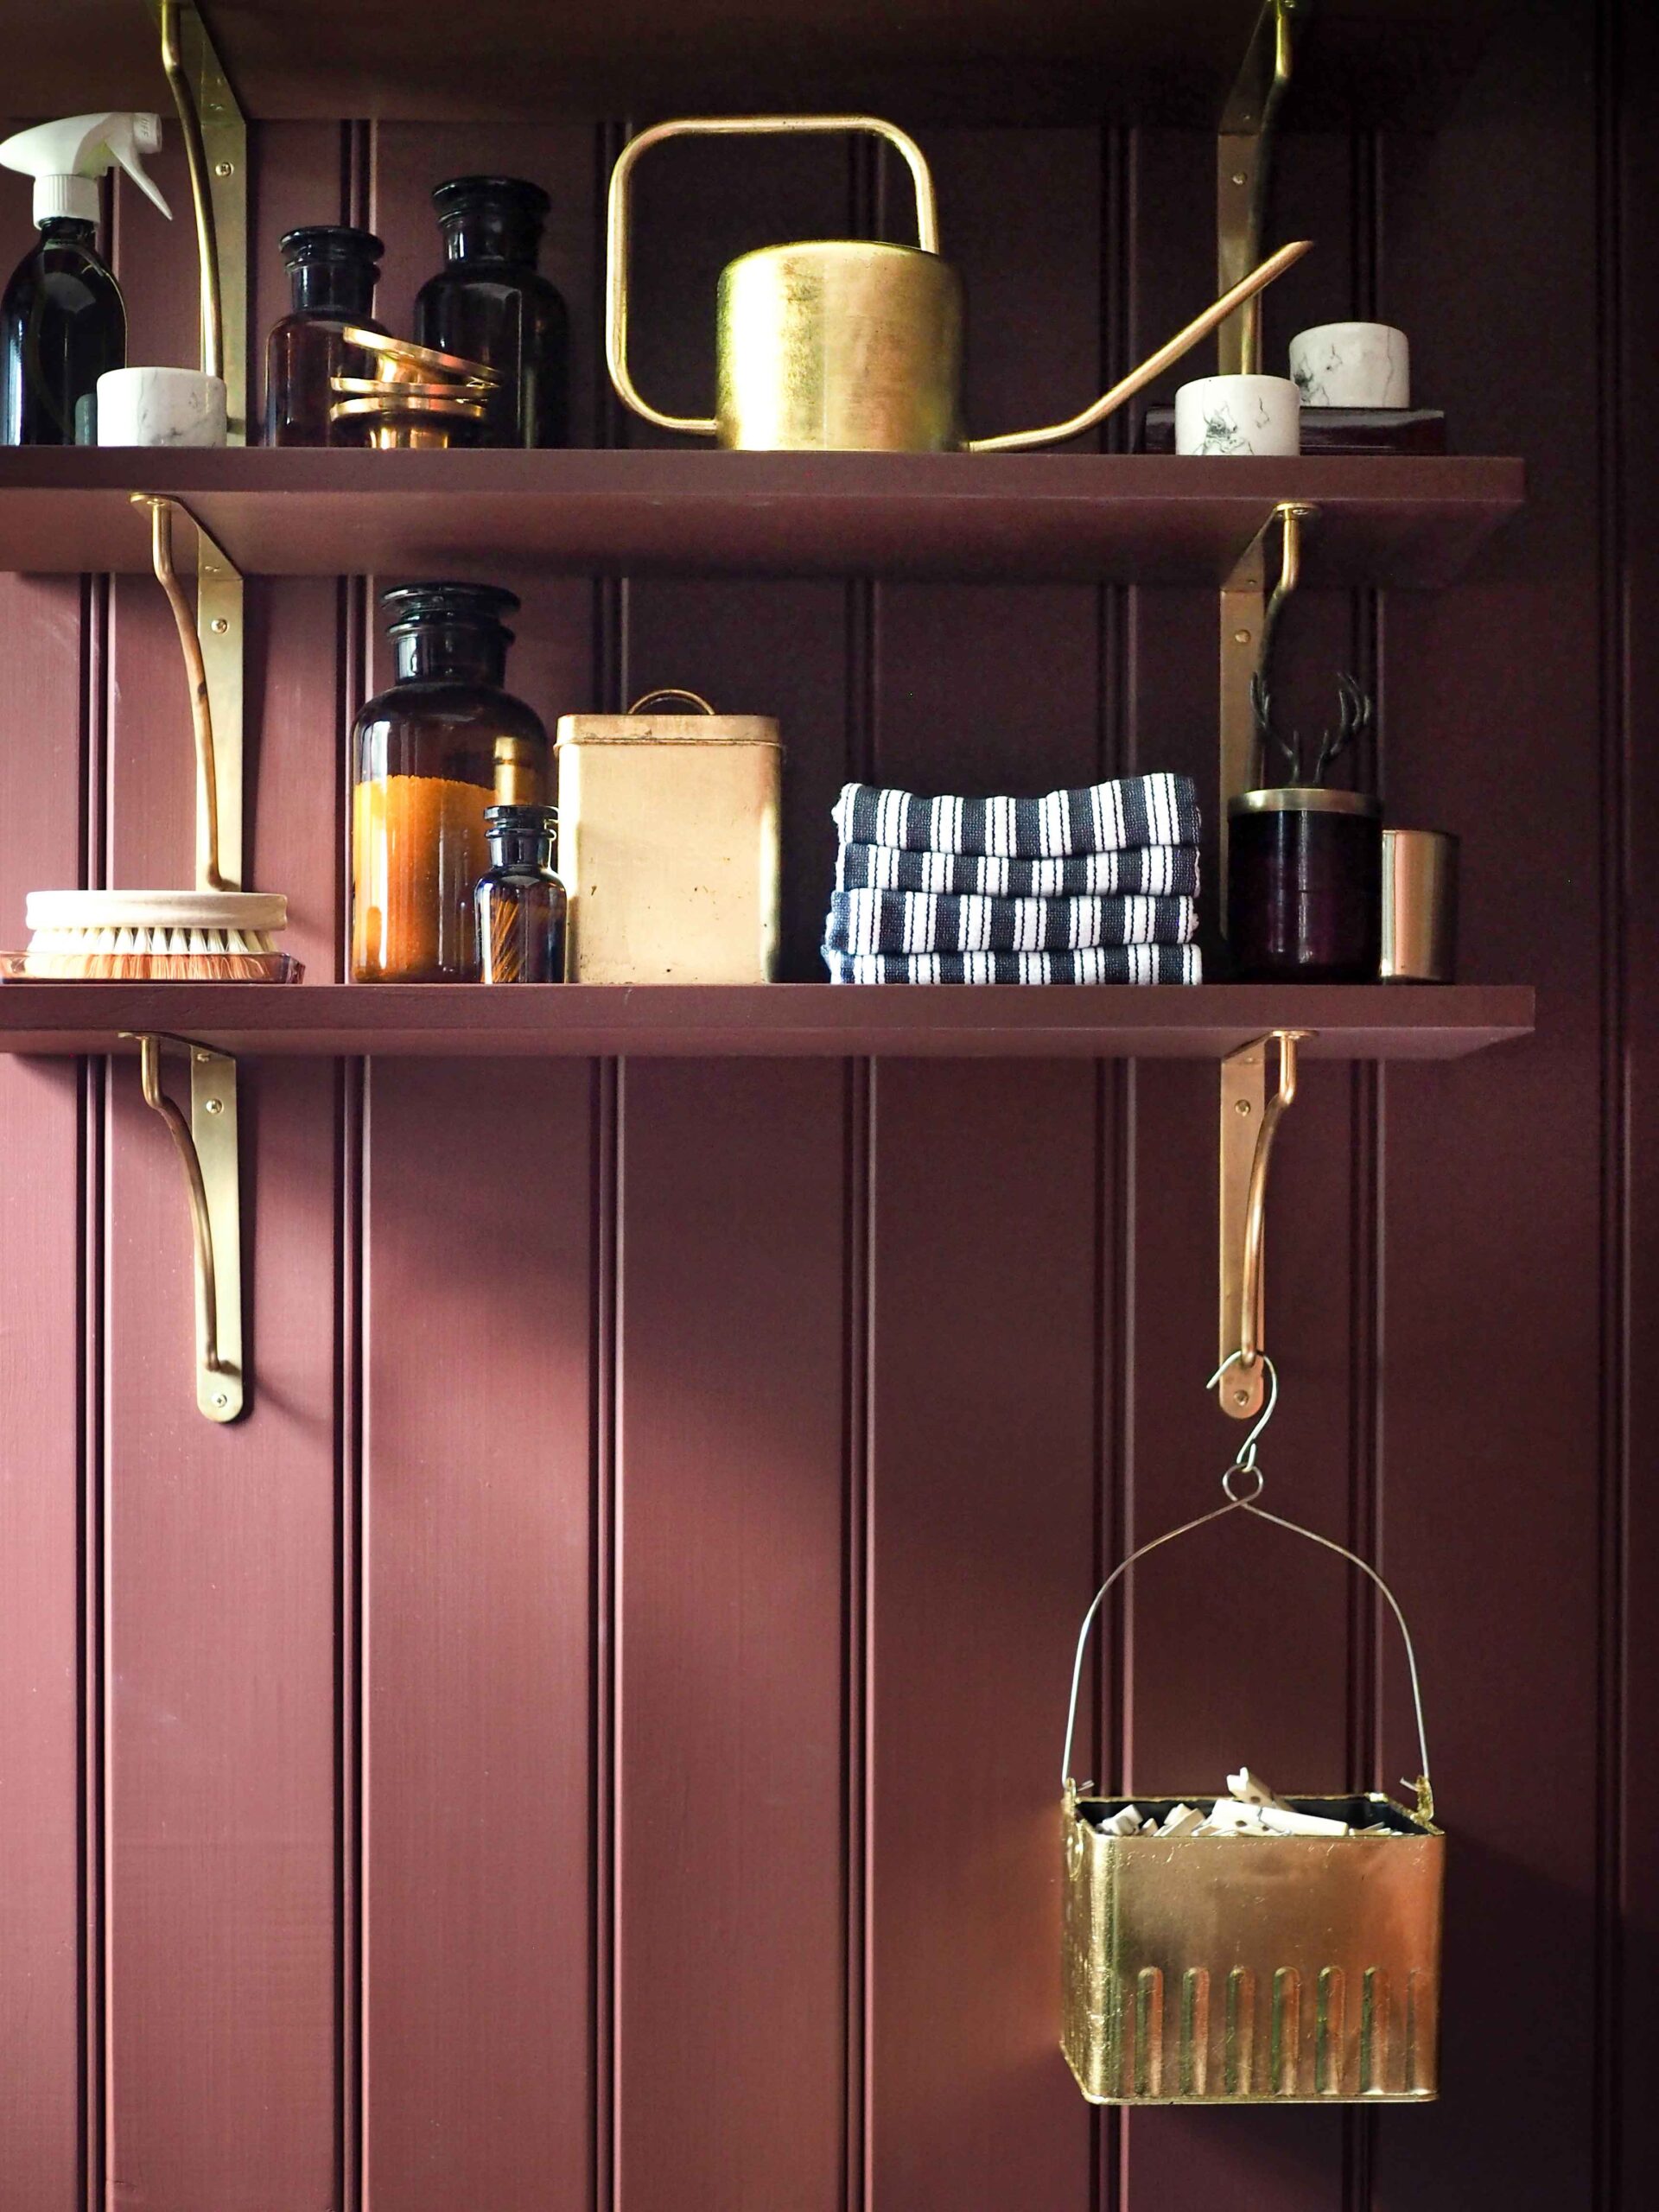
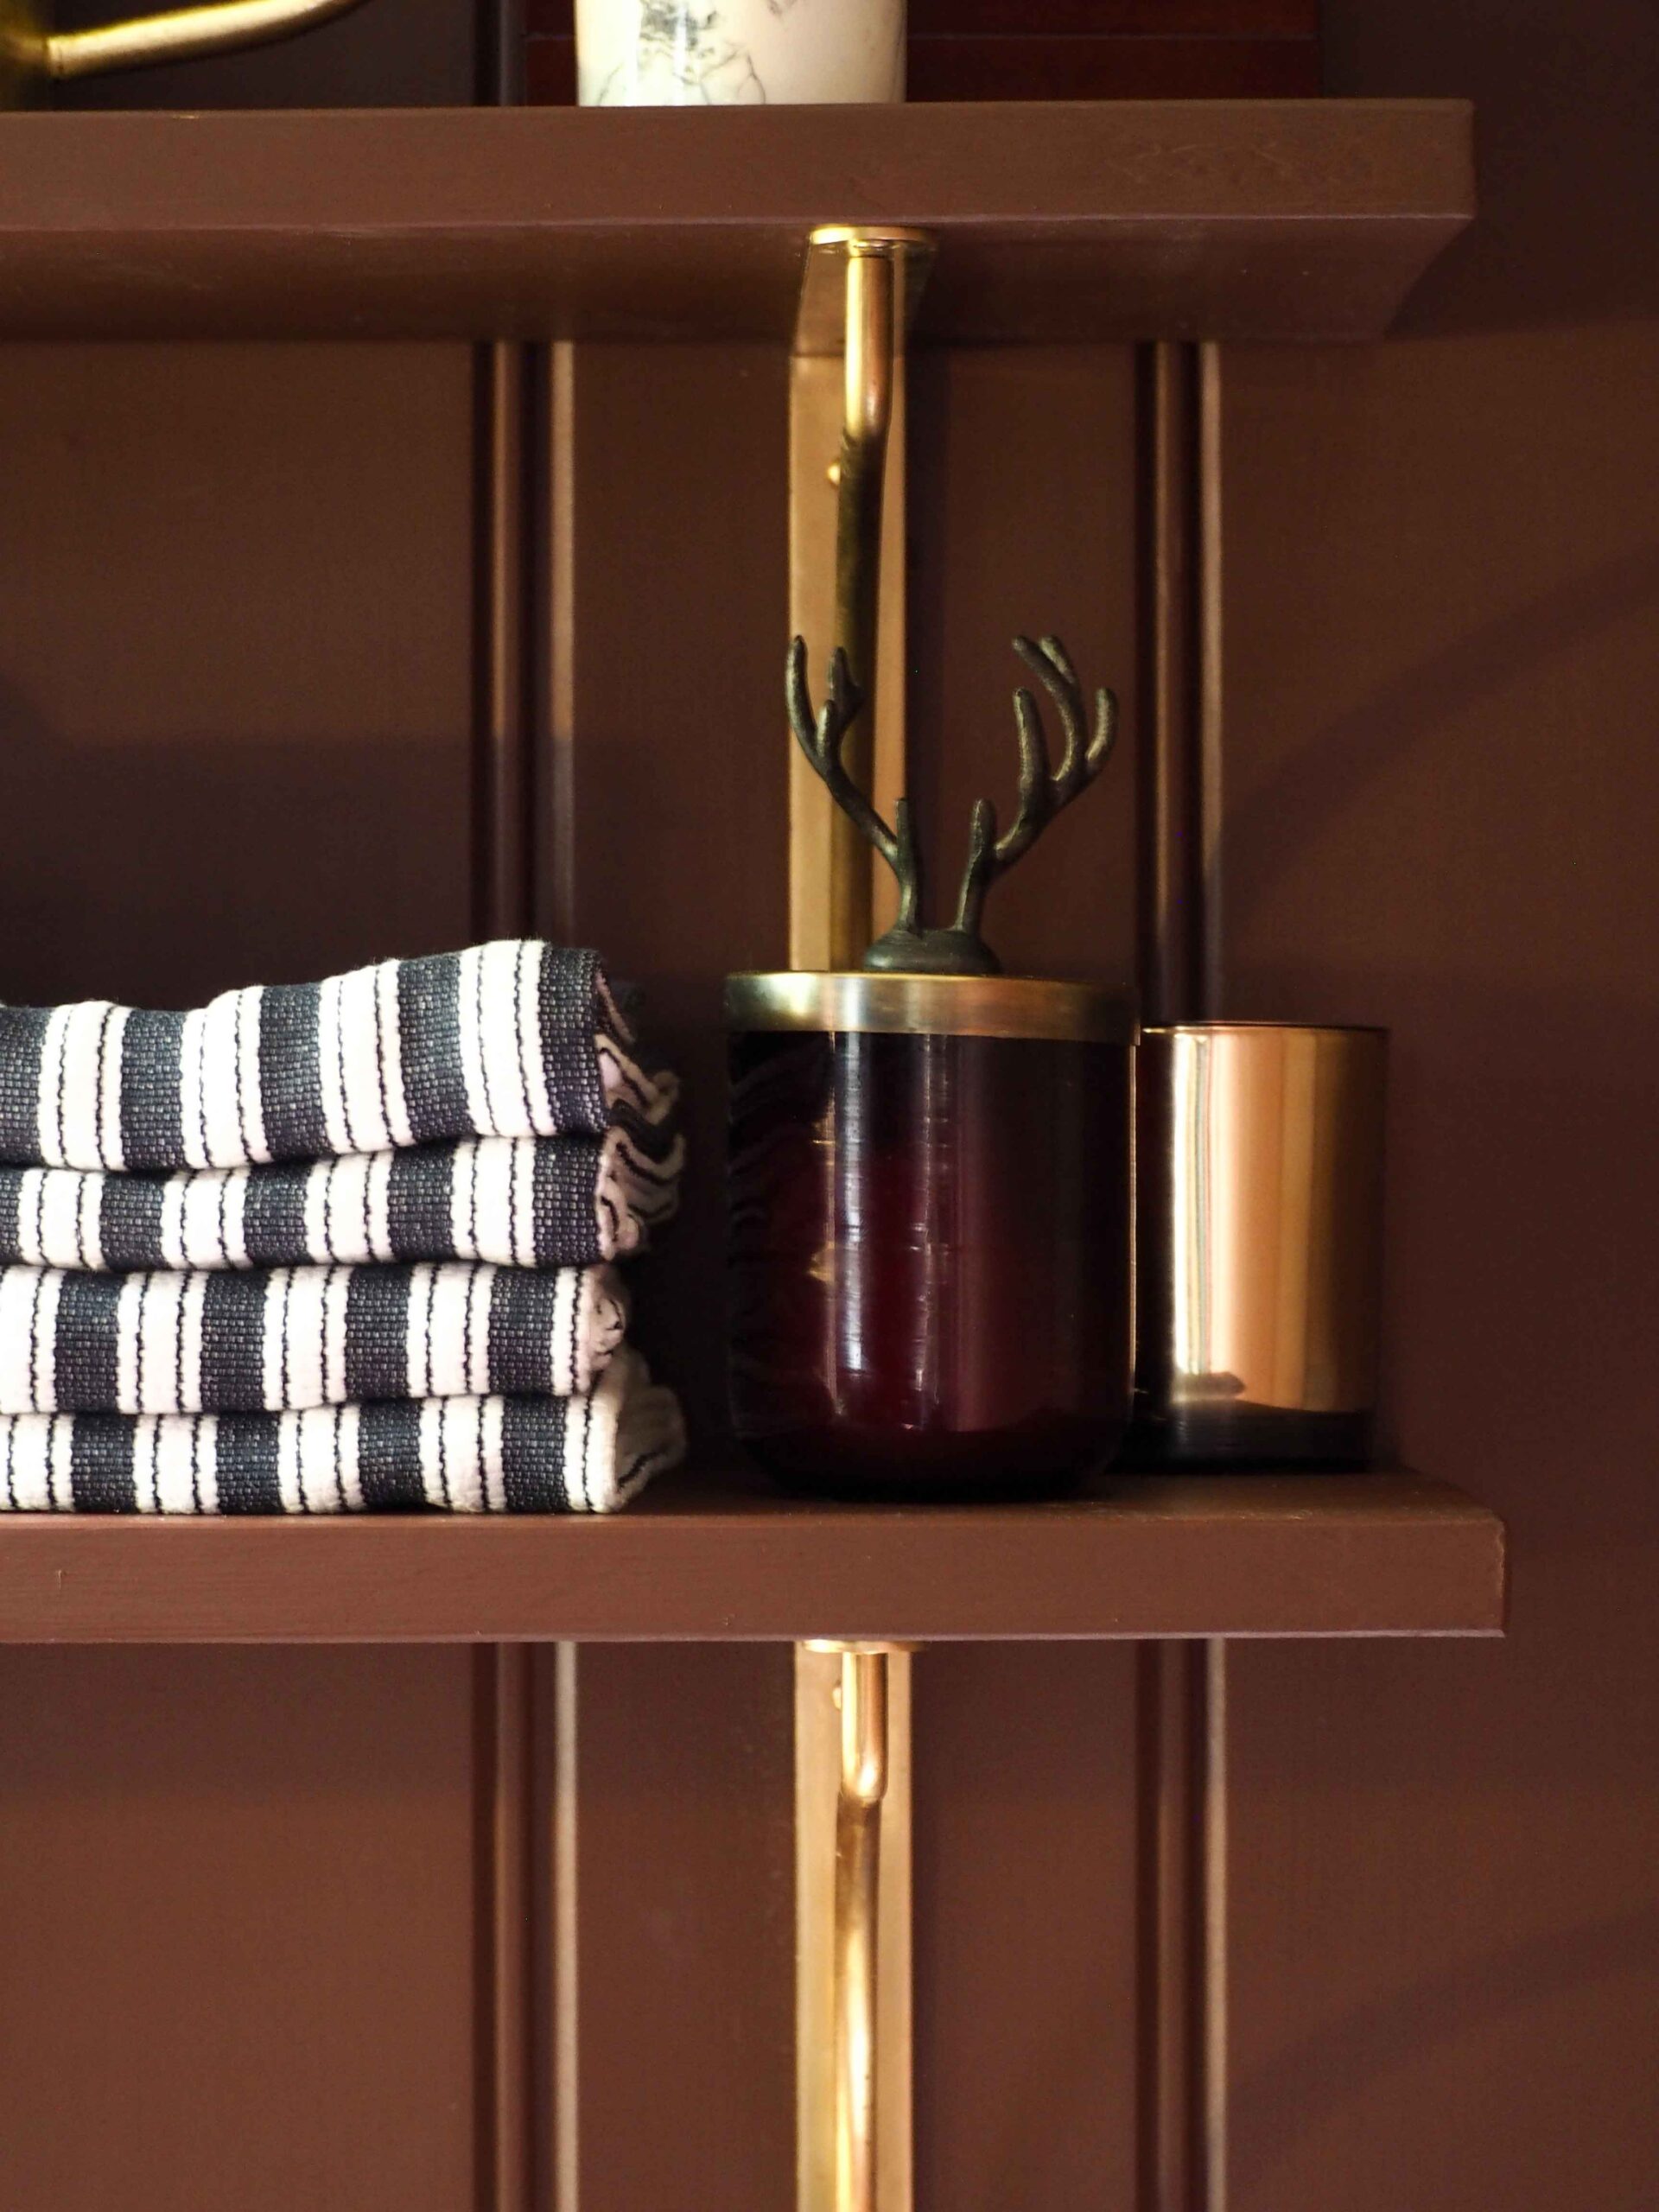
With a room with very little storage shelving was something I was keen to incorporate. Originally the plan was for marble shelves but I couldn’t find anywhere locally so I opted to make them with cheap planks of wood that I sanded and painted to match the rest of the decor intead. The brackets are from Corston and cost a total of £240.30 but I saved loads too. The wooden shelving stands me in £27.97 whereas marble (the cheapest I found was on Etsy) was going to cost a whopping £754.59!
The Accessories
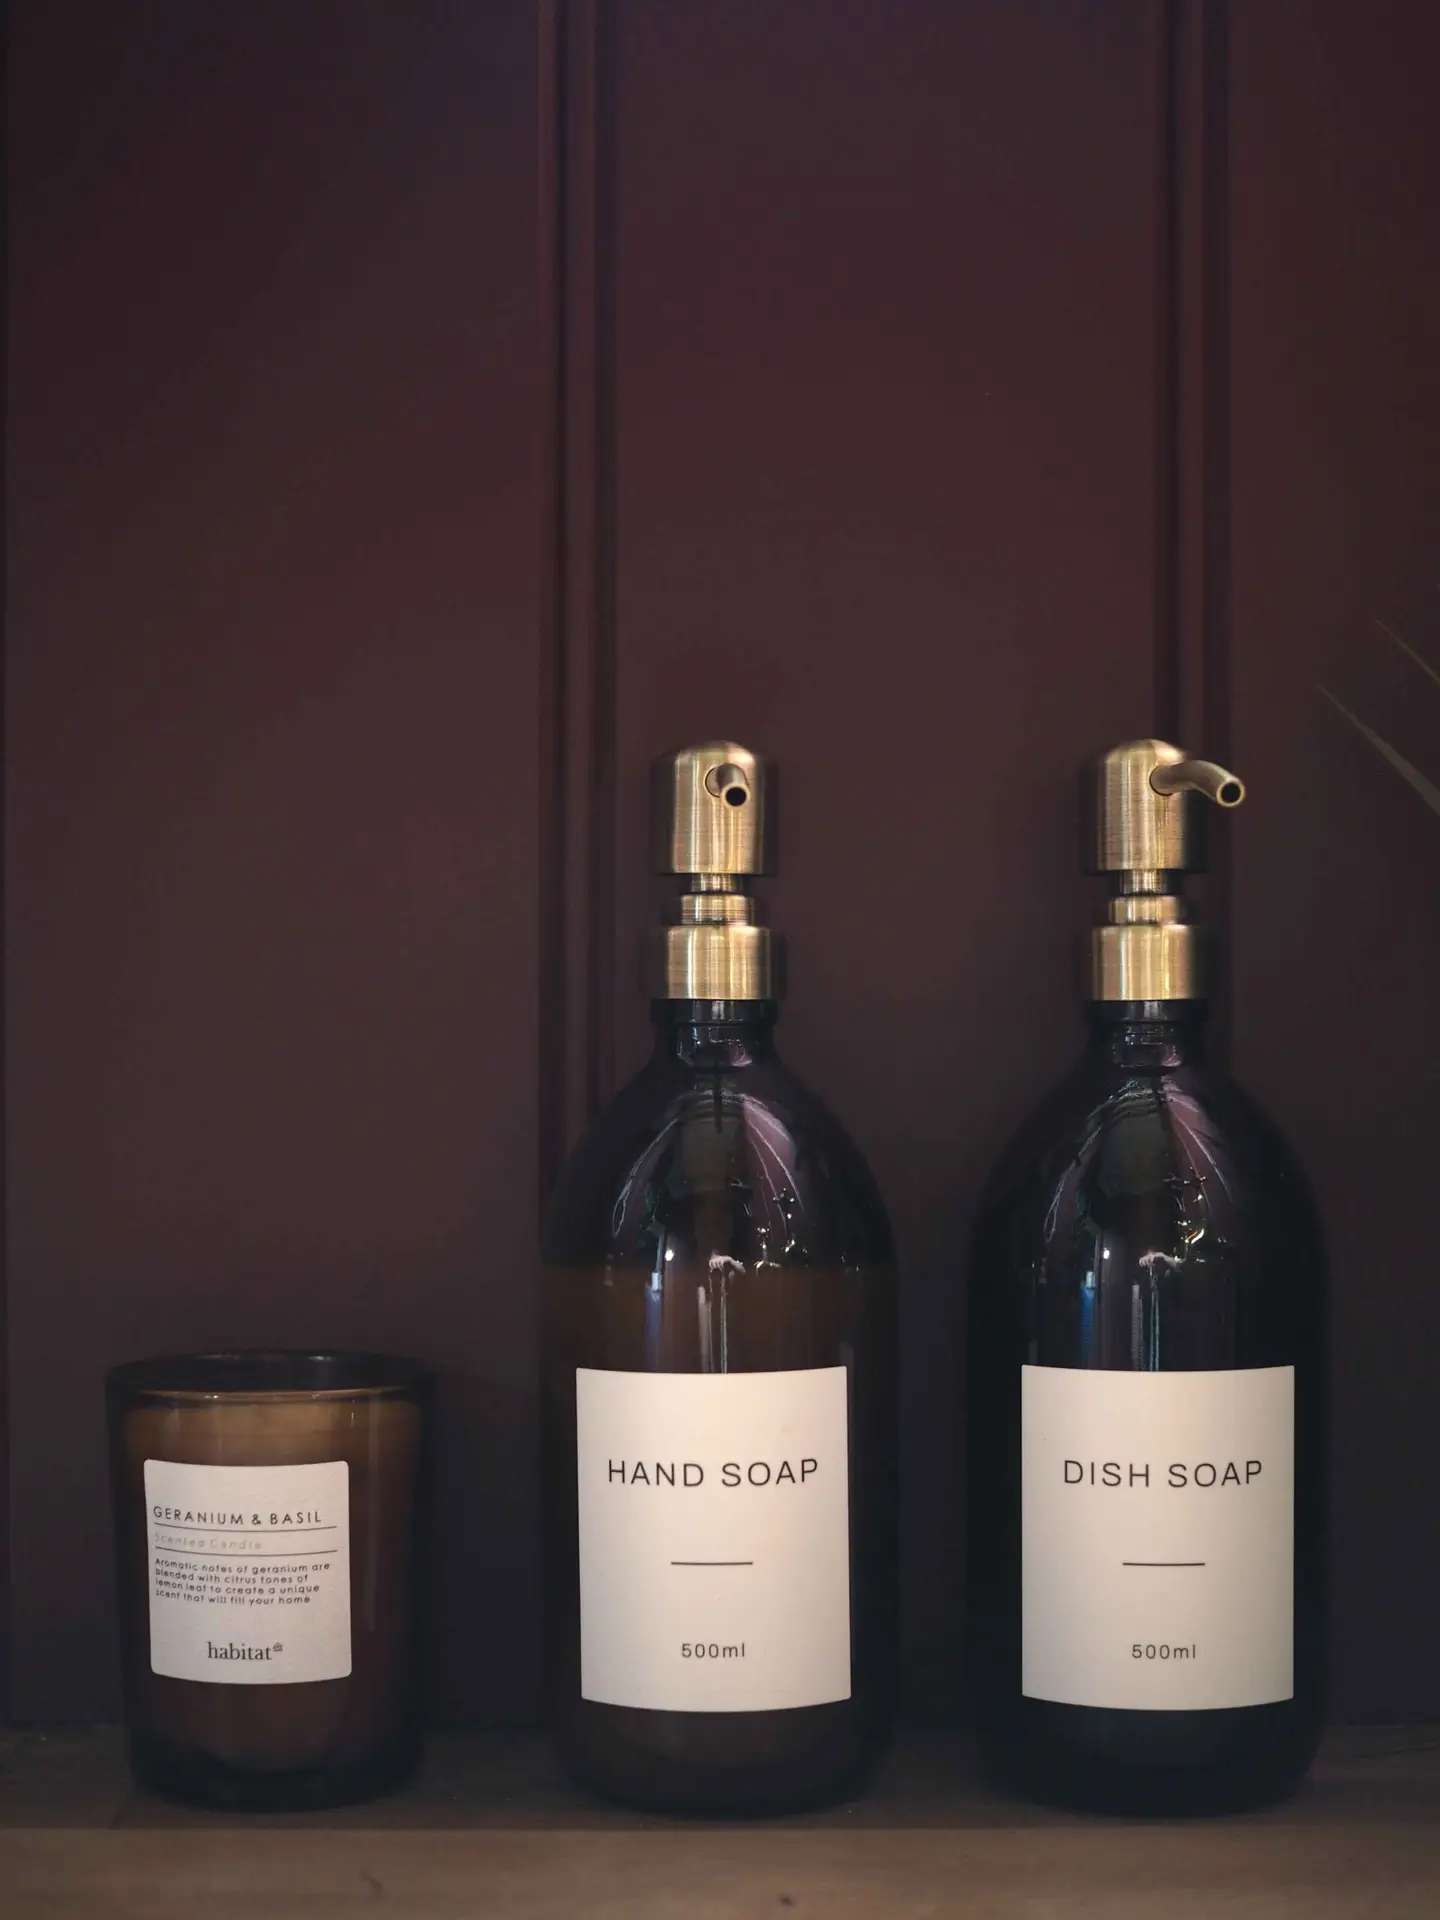
I’m not going to lie, most of the accessories in this room I already owned. But I did buy, the wonderful soap dispensers complete with labels. Originally I was going with Kuishi (£36) ones which to be fair I have had before and they’re great quality but then I can across exactly the same ones from Namie but they came with labels (£24)! It would have cost £6 to order labels too. Although I’m going to attempt to make some of my own soon with my trusty Cricut.
The Costings
So there we have it. That’s how cottage core meets dark elegance in the lootility makeover! The original costings for the project came to £3361.36! Are you ready to find out how much it actually came to? Me too 🙂 Give me a sec with my calculator! And……….. Drumroll please! The grand total is………. £1125.47!!! A third of my original costing. And that’s the thing, when ever I make a mood board I only include what I would actually love to include in a room irrespective of the cost. And then once the design is fixed in my mind then I find cheaper alternatives for the pieces I’ve chosen. OK, it might not look quite as high end as the luxury pieces but it’s not that far off is it? Let me know what you think. x

PS. If you haven’t already make sure to turn on Instagram notifications for me so you don’t miss any of the exciting progress on my next makeover. it’s going to be another belter!




No Comments