
If you follow me on Instagram you will probable already know that I have spent the last couple of weeks repointing our boundary wall. We are lucky to have it in one respect. It’s beautiful and covers our entire boundary. Having a walled garden is the best. The down side though is the maintenance required to keep it in tip top condition. And it’s our wall so I’m responsible for the upkeep of both sides. A few people have asked for this post on how to repoint a stone wall because theirs are falling into disrepair too. It’s actually not hard to do. Just time consuming, backbreaking and not in the slightest bit glamorous. But I promise it’s rewarding too, when you stand back to admire your work. Not to mention it hugely improves on the kerb appeal of your home too.

Stone walls are built to last but they do require maintenance. Rather than leave it until it’s a huge job like I’m tackling right now I recommend giving them a yearly check over. Two things are the enemy of a stone wall. Vegetation and the weather. Any plant you find on it, however pretty, remove pronto! The roots will find their way into the main body of the wall. And before you know it mortar will be falling off and cracks appearing. Once they take a hold they allow the weather to take it’s toll too. Wind whips away more mortar. The rain gets in. And then boom we get a frost and your wall is now looking sadder than turning up to party in fancy dress! Err, didn’t you get the revised invite, it’s no longer a costume party!

So you do your yearly check, or perhaps your first one ever and discover that like my wall, yours too is showing signs of it’s age (aren’t we all darling) what do you do next? Have no fear, I’m here to save your bacon. But first you have a shopping list to purchase. Thankfully not an overly expensive one either. In fact I repaired the whole of my wall with extensive damage for less than £50. So let’s hit the DIY store shall we. Mine know me by name now!

WHAT YOU WILL NEED – HOW TO REPOINT A STONE WALL
Cement
Builders Sand
Water
Hosepipe
A tool for removing loose mortar (This is what I use)
A suitable container for mixing your mortar
A gardening trowel for mixing the mortar
A Pointing Trowel (I use this one)
A soft bristled brush
A Dustpan
Something to protect the floor

HOW TO REPOINT A STONE WALL IN EASY TO FOLLOW STEPS
First things first we have to remove any vegetation from the wall. Even better give it a good spray with a 24 hour weedkiller a couple of days before so you know the roots will not regrow. Once you remove the weeds it’s time to have some fun and get rid of the loose mortar.

Did you ever make bread at school and someone said think about something that really makes you angry whilst you knead it? No, just me? Well this is a one of those moments, you get to hack at the wall and let out all your pent up anger. The wall in the end will thank you for it. Just tap at the mortar and you will soon find the loose bits. Make sure too to remove it right up to the edges of the stones. And at least 1cm deep to make sure your new mortar holds well.

You might find the odd stone is loose too. Take a quick picture of it with your phone so you can remember how it fits and then remove it and store safely to one side. You can now clear the mortar from the hole ready to bed the stone back in once you’ve washed the wall.

Once every bit of loose mortar is removed have a quick tidy up. Now it’s time for the second best fun part. Giving the wall a wash. Using a hosepipe and normal nozzle start from the top of the wall and work your way down in sections. I wouldn’t recommend a jet wash as you may wash away more than necessary. There’s not one but two reasons for doing this. Firstly you need to remove as much dirt and debris from the gaping holes that you have created in your wall. And secondly the mortar you are about to apply sticks better on a damp surface.

Once the wall is clean and you’re a little soggy around the edges it’s time to get on with the repointing. So lets make up our slop dosh (apologies if this is a northern term and you’ve no idea what that is) shall we? Technically on an old stone wall you should use a lime mortar. But after googling and watching endless You Tube videos on how to repoint a stone wall with lime mortar I am still none the wiser about how you actually use it. It appears to be one of those closely held secrets that those in the know, know. And those of us not in the club will never find out! Any way, my point being that I’m using a bog standard mortar.

A normal mortar will not last as long as a lime mortar as it’s not as flexible. Having said that I’d expect a lime mortar to last around a hundred years. Our wall was built in 1894 and this is the first time I’ve repointed it. I expect this will last at least a good ten years though. And it’s cheap to do yourself though time consuming. I reckon if I add up all the days it probably has taken me around a week to completely finish all the wall, both inside and out.

A note here if you have a boundary wall that you own both sides of too. You do have right of access onto your neighbouring properties to make any repairs that are necessary and to periodically check all is ok. That’s not to say you should just go into their garden and start work though. I just knocked on everyone’s doors and they were quite happy to let me do the work as it made their gardens look all the better too. I made sure to be as tidy and as quiet as possible too so not to over stay my welcome!

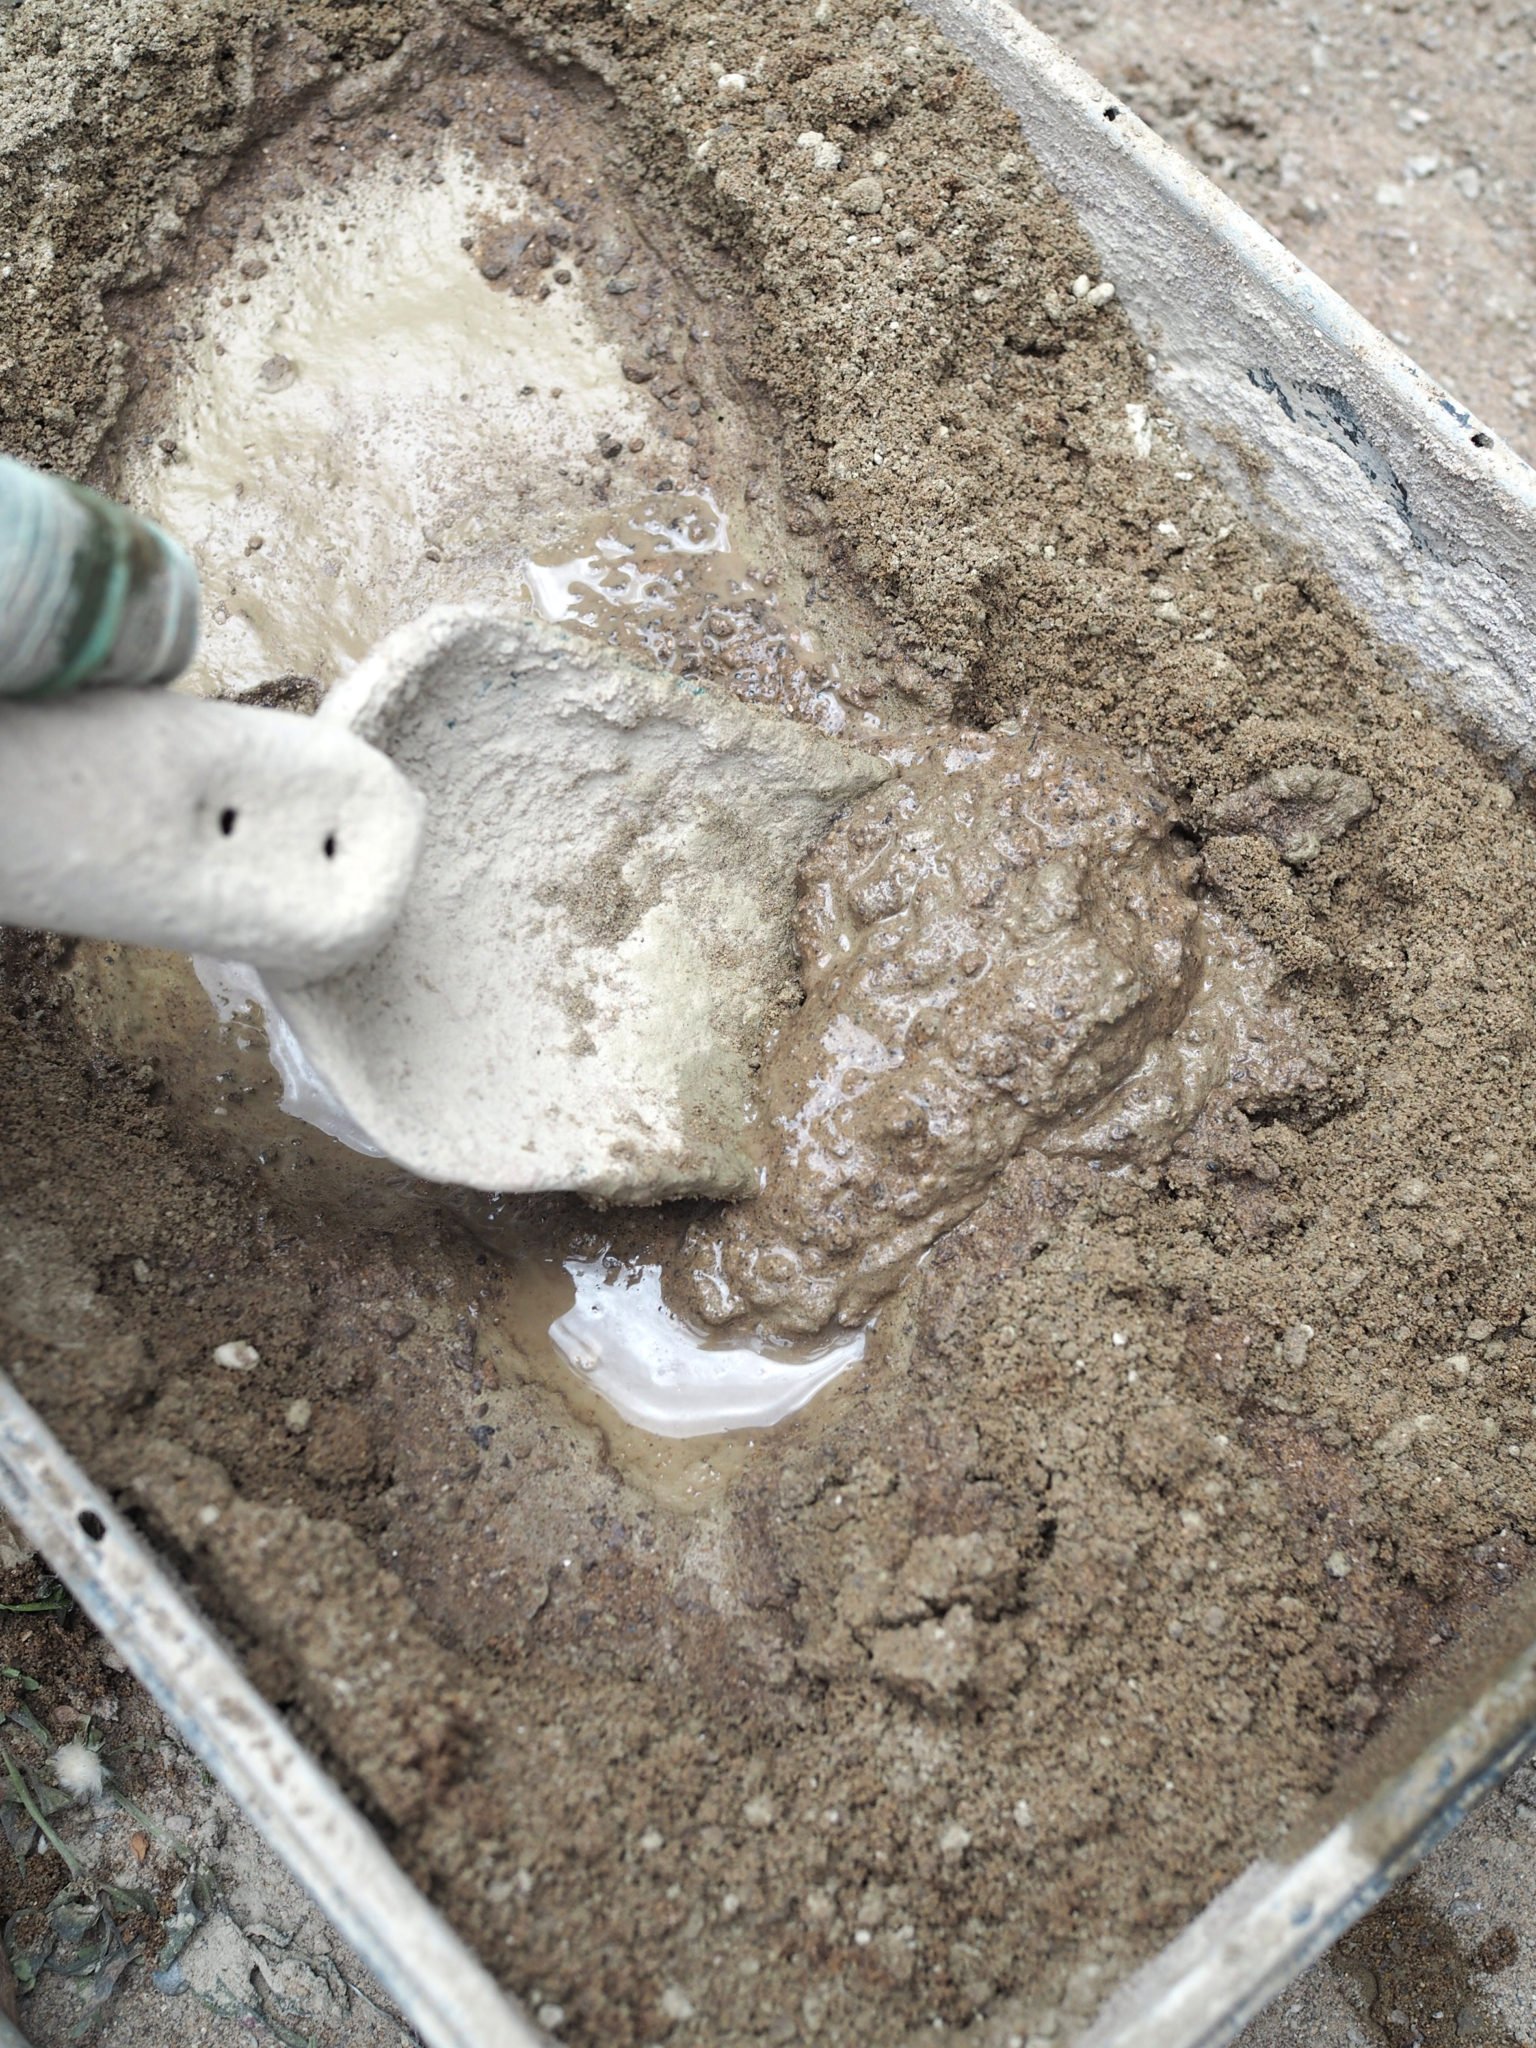
Anyhoo, back to the mortar. I use 1 part cement to 4 parts sand. The tray I used was large enough to hold 3 scoops of cement and 12 of sand which was just about the right amount for the speed I was working at. It goes off quite quickly in the heat so only make up a small amount at a time. Basically you need to mix the dry ingredients together. Just like baking a cake. And then once it’s all an even colour start to add water. This is most definitely a less is more approach. Add a small amount at a time and keep mixing it. You want quite a firm mix so that it doesn’t slip out of the wall as fast as you can put it in there!
A quick note at this point. Make sure you wear sturdy gloves that are waterproof. No bare feet or legs for that matter either. Cement is corrosive and not to be taken too lightly. Having not done repointing before I was unaware of this and gave myself cement burns on my fingers. Cement burns look like normal burns but because these are chemical burns it can also take days before the burn is fully established. And it can go into deep skin tissue. If you do get a burn rinse well under running water and then bathe in vinegar to neutralise the PH levels. And if it’s a bad burn don’t mess about, go to A&E for proper wound care treatment.

Sorry for heading off on a tangent again! So your mortar is ready and it’s time to get repointing. First things first put down something to protect the floor. This is quite a messay job. Especially until you get the hang of it. And secondly you can keep collecting the mortar you’ve dropped to reuse. Waste not want not!

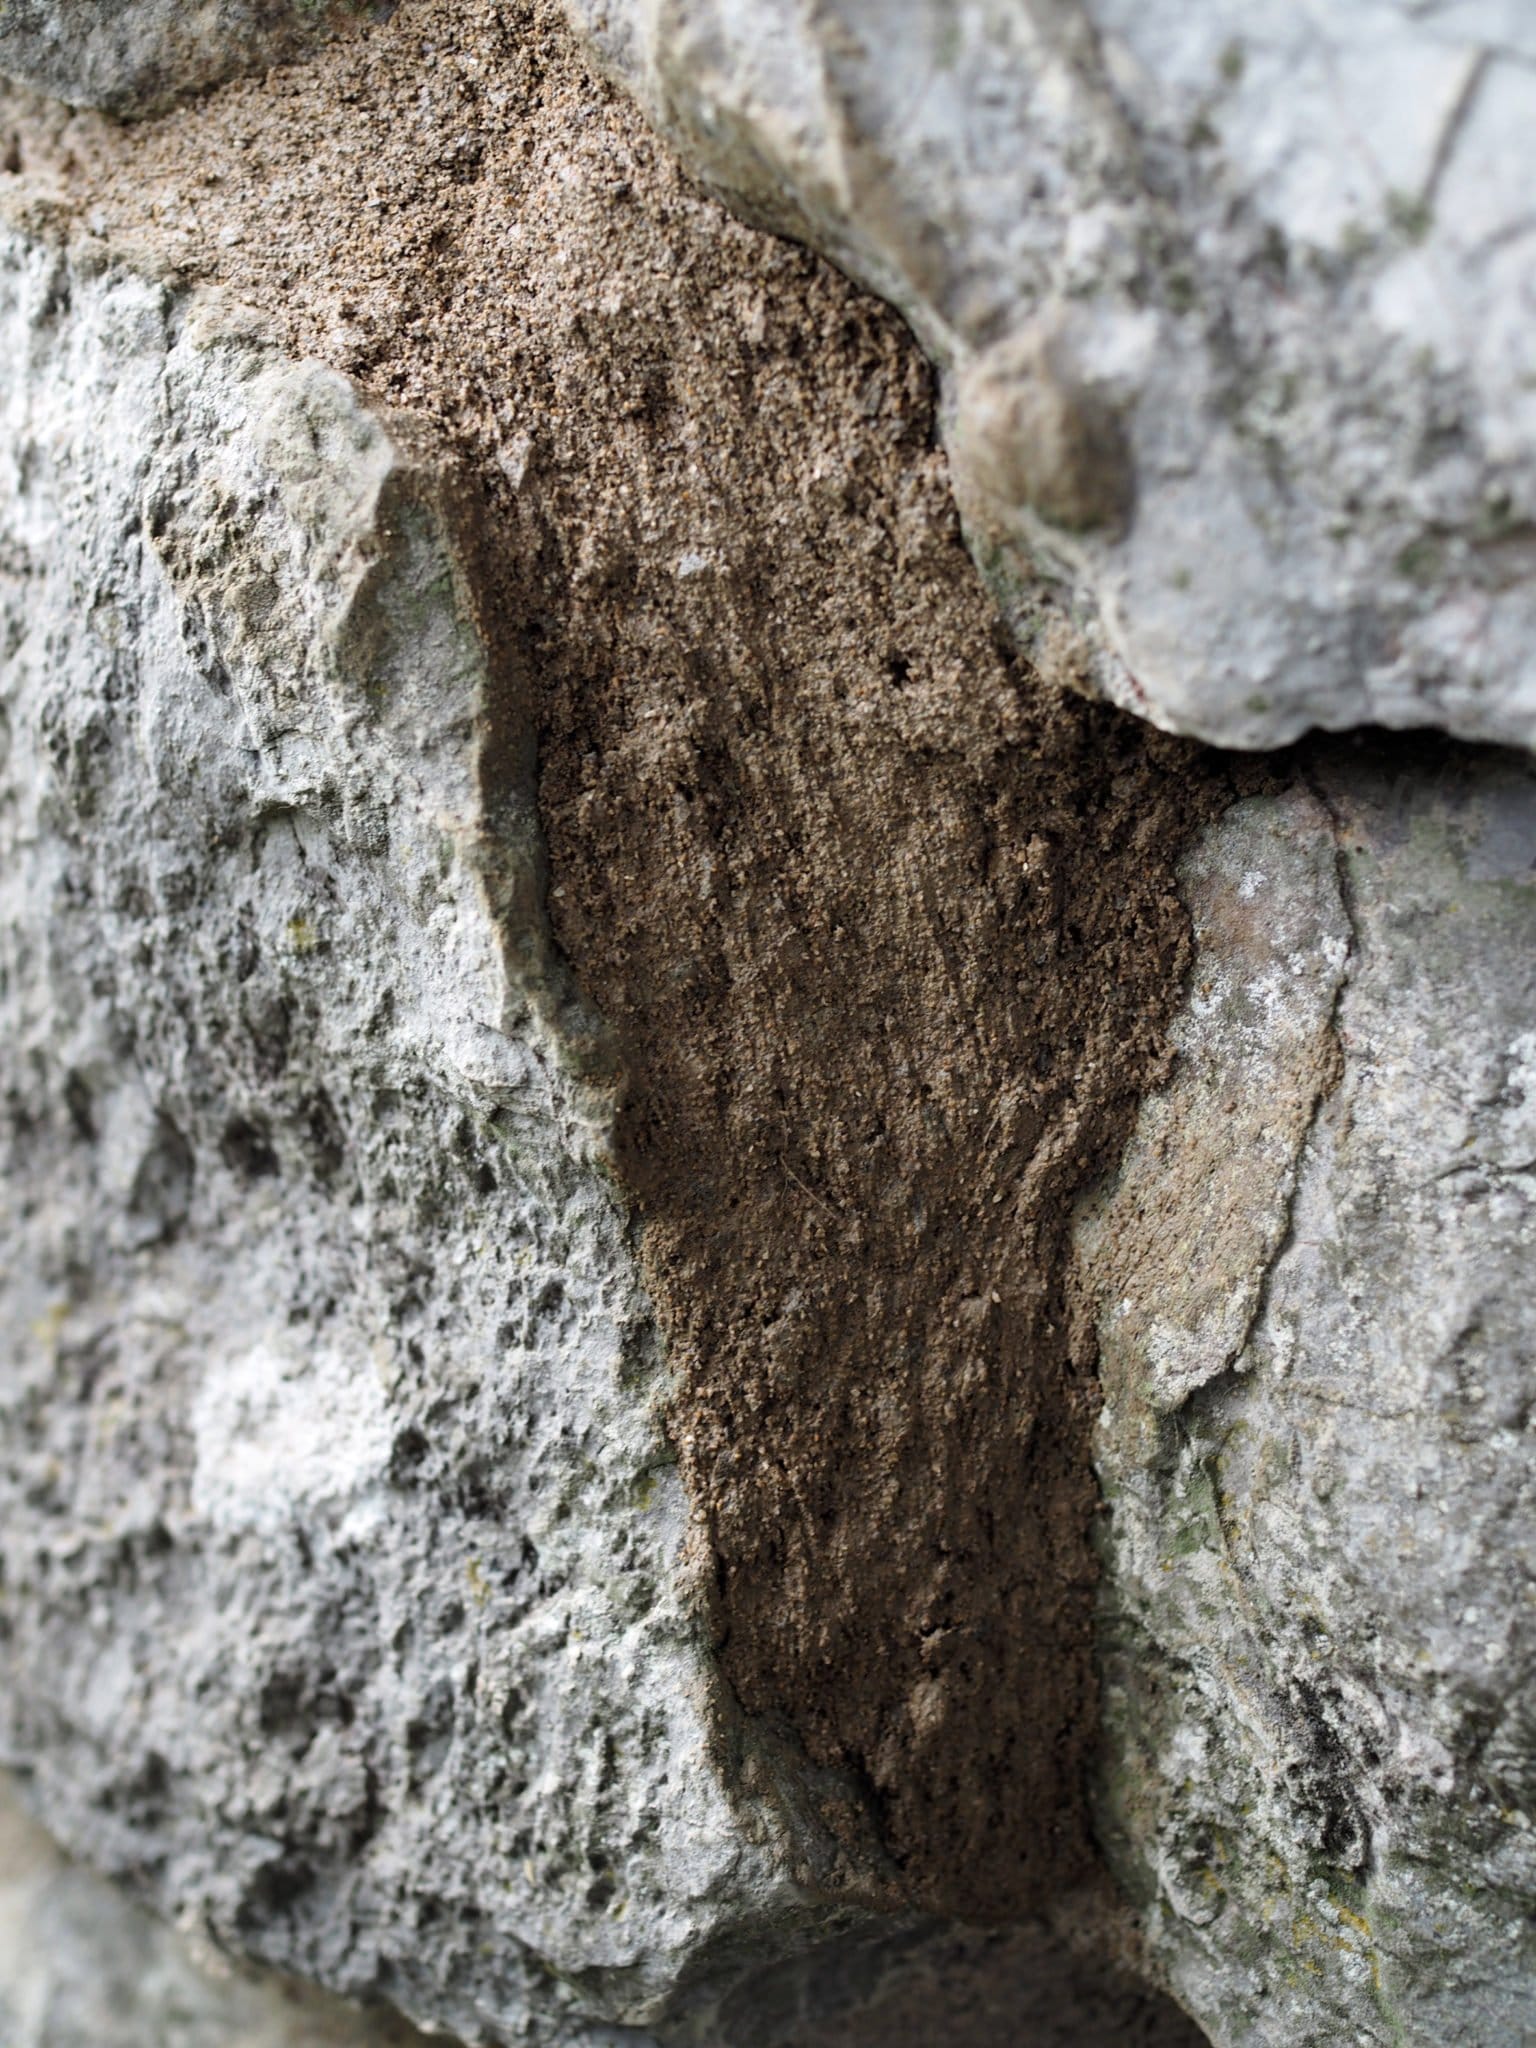
I use a mixture of my fingers (hence the burns initially as I had the wrong gloves on) and a pointing trowel to fill the gaps. Try to fill each gap level with the face of the stones. Work along the veins too until you come to a natural place you can stop filling. Just keep pressing the mortar in until the gap can’t hold anymore mortar. At this point you will be thinking what a bloody mess! It won’t look particularly tidy but don’t panic, give it a mo.

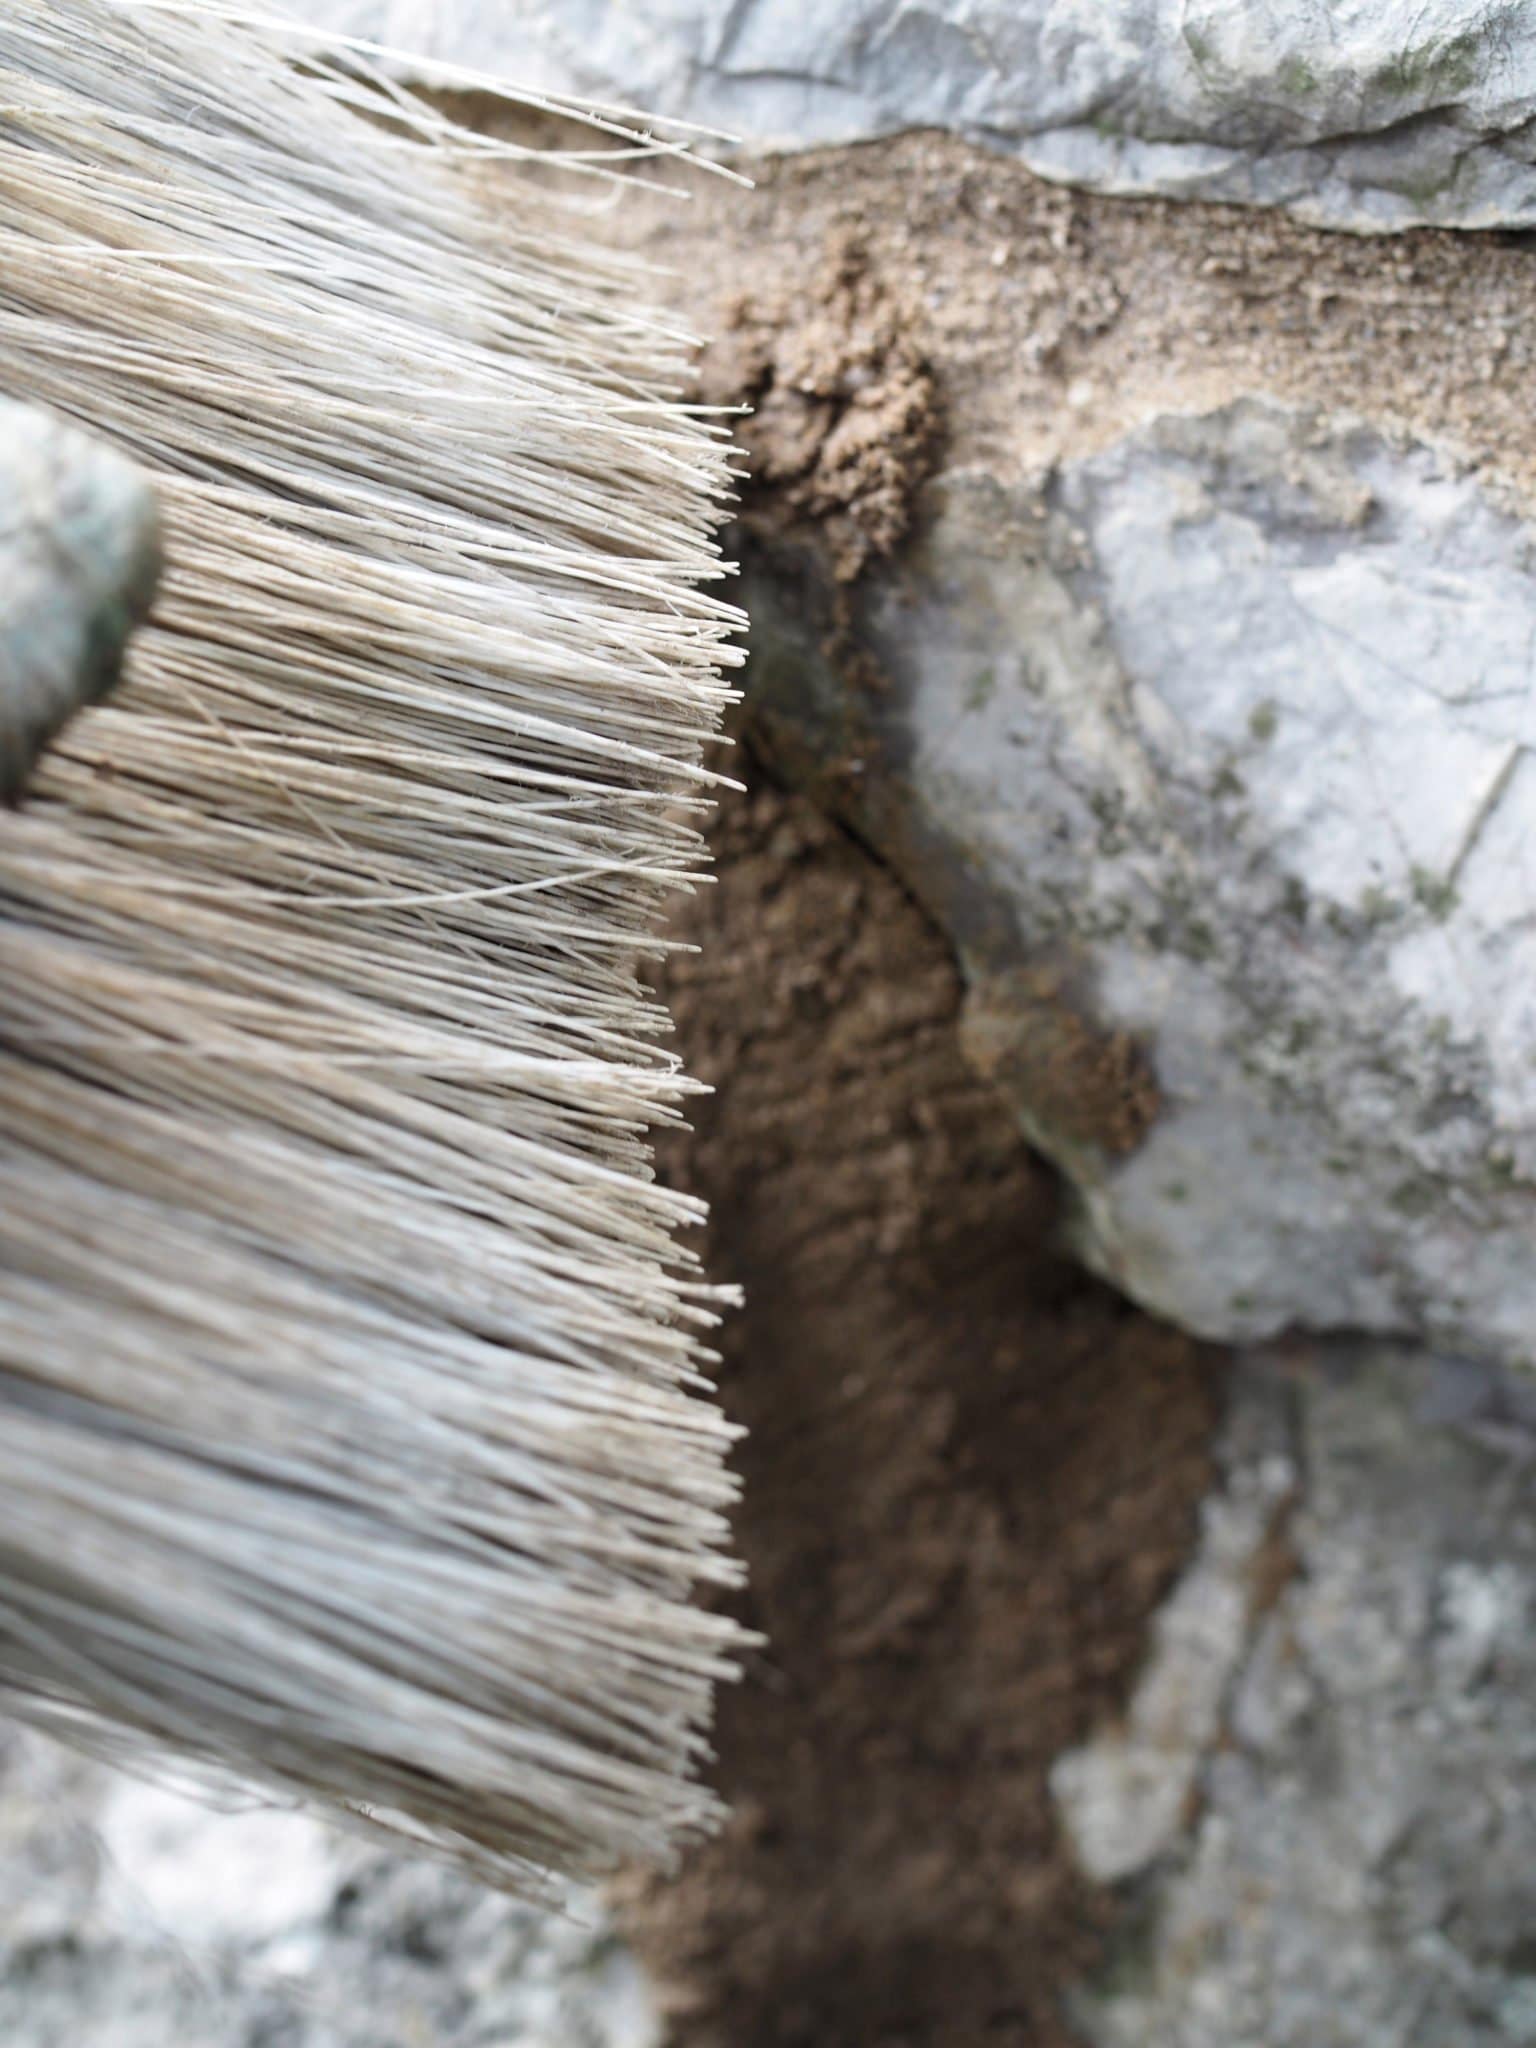
When you start to see the edges of the mortar drying it’s time to start making it look pretty. Using your soft bristled brush start to gently sweep away the excess mortar. Pay particular attention to the edges of your stones, brushing away any loose bits to show the full face. Now it’s starting to look stunning isn’t it? And that really is it! Make more mortar, fill more gaps, brush the mortar and repeat until you’ve finished the whole wall.
Oh’ and loose stones? When you get to one back fill the hole with mortar, and place some on the bottom of the hole too. Then replace your stone and fill around it. It’s a bit more fiddly and the stone may fall out a few times whilst you get the hang of holding it in place at the same time as trying to fill around it. But as they say perseverance and patience are a virtue. Don’t give up, you will get there. It’s one of those try, try and try again moments.
So there you have it, how to repoint a stone wall. It really isn’t as hard as you may think to repoint a stone wall. If you do have one, are you willing to give it a go? A bag of cement and three bags of sand to get you started costs around £12. And based on a daily rate of a builder costing around say £150 a day I’ve saved at least a whooping £1050! In fact all the neighbours are now asking me to repoint their walls too! But I think for this years my repointing days are over. I’ve learn’t a new skill (ticked another thing off my to do list) and I’m ready for my next challenge. Oh, if you have any questions please do leave a question below in the comments. I’ll do my very best to answer.


NB. I am not a trained builder or bricklayer so I may have done things incorrectly but in my defence it has worked and my walls are no longer threatening to fall over.


No Comments